I have never really celebrated Valentine’s Day….believe it or not. I never thought that I was the type of girl that would get worked up over flowers and chocolates and all things red and pink. I do have fond memories of my dad giving me and my sisters (and my mom, of course) boxes of chocolate candies and cards. It was a special holiday for me as a little girl. But not really as a grown-up. And, as silly as that may sound, my warm fuzzies on Valentine’s Day comes from the excitement I had as a little girl and feeling like a total Daddy’s girl on that day. I’m excited because this year will be the first year that I am semi-celebrating…with someone very nice.
So, even if I don’t go all out and get all mushy wushy on V-day, I have always had a love for sugary, bite-sized holiday treats associated with the day. Especially those treats that involve a little dose of chocolate…and some form of pink or red decor.
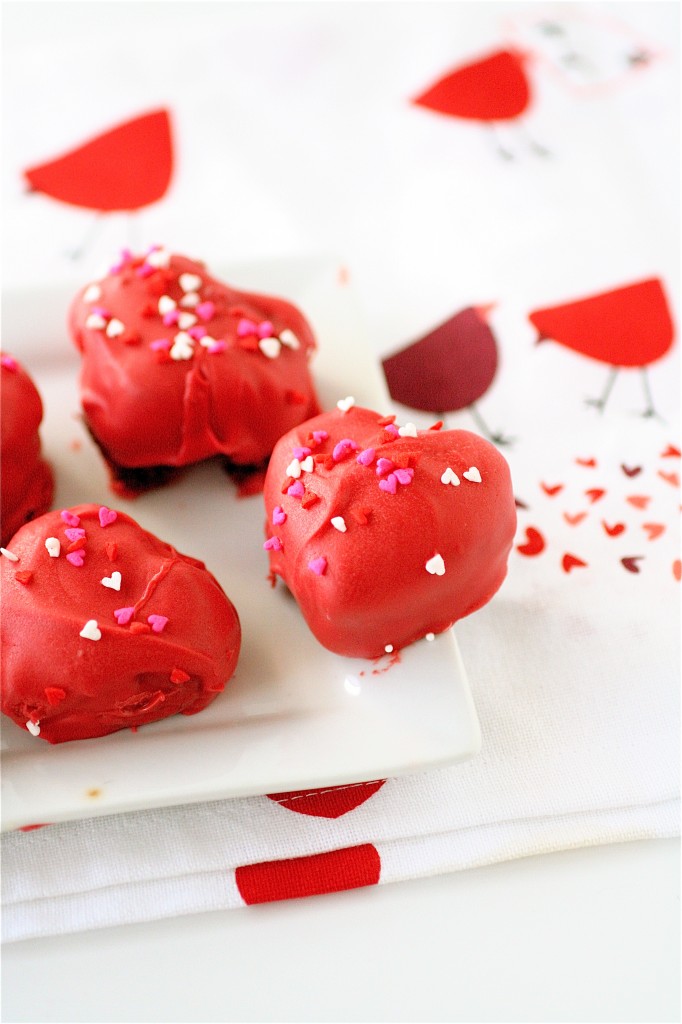
I had some extra red candy melts that I hadn’t used over the holidays, so I figured this was a great opportunity to use them up. And, what’s better than making some cake truffles? I know I’ve done this before, but the little heart cookie cutter in my baking box was calling my name. I figured this was an easy and festive way to celebrate this year.
Looking for some other V-day treats? Here are some of my favorite other ideas:

Sugar Cookie Bars with Buttercream Frosting

Red Velvet Cake Cookies

Chocolate Hazelnut Tartlets

Chocolate Raspberry Cupcakes

Red Velvet Cupcakes

Devil’s Food Cupcakes

Pink Velvet Cake Truffles

Sugar Cookies

Cherry Almond Brownie Bites

Mini Chocolate Cupcakes (cupcake base recipe is vegan)
Valentine Cake Truffles
Servings: About 24 cake truffles (I had lots of leftover cake because I used such a small cookie cutter. Feel free to use more candy melts if you want to make more.)
Ingredients
For the cake:
3/4 cup cocoa powder
1 and 1/4 cup all-purpose flour
1/4 teaspoon salt
8 ounces semisweet chocolate chips
12 tablespoons unsalted butter, at room temperature
4 large eggs
1 and 1/2 cups sugar
1 teaspoon vanilla
1 cup buttermilk
1/2 teaspoon baking soda
For the frosting:
One 8-ounce package cream cheese, at room temperature
16 tablespoons (2 sticks) unsalted butter, at room temperature
1 tablespoon vanilla
3 and 1/2 cups powdered sugar
1/4 cup raspberry preserves**Use whatever you have on hand. Cherry would be awesome!
For the candy coating:
Two 12-ounce bags red candy melts (I use Wilton brand)

Instructions
1. For the cake: Preheat the oven to 325 degrees.
2. Generously butter a 9×13-inch cake pan with butter. Set aside.
3. In a large bowl, whisk together the cocoa powder, flour, and salt; set aside.
4. In a heatproof bowl set over a pot of simmering water, combine the chocolate chips and butter and melt, stirring frequently, until smooth. Let cool slightly.
5. In a separate medium bowl, whisk together the eggs, sugar, and vanilla.
6. Very slowly and carefully, whisk the melted chocolate into the egg mixture until smooth.
7. In a 2-cup measuring cup (the liquid will bubble up), combine the buttermilk and the baking soda.
8. Whisk the buttermilk/baking soda into the chocolate mixture until combined.
9. Next, whisk the buttermilk/chocolate mixture into the dry ingredients, whisking until smooth and no lumps remain.
10. Evenly pour the batter into the prepared baking pan and bake, until a tester inserted into the center comes out clean, about 40 minutes. Let cool at least 1 hour.
11. For the frosting: In the bowl of your standing mixer fitted with the paddle attachment, combine all of the ingredients, mixing until smooth. Set aside.
12. For assembly: In a large bowl, break apart the sheet cake using a large spoon and mixing until it is completely in crumbs.
13. Add the frosting, 1/2 cup at a time, mixing with a large spoon until a thick paste forms. **You may not use all of the frosting.
14. At this point, I find it helpful to chill the “cake dough” for at least an hour, so that it firms up a bit.
15. Once the cake dough is firm, transfer it to a clean and flat surface, and using a rolling pin, roll the dough into an even 3/4-inch thick layer.
16. Using your desired cookie cutter (I used a small, 1.5-inch heart shape), carefully cut out your desired shapes, rerolling and recutting the dough out as necessary and place them on a cookie sheet.
17. Let the cake bites chill in the fridge until you are ready to dip them.
18. In a large heatproof bowl over a bowl of simmering water, melt the candy melts until smooth. (I am quickly learning that it is best to do this in batches to keep your candy coating smooth and avoid it from seizing.)
19. Very carefully, dip each cake bite into the candy melt, and slowly coat it thoroughly. (*I like using a small spoon for this.)
20. Place each dipped cake bite onto a cookie sheet, decorate with sprinkles, and chill until ready to serve.
Sources: Chocolate sheet cake from Cooks Illustrated. Frosting adapted from Life’s Ambrosia.


.jpg)


Kelsey - I haven’t had a tuna melt in forever. Now I really want one!
Jen of MyTiny Oven - Well, now I know what I am having for supper! YUM!!
Kim - I’m allergic to fish, but miss tuna fish soooo much. I’ll have to try this with mashed chickpeas instead of tuna. Thanks for the recipe!
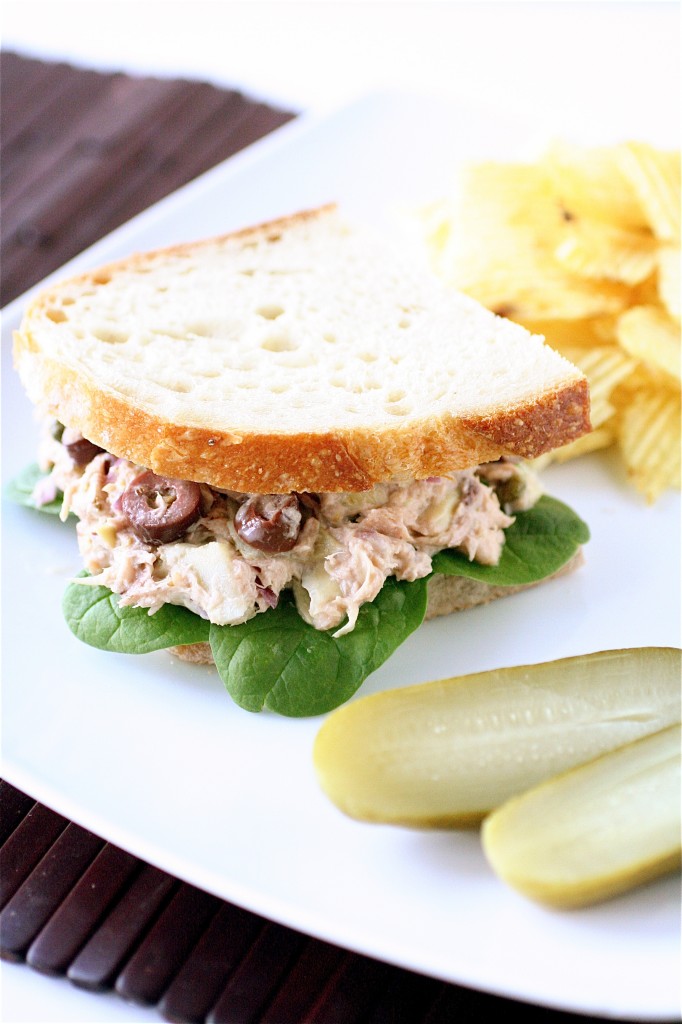
Tracy @ Daily Deal Blog - Your photo perfectly captures the wonderful flavorful combinations of this tuna salad. Great post!