Brown Butter Chocolate Chip Cookies

I am a huge food magazine collector.  Like, I hoard them for a few weeks or months until I get on a plane.  And, then,  I will inevitably end up on the plane, grazing through the magazines (very hungry, of course) and completely inspired to come home and get in the kitchen.  It’s a little zen time.

Last weekend I headed halfway across the country to go apartment shopping in what will be my new hometown.  It was a fantastic trip, spending time with my sister, unexpectedly getting upgraded to the convertible as our rental car, having a great dinner with my future co-workers, and finding the most fantastic condo in the city.  I am so excited of what my future will bring.

So, on my trip back, I sat back, relaxed, and dove into the small library that I had stowed in my carry-on.  And this was one of the recipes from Food and Wine that I tried the day after I got home.  Browned butter chocolate chip cookies?  All right.  The only bad thing?  Waiting for the dough to chill overnight.

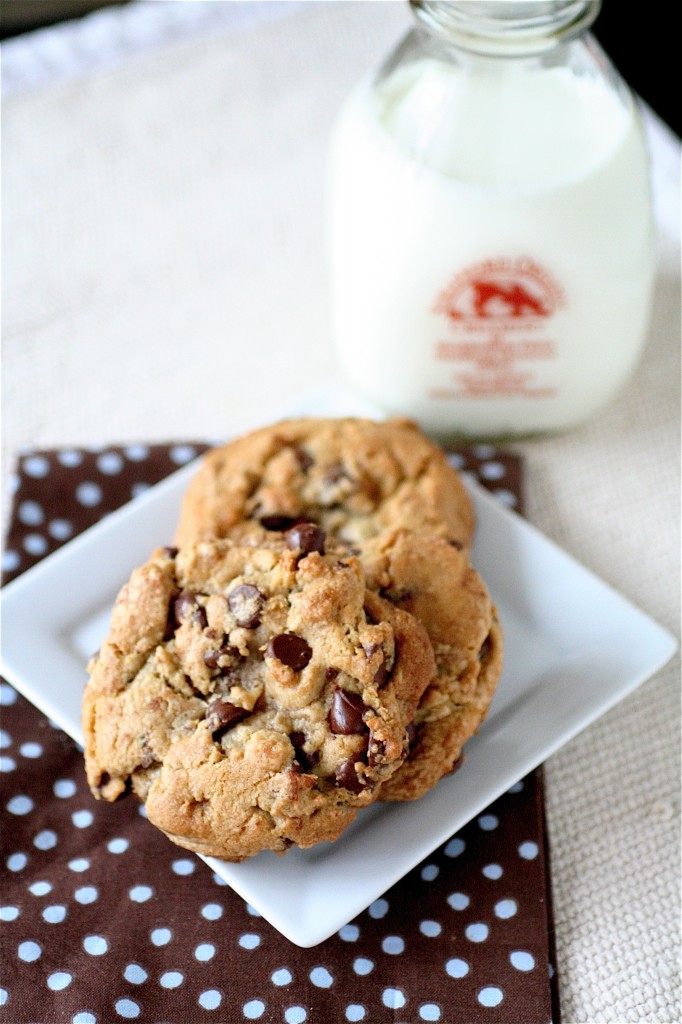
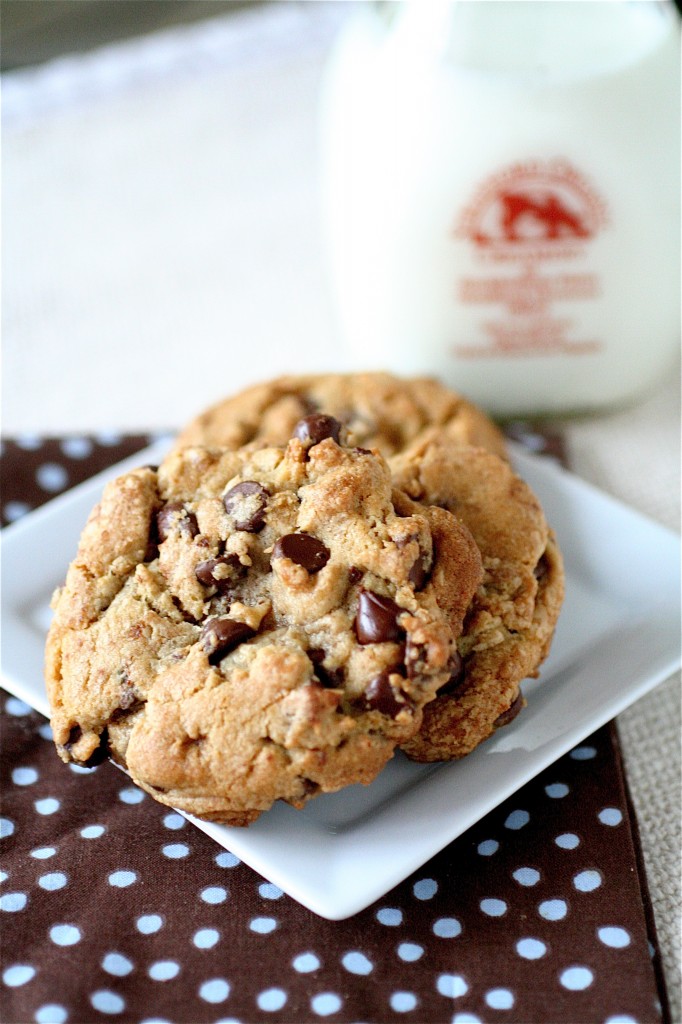
Golden brown and buttery, these are soft and chewy with lots of that slightly nutty brown butter flavor.  I added in a full bag of semisweet chocolate chips to increase the chocolate quotient, but feel free to use whatever kind of chip you might like.  These were too good not to post right away.


Brown Butter Chocolate Chip Cookies

Servings: about 18 cookies


Ingredients

16 tablespoons (2 sticks) unsalted butter

2 and 1/4 cups flour

1 teaspoon salt

1 teaspoon baking soda

1/2 cup granulated sugar

1 cup light brown sugar

1 large egg

1 large egg yolk

2 tablespoons milk

1 and 1/2 teaspoons vanilla

One bag semisweet chocolate chip cookies


Instructions

1. In a medium saucepan over medium heat, melt the butter and cook, swirling the pan occasionally, until it is frothy and browned, about 5-7 minutes or so (the browning process goes quickly once it starts so watch it carefully.)

2.  Transfer the butter to a small bowl and let cool to room temperature.

3.  In a separate bowl, whisk together the flour, salt, and baking soda.

4. In the bowl of your standing mixer fitted with the paddle attachment, beat the browned butter and both types of sugar, until smooth and light, about 7 minutes.

5. Add in the whole egg, the egg yolk, milk, and the vanilla.

6. Decrease the mixer speed to low and add the dry ingredients.

7. Gently fold in the chocolate chips.

8. Cover the cookie dough tightly with plastic wrap and refrigerate overnight.

9. The next day, let the dough come to room temperature.  Meanwhile, preheat the oven to 375 degrees and line two baking sheets with parchment paper.

10. Using a cookie dough scoop, place about 1/4-cup of dough onto the prepared baking sheets, spacing them about 2 inches apart.

11. Bake each cookie sheet (one at a time) until the cookies are golden brown on the bottom, about 14 minutes or so.  **The original recipe states 18 minutes, but I had to shorten the time significantly because my cookies baked very quickly.  Check yours accordingly.


Source:  Food and Wine magazine,  June 2012 issue.

May 17, 2012 - 7:05 am

Caroline @ chocolate & carrots - Yum! So buttery and delicious! P.S. I love your milk bottle! 😀

May 17, 2012 - 10:15 am

Robyn - excited for you that you found a condo you love! does it have a decent sized kitchen? the kitchen in my condo is super teeny, but i have tons of natural light so that makes up for it 🙂

May 17, 2012 - 12:05 pm

John - These cookies look amazing! Too bad I have given up eating any sweets for a few weeks :(.

May 17, 2012 - 1:26 pm

srlacy - Hey Robyn-
How’s it going? Oh yeah-the kitchen is what sold me on the condo-it goes for miles and has a gas range…with tons of windows! SO EXCITED!

May 17, 2012 - 6:11 pm

Chung-Ah | Damn Delicious - I love that you hoard food magazines! And these cookies are dreamy. Brown butter makes everything better.

May 17, 2012 - 11:04 pm

Lily Bennet - Nothing beats a homemade chocolate chip cookie. It makes you feel proud, eh?

May 18, 2012 - 2:53 am

Ann P. - I totally hoard food magazines, too! I have old Sunset issues (a west coast living magazine) all the way back from 2007! They always have gems like these cookies. brown butter is ten kinds of awesome. 🙂

May 18, 2012 - 11:38 am

Devon @ the food bitch blog - Those look so freakin’ delicious. I’m salavating!

I tear out the recipes I’m interested in from magazines & store them in photo albums to de-clutter 🙂

May 18, 2012 - 1:35 pm

Aunt Shawn - I just got a new Kitchen Aid mixer! I might have to make this recipe to break it in! I have an awesome chocolate chip cookie recipe already but I’m always willing to try another! This looks and sounds yummy! New adventures ahead for you Shanon! 🙂

May 20, 2012 - 11:53 am

Courtney - Yum! These look delicious!

I too stock pile magazines and tab so many recipes to try! It’s tough to keep track of everything.

Congrats on your new home and wishing you the best for your move 🙂

May 21, 2012 - 11:24 am

brenda - I have been making these cookies for almost a year now and I never chill the dpugh overnight. For an hour tops, mine always come out just fine.

May 29, 2012 - 8:17 am

Melissa @ Kids in the Sink - I was just about to ask if it’s absolutely essential that you chill the dough because I am NOT patient and then I saw Brenda, a previous commenter said that she doesn’t so that makes me all kind of happy! Have already browned my butter this morning and excited to make these!

May 29, 2012 - 7:02 pm

Browned Butter CCC | Mom Makes… - […] Browned Butter Chocolate Chip Cookies – adapted from The Curvy Carrot […]

October 14, 2012 - 2:18 am

Tristian - I think the reason you should chill the dough overnight is so that the flavors of the dough can marinate, and so the flour can dehydrate the dough just enough so that you can shape the cookies easier. And, when the cookies come together, they will bake more evenly. Some people that like soft and chewy cookies take them out of the oven when they are still doughy in the middle, and let them cool on the cookie sheet, as they will still bake when taken out.

Sweet Orange Risotto with Strawberries


Risotto.  I love to eat it, but I dislike making it.  The last time I tried it (mushroom risotto or primavera risotto with fried egg on top), I went through about a billion pots and pans, spent a long time stirring in small amounts of potential absorbable liquids, and inevitably ended up drinking waaaaayyyyy more of the white wine that went in the recipe than I should have.  But, hey, the end product is always so fantastic.  Creamy, savory, and so satisfying.

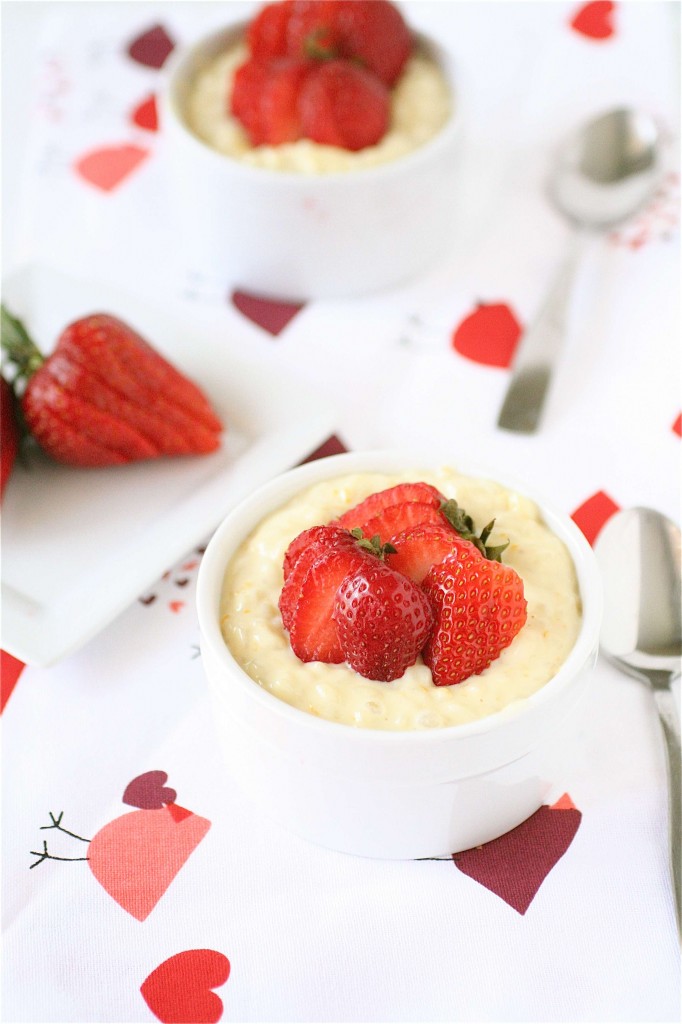
But, here’s a sweet and spring-y twist on risotto.  A lighter, rice pudding-ish, and citrusy dessert topped with fresh and ripe strawberries.  And the versatility of this recipe is pretty endless.  I assume a lemon and blueberry combination would be pretty awesome, too.  But, here, I loved the bright flavor of the orange juice and zest with the creamy and rich risotto.  I cut the original recipe in half, so if you are serving more than two people, feel free to double this version.  Pair this with some sparkling wine, and you’ve got yourself a romantic and impressive springtime dessert on your hands.


Sweet Orange Risotto with Strawberries

Servings:2


Ingredients

3 cups milk

1/4 cup granulated sugar

1 teaspoon vanilla

1 tablespoon unsalted butter

1/2 cup Arborio rice

Zest and juice from one orange

1/2 cup canned coconut milk (I used full-fat, but you can use light coconut milk if you are looking to cut back.)

2 cups fresh strawberries, sliced


Instructions

1. In a large saucepan over medium heat, combine the milk, sugar, and vanilla until simmering, stirring frequently.

2. Decrease the heat to low, cover the pot, and keep warm.

3. Meanwhile, in a large sauté pan, melt the butter over medium heat.

4. Add the rice and cook, stirring constantly, for about two minutes.

5. Add the orange juice and zest, stirring constantly for another 1-2 minutes.

6. Add 1/2 cup of the warm milk mixture, stirring constantly, about 3-5 minutes.

7. Repeat the above step until all of the milk mixture is added and absorbed, about 15 more minutes or so.

8. Remove the risotto from the heat and add the coconut milk, mixing well.  Set aside for 5 minutes.

9. Spoon the risotto into individual serving bowls and top with fresh strawberries.  Serve immediately.


Source: Adapted from Whole Foods.


May 15, 2012 - 6:03 am

Blog is the New Black - I would never have thought to do a sweet risotto! Great idea!

May 15, 2012 - 8:22 pm

Ann P. - SWEET RISOTTO! Next big thing in food 🙂

May 16, 2012 - 5:30 am

Chung-Ah | Damn Delicious - I’m a huge risotto fan but I have yet to try a sweet one. Will have to make this soon! I’m sure it will send me to the moon!

May 16, 2012 - 2:19 pm

Crystal @ A Lovin' Forkful - Oh My! This is amazingly perfect sounding!

May 17, 2012 - 1:17 am

Bea - Mmm, never thought of sweet risotto before. Yum.

October 9, 2012 - 2:39 am

Jon@goodeatingdaily - This looks great! I am liking this right away and making it later…definitely!

April 16, 2014 - 2:02 pm

Tara - This was the first sweet risotto I have tried. It was delicious! The sliced strawberries on top made it perfect.

Classic Caprese with Balsamic Reduction

So..THIS…this dish in particular…is usually on my weeknight menu at least once during the week.  It’s just so easy.  I’m fortunate enough to be able to get fresh mozzarella from this place (in my opinion, the best mozzarella I have tried in a very long time), so it’s just too easy to throw together something as elegant and simple as a caprese.  I’m anxiously awaiting the quickly approaching summer so I can get some tomato plants and basil plants growing.

I usually do a few variations on the Caprese.  You’ve seen this salad.  You’ve also probably seen this eggs benedict version as well.  Or even this sandwich. Some nights I will slice the tomatoes, layer some mozz on top, and set it under the broiler for a few minutes (so the cheese gets all melty and heavenly) and then sprinkle it with some fresh basil and sea salt.

But, I wanted to add a balsamic reduction to the repertoire on this blog. (I know the recipe itself isn’t rocket science.) It’s something every girl (or guy) needs to have in their back pocket.  It’s a snap to throw together, makes your kitchen smell incredible, and a little bit goes a very long way (I had just enough for two large salads here, so if you want leftovers, increase the amount of balsamic).  The reduced balsamic is thick and syrupy, with a sweet tang to it.  It’s definitely worth the wait to use it as a dressing.

Classic Caprese with Balsamic Reduction

Servings: 2


Ingredients

2 large tomatoes, sliced

6-8 ounces fresh mozzarella cheese, sliced (depending on how much you like)

Handful fresh basil

Drizzle extra-virgin olive oil

Sea salt and pepper

1/3 cup balsamic vinegar


Instructions

1. For the balsamic reduction:  In a small saucepan over medium-low heat, bring the balsamic vinegar to a boil.

2. Reduce the heat to low and let simmer, swirling the pan occasionally, until reduced to about half of the original amount (it took mine about 15-20 minutes.) Watch it carefully.  Remove from the heat and set aside.

3. Meanwhile, assemble the salad by layering the tomato, mozzarella, and basil.

4. Lightly drizzle the olive oil and balsamic reduction over the salad and sprinkle with salt and pepper.  Enjoy.  It’s almost summer.


Source: A Curvy Carrot original.

May 12, 2012 - 2:40 pm

Herbie, Bryan, YiRan (@HerbieSpaghetti) - This is my favorite type of “salad”. It seems like the basil is taking an enormously long time to get good this year – hopefully we can get some good stuff soon and make this. Have never tried reducing the balsamic, usually just throw it right on, but I would bet this makes it taste wonderful!

May 13, 2012 - 2:51 am

Chung-Ah | Damn Delicious - Gorgeous! And I’m so jealous that you get to buy fresh mozzarella so often.

May 14, 2012 - 1:32 am

Ann P. - Sometimes the most delicious flavors are the simplest. 🙂 Gorgeous photos, you make something traditional like caprese salad look beautiful and new!

May 15, 2012 - 7:40 pm

Kim - Liv Life - Absolutely delightful!! I love simple and good… this is it!

June 4, 2012 - 1:17 pm

Ashley @ Wishes and Dishes - Just made this memorial day weekend and it was delicious!

May 9, 2013 - 7:59 am

Classic Caprese with Balsamic Reduction - […] source:   thecurvycarrot.com […]

July 28, 2014 - 7:44 am

On the Uses of Balsamic Vinegar Reduction #weekendcooking @BethFishReads | Bay State Reader's Advisory - […] A balsamic vinegar reduction is made by boiling down the vinegar to a thicker, more concentrated form. I think this was more in vogue a few years ago, but I’m always behind in my food trends. (If you want to see a recipe, this is a nice one on The Wimpy Vegetarian.) I have used it before on what we usually call tomatoes and mozzarella, but is actually a Caprese salad. […]