Strawberry Rhubarb Pie

Strawberry Rhubarb-A Whole Lot of Ooey-Gooey Goodness

Oh, summertime.  This pie brings up all sorts of childhood memories: picking strawberries with my sisters, getting the rhubarb out from my mom’s enormous garden.  It is true, in fact, that summer is here.

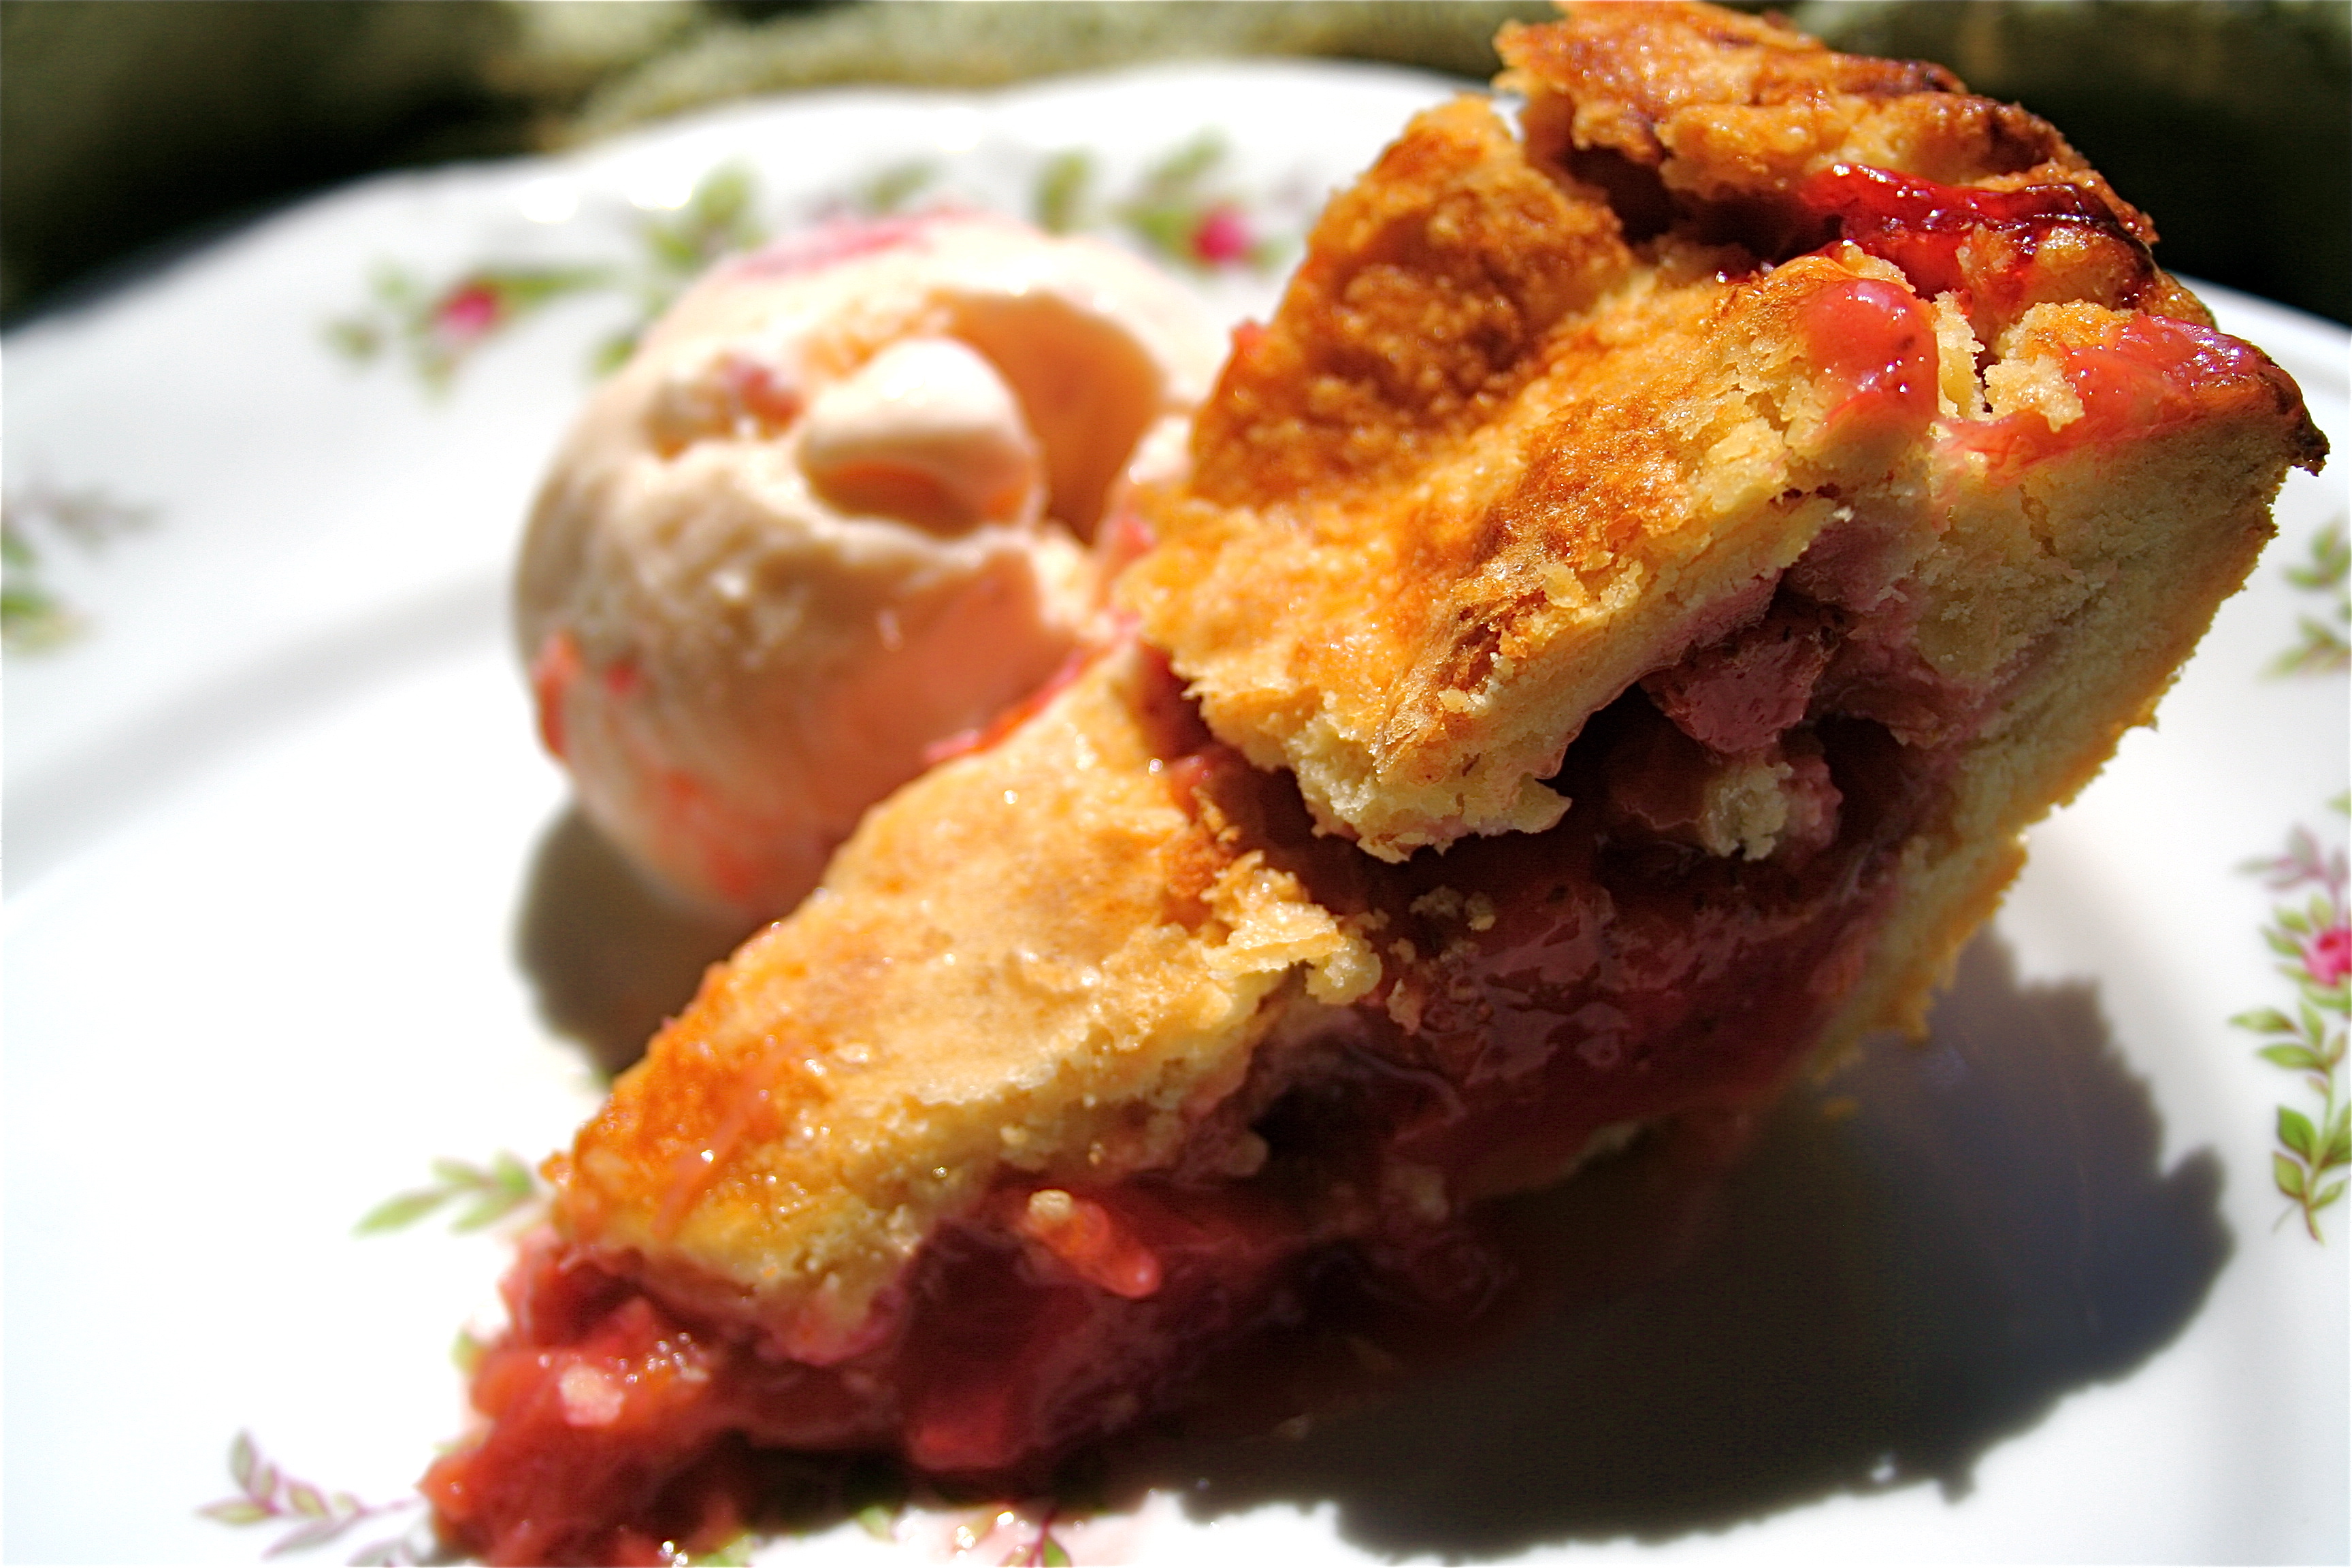
This pie was everything I had hoped it would be: tart, tangy, and extra ooey-gooey (hence the “messy, yet rustic” photograph).  The crust was super flaky and buttery.  And while my pastry art may not be a strong point, I don’t think anyone cared about what it ultimately looked like-it just tasted really good.

Strawberry Rhubarb Pie

2 teaspoons vegetable oil

1 1/2 pounds rhubarb, ends trimmed, peeled if the outer layer is especially fibrous, and cut into 1-inch pieces (5-6 cups)

1 cup plus 1 tablespoon sugar

1 recipe Basic Pie Dough (see below)

Flour for dusting the work surface

3 tablespoons arrowroot

Pinch salt

1 1/2 pounds strawberries, hulled and quartered (about 5 cups)

1/2 teaspoon vanilla extract

2 teaspoons grated orange zest from 1 orange (optional)

1 egg white, slightly beaten

1. Heat the oil in a large skillet over medium-high heat until smoking. Add the rhubarb and 1/4 cup of the sugar and cook, stirring frequently, until the rhubarb has shed most of its liquid but is still firm, about 5 minutes.  Transfer to a large plate and refrigerate until cool.

2. Remove one piece of dough from the refrigerator (if refrigerated longer than 1 hour, let stand at room temperature until malleable).  Roll the dough on a lightly floured work surface or between 2 large sheets of parchment paper or plastic wrap in a 12-inch circle.  Transfer the dough to a 9-inch pie plate by rolling the dough around the rolling pin and unrolling over the pan. Working around the circumference of the pan, ease the dough into the pan corners by gently lifting the edge of the dough with one hand while gently pressing into the pan bottom with the other hand.  Leave the dough that overhangs the lip of the pie plate in place; refrigerate until needed.

3. Adjust an oven rack to the lowest position, place a rimmed baking sheet on it, and heat the oven to 500 degrees.

4. In a small bowl, mix together 3/4 cup of the sugar, the arrowroot, and salt.  In a large bowl, toss together the strawberries, cooled rhubarb, vanilla, and orange zest (if using).  Sprinkle the sugar mixture over the top and stir to combine.  Spoon the fruit evenly into the pie shell and pack lightly.  Roll out the second piece of dough to a 12-inch circle; place it over the filling.  Trim the edges of the top and bottom dough layers to 1/2 inch beyond the pan lip.  Tuck this rim underneath itself so that the folded edge is flush with the pan lip.  Flute the edge or press with fork tines to seal.  Cut 8 slits in the dough top. If the pie dough is very soft, place in the freezer for 10 minutes.  Brush the top of the crust with the egg white and sprinkle evenly with the remaining 1 tablespoon of sugar.

5. Place the pie on the hot baking sheet and lower the oven temperature to 425 degrees.  Bake until the top crust is golden, about 25 minutes.  Rotate the pie from front to back and reduce the oven temperature to 375 degrees; continue baking until the juices bubble and the crust is deep golden brown, 30-35 minutes longer.  Cool the pie on a wire rack until room temperature, 3-4 hours, before serving.

Basic Pie Dough

2 1/2 cups unbleached all-purpose flour; plus more for dusting the work surface

1 teaspoon salt

2 tablespoons sugar

1/2 cup vegetable shortening, chilled

12 tablespoons (1 1/2 sticks) cold unsalted butter, cut into 1/4-inch pieces

6-8 tablespoons ice water

1. Process the flour, salt, and sugar in a food processor until combined.  Add the shortening and process until the mixture has the texture of coarse sand, about 10 seconds.  Scatter the butter pieces over the flour mixture; cut the butter into the flour until the mixture is pale yellow and resembles course crumbs, with butter bits no larger than small peas, about ten 1-second pulses.  Turn the mixture into a medium bowl.

2. Sprinkle 6 tablespoons of the ice water over the mixture. With a rubber spatula, use a folding motion to mix.  Press down on the dough with the broad side of the spatula until the dough sticks together, adding up to 2 tablespoons more ice water if the dough will not come together.  Divide the dough into 2 balls and flatten each into a four-inch disk. Warp each in plastic and refrigerate at least 1 hour, or up to 2 days, before rolling.

Barely Adapted from Baking Illustrated-The Practical Kitchen Companion for the Home Baker, by the Editors of Cooks Illustrated

July 5, 2010 - 5:27 pm

Kelli - Yum, Shan! Do you have an extra piece? I have always wanted to learn how to make this because my friend Courtney and I used to eat raw rhubarb from her mom’s garden, dipping the stalks in CUP-fulls of sugar when we were little. I have wonderful memories of rhubarb, but have never made anything with it. You are amazing; did you just whip this up this morning?

July 6, 2010 - 1:35 pm

Tara Fergusson - So exciting Shannon! The site looks awesome and I love the name 🙂 I hope you are doing well! All the best, Tara

July 6, 2010 - 10:49 pm

Georgia - I’m her DAD and a professional food lover…..ok, food lover. Pie was fantastic!

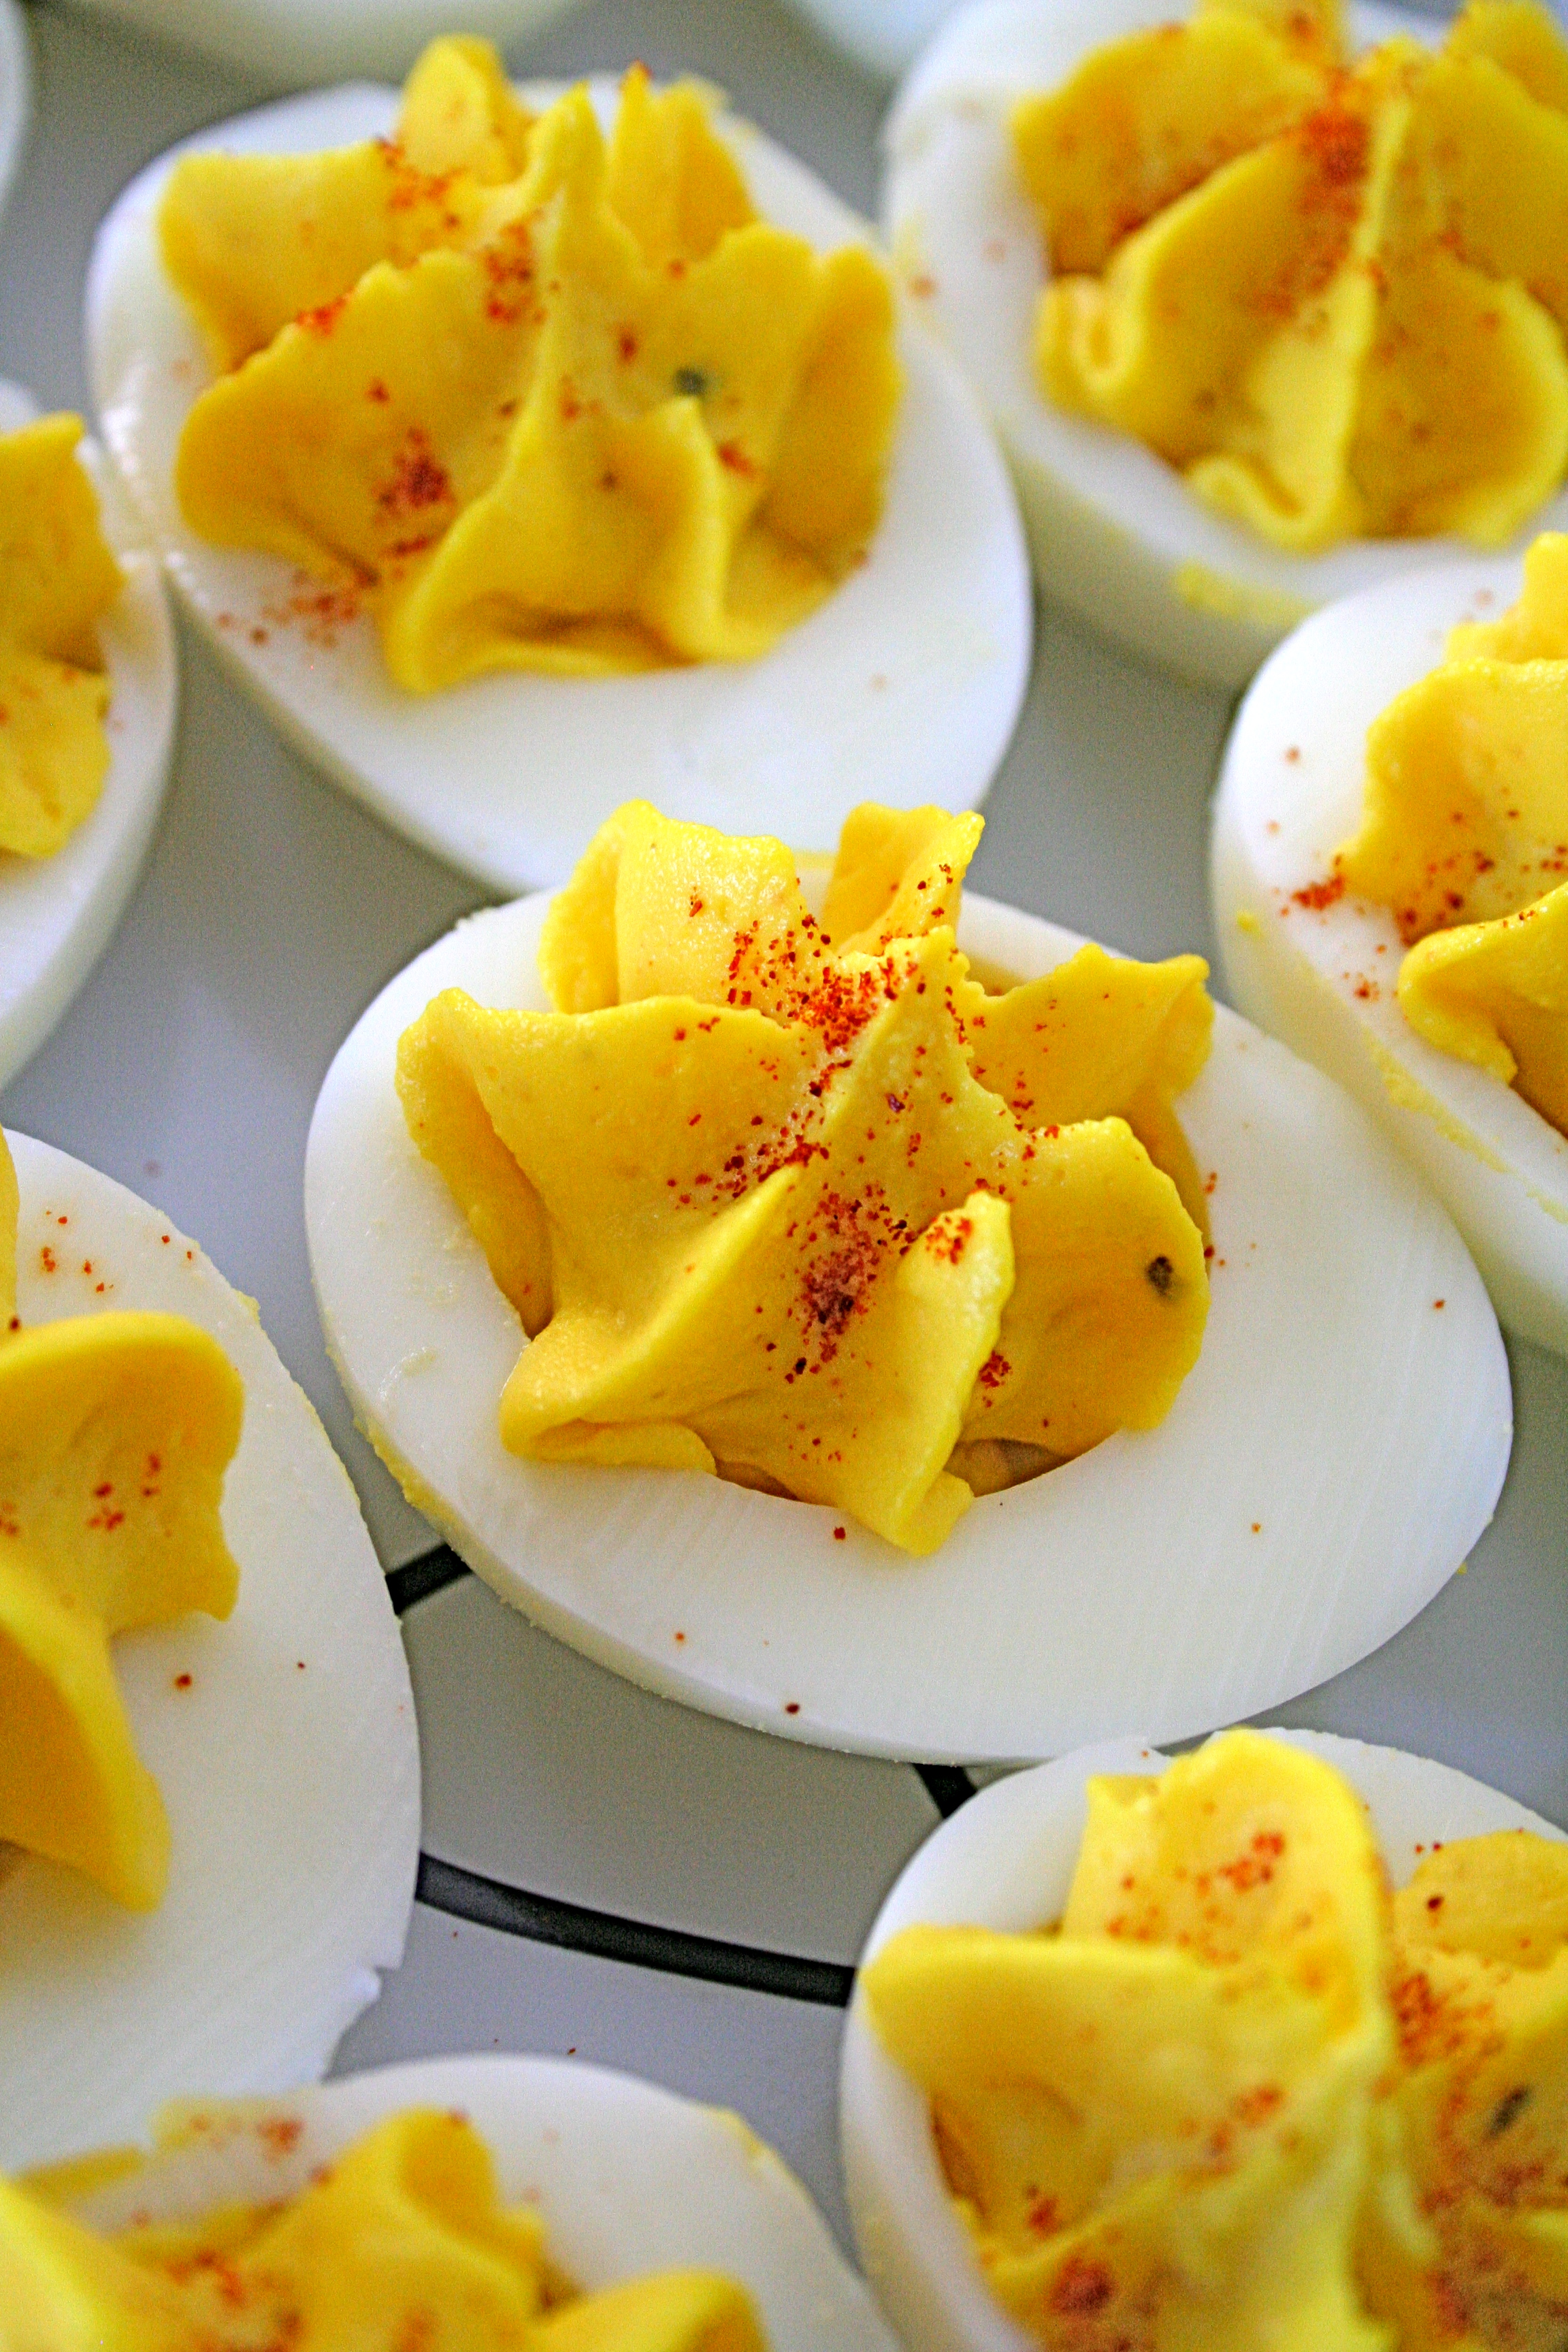
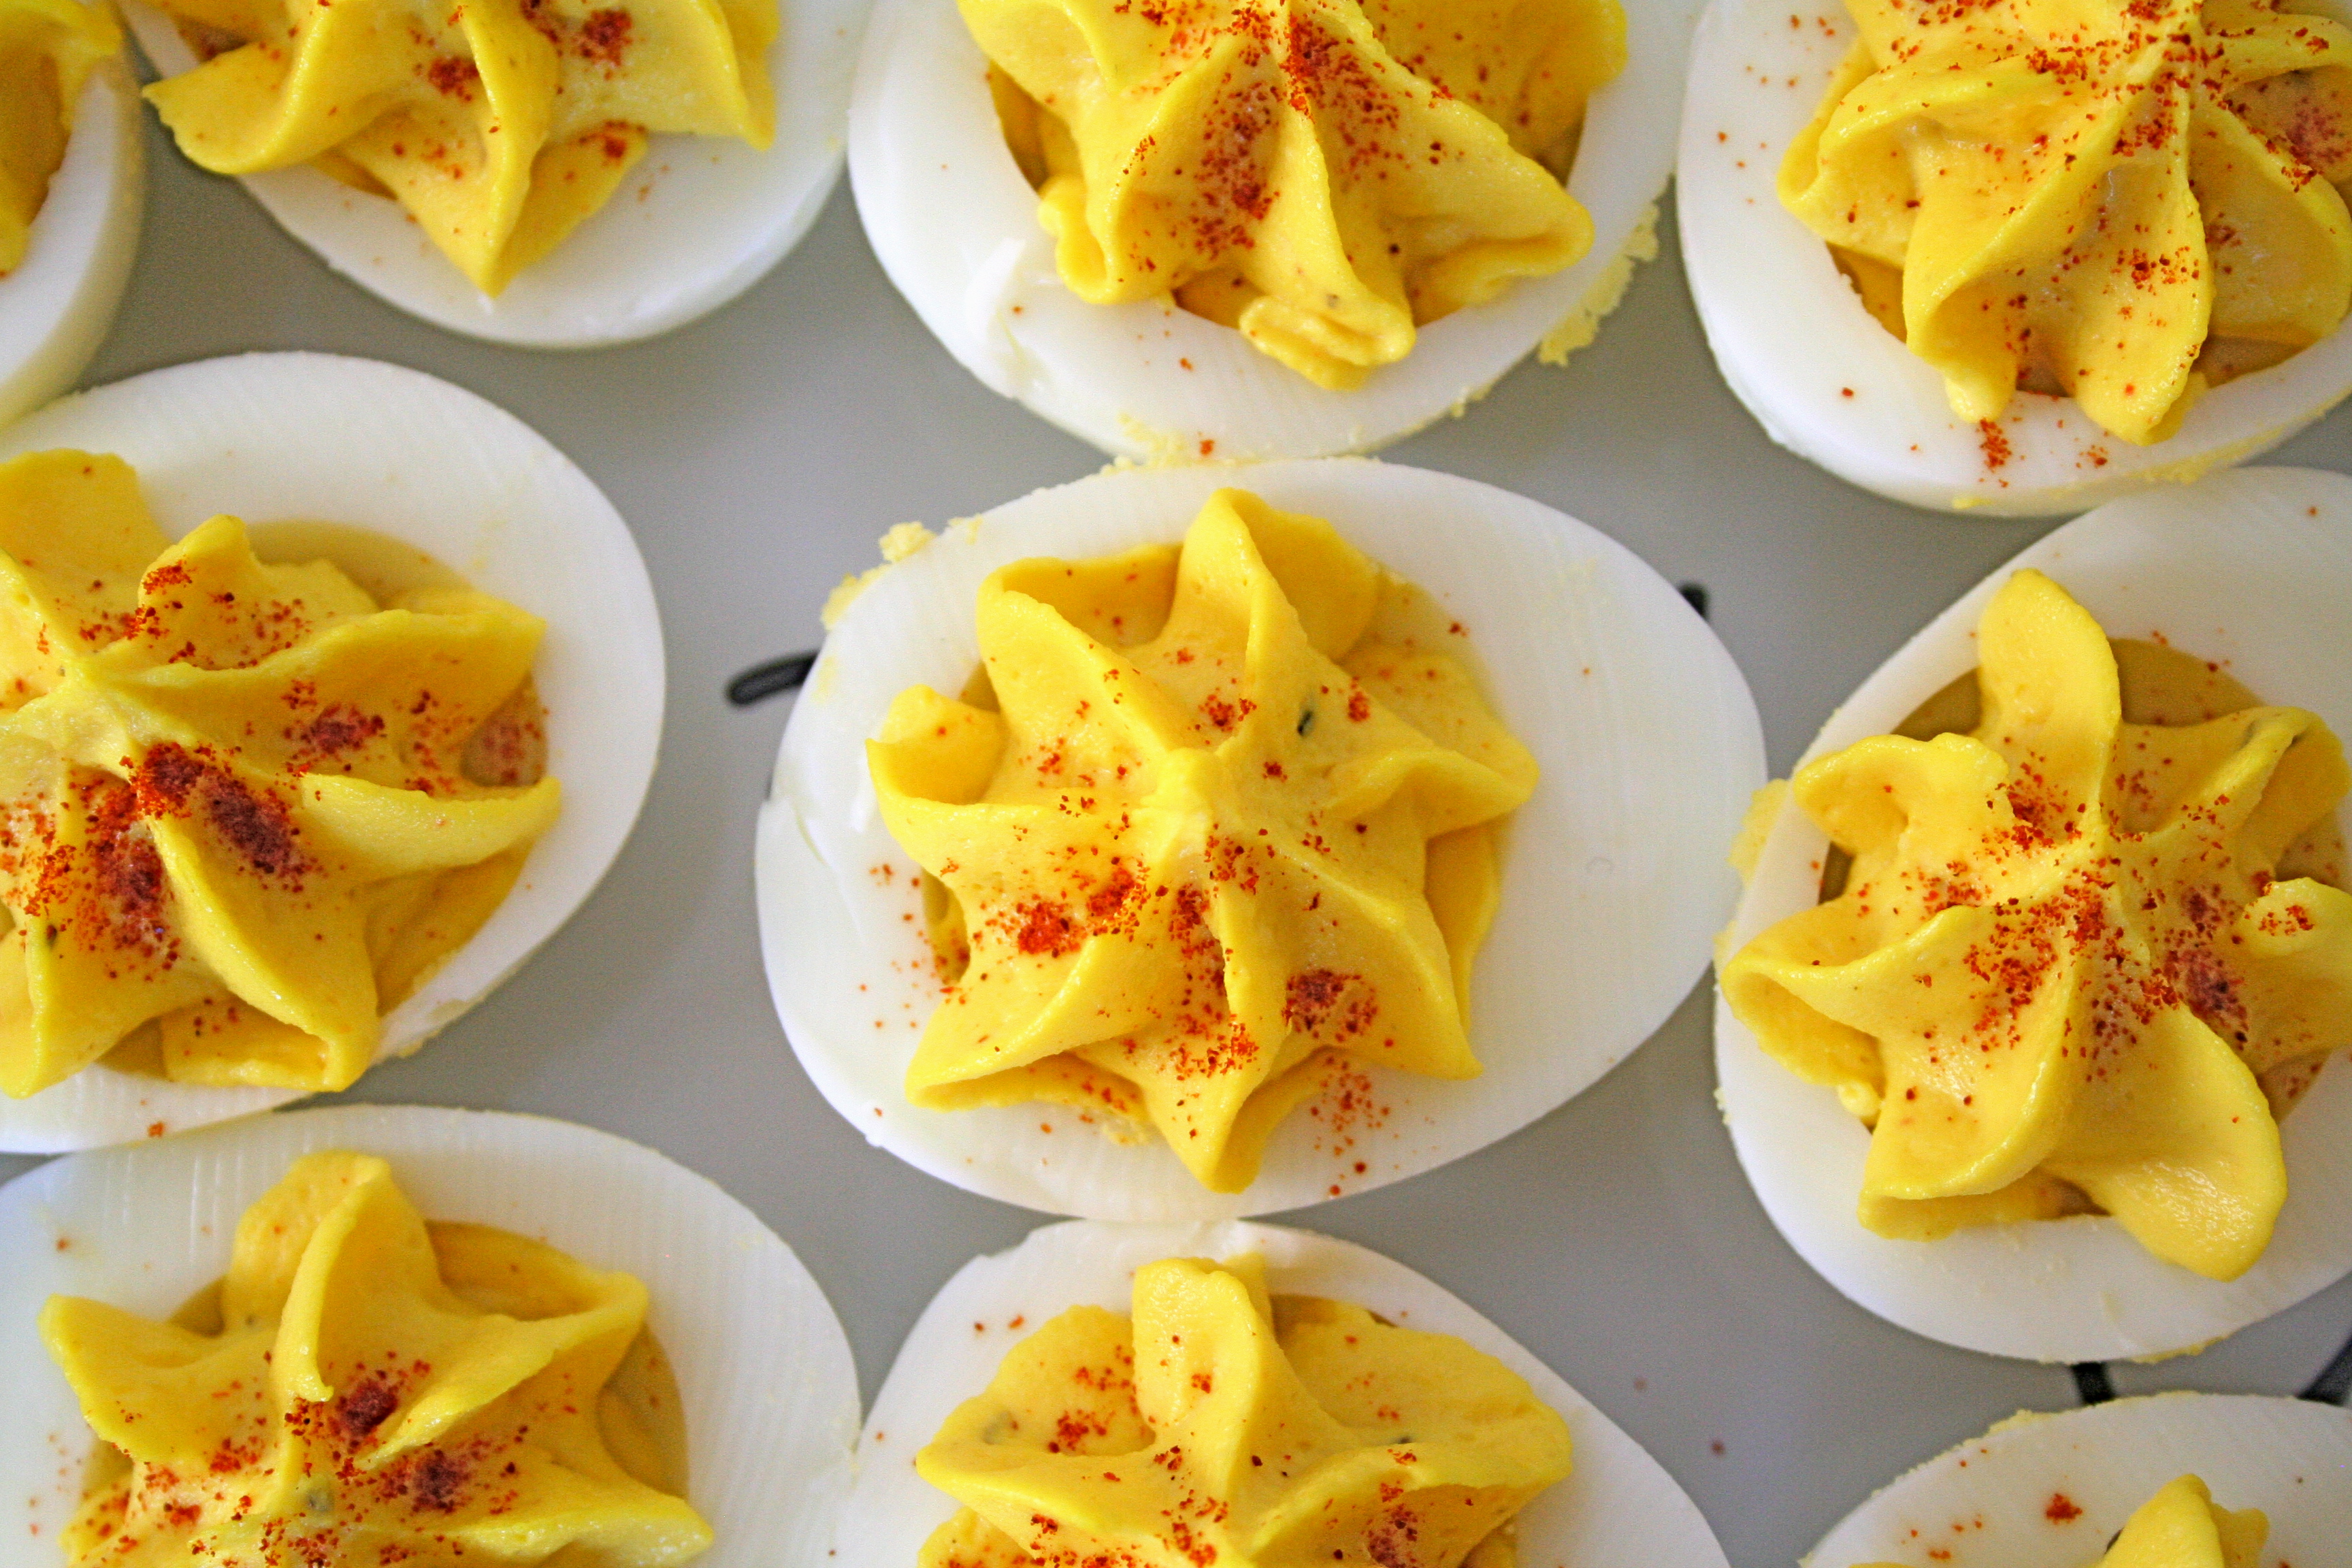
The Best Deviled Eggs

This one is for Jack, my brother-in-law.  Every time we have a family get-together, I am expected to make deviled eggs.  Usually before I can ask if Jack likes them this time (I change the recipe every time I make them), he has already eaten two.  Which I take as a good sign.

Deviled eggs are not for everyone.  I have friends that cringe if they walk in the room and see them.  The point is, they can be a very simple, easy addition to any party line-up, if properly handled (remember to keep them cold!) They can be made with various spices, garnishes, or even colors to jazz up a normally bland appetizer.

Every time I make them, I dabble in various ratios of spices to mustard flavor, depending on my target audience.  I actually wrote down a solid recipe this time, and I was told that they were my best ever.

Here goes:


12 hard-boiled eggs

2/3 cup mayonnaise

1 tablespoon yellow mustard

1 teaspoon ground mustard

1 teaspoon Crazy Jane’s Mixed-Up Salt (found in spice aisle in your local grocery)

pinch Cayenne pepper

pinch Paprka

Slice each hard-boiled egg lengthwise down the middle.  Separate the yellow yolks from the egg whites and place the yolks in a mixing bowl.  Mash all the yolks together with a fork to remove clumps.  Add in the mayo and mustard and, with your fork, whip the mixture together, removing as many small clumps as possible.  Add in remaining ingredients, excluding the paprika.  Using a dessert decorator tool/pastry bag (I use the biggest tip I own to create the desired design of the yolk), pipe the yolk mixture into the empty, hollowed egg whites.  Sprinkle the finished products with the paprika.

You can add additional garnishes, such as chopped chives or parsley, to add color/texture to the egg yolks.

July 5, 2010 - 7:24 pm

Sara - These most definitely met with Jack’s approval….and mine. LOVE this recipe Shay! Well done! 🙂

August 11, 2010 - 5:03 am

Guacamole « The Curvy Carrot - […] could not get through the summer without posting a guacamole recipe.  Just like my Deviled Eggs, this is a recipe that I modify each time I make it.  I don’t ever write it down (this time […]

September 13, 2011 - 5:01 am

The Curvy Carrot » Open Faced Egg Salad Sandwiches - […] that every time I come home, my dad asks for my deviled eggs, I decided to make a spin-off version of egg salad, using no mayo.  You could probably adapt this […]

April 1, 2012 - 10:16 am

The Curvy Carrot » Cream Cheese and Smoked Salmon Deviled Eggs - […] profile here pretty straightforward, only adding a bit of flaky sea salt to the yolk base.  For my regular deviled eggs, I like to throw everything but the kitchen sink at it, but I wanted to keep it simple here. Feel […]

June 29, 2012 - 5:24 am

Kate - How do you make the yolk mix look like flowers? They look beautiful!

July 4, 2012 - 11:08 am

srlacy - Hi Kate-

I just used a pastry bag and a piping tip! It makes the clean up easy and I love the look of them!

December 17, 2013 - 11:46 pm

five ways :: deviled eggs | Wagshal's Blog - […] {via Sunset; featured image via The Curvy Carrot} […]

April 29, 2014 - 5:47 pm

Guacamole » The Curvy Carrot - […] could not get through the summer without posting a guacamole recipe.  Just like my Deviled Eggs, this is a recipe that I modify each time I make it.  I don’t ever write it down (this time […]

October 1, 2014 - 6:20 pm

» Pumpkin Deviled Eggs - […] Cooking Spicy Southwest Deviled Eggs, Taste and Tell Jalapeno Popper Deviled Eggs, Closet Cooking The Best Deviled Eggs, Curvy […]

December 22, 2014 - 2:40 pm

Food Blogging Debut

Welcome to the Curvy Carrot!!

So, after months of debate, procrastination, and endless nudging from various friends and family members, I have officially started my very own food blog.

First things first, I am not attempting to be anything close to perfection-basically this is going to be my own way of experimenting and learning about two things that I am trying to learn more about: food and photography.  I am very blessed to have a lot of inspiration all around me: from my very successful food blogging friends, dedicated taste-testers, and countless volumes of delicious recipes (both from my family and from the food blogging world).

And I am doing all of this because I can.  Everyday I am learning something new.  How to take great pictures of food, how to make delicious recipes with a focus on sustainable and healthy living (but, let’s be honest: I am a food glutton sometimes and am not afraid to admit it), and, how to share my newfound peace and happiness in life with others.  Come on in, welcome to the Curvy Carrot!

July 4, 2010 - 8:26 pm

Georgia - Awsome website! Love the name too. Yes the food is great I tryed these recipes and they are outstanding!

July 7, 2010 - 8:03 am

Jenny Boling - YAYAYAYAYAYAYAYA. You’re already on my Google Reader and I can’t wait to see all that you photograph, make, and post! How fun!!! 🙂

July 11, 2010 - 8:21 pm

TikiPundit - Off to a good start — you’re on my RSS feed. Best wishes!

July 15, 2010 - 9:57 pm

Kate - Awesome!! Beautiful Photography and I can’t wait to try some of these wonderful recipes.

July 24, 2010 - 6:15 pm

alisha schwanke - Very cool Shanon! Have you in my reader now and look forward to all your posts!