Upside-Down Apricot Cake

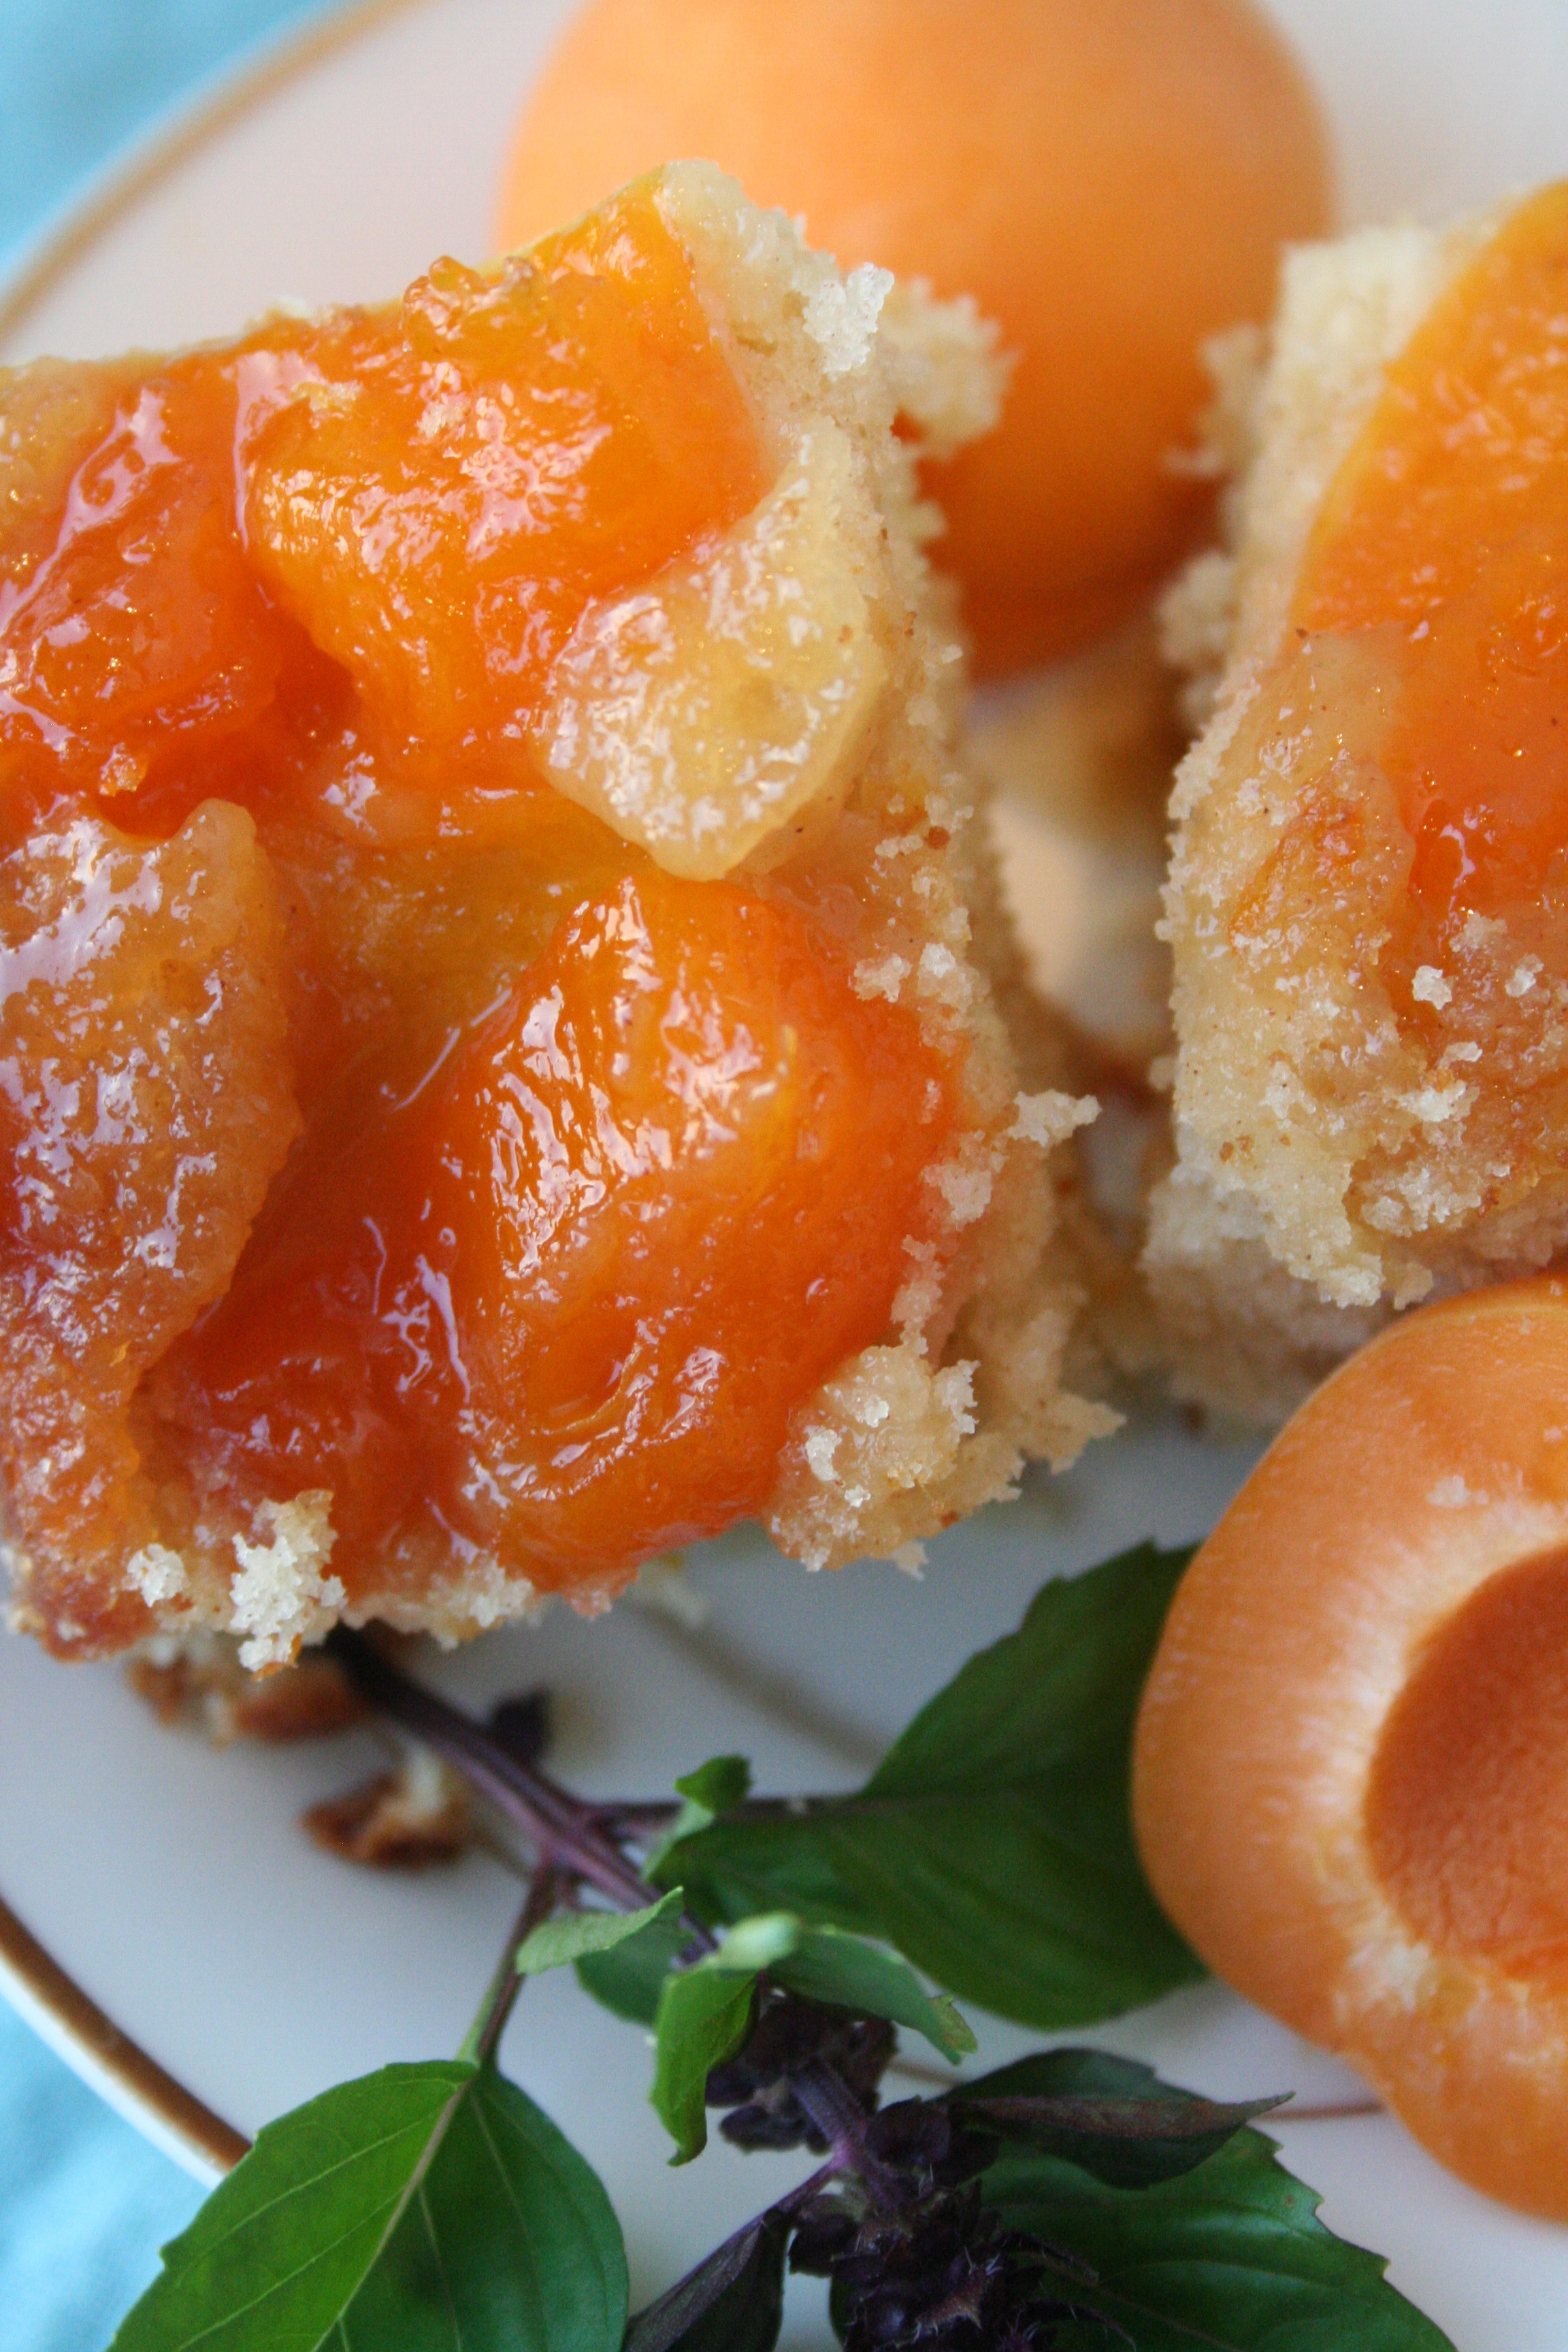
I love apricots.  And they are in season right now.  So on a recent shopping trip, I picked up a big bag of these wonderful things.  And then, I got home and found this recipe.   I knew that I had a perfect excuse to use up the apricots (and eat cake), so off I went.  At first, when I saw that the first step was making caramel, I hesitated.  The last time I tried ended badly, but it actually was very straightforward this time.

Upside-Down Apricot Cake

Serves 8-10

For the caramel:

1/2 cup granulated sugar

For the cake:

4 medium, ripe apricots, pitted and cut into 4 wedges each (I ended up using 5-6 because mine were especially tiny)

9 oz (2 cups) all-purpose flour

1 1/2 teaspoons baking powder

1/4 teaspoon ground cinnamon

4 oz (1/2 cup) unsalted butter, at room temperature

1 cup granulated sugar

1/2 teaspoon pure vanilla extract

2 large eggs

3/4 cup milk

Position a rack in the center of the oven and heat the oven to 350 degrees.  Lightly butter the sides of a 9-inch square cake pan.

Make the caramel:

In a small, heavy-based saucepan or skillet, combine the sugar and 3 tablespoons of water. Set over medium heat, stirring frequently to help dissolve the sugar.  Once the sugar boils, stop stirring.  Increase the heat to high and cook until the liquid is deep amber.  Immediately pour the caramel into the cake pan and swirl to cover the bottom evenly.  Set aside to cool.

Make the cake:

Arrange the apricot wedges over the caramel and set the pan aside.  In a medium bowl, whisk the flour, baking powder, cinnamon, and 1/4 teaspoon of salt until blended.  In another bowl, beat the butter, sugar, and vanilla with an electric mixer until well blended, about 3 minutes.  Add the eggs one at a time and beat until just incorporated.  Using a wide rubber spatula, fold the flour mixture and the milk alternately into the butter mixture, beginning and ending with the flour.  Spoon large dollops of batter evenly into the cake pan, taking care not to disturb the fruit. Tap the pan gently on the counter to release air bubbles.

Bake until lightly browned and a pick comes out clean, 50 to 55 minutes.  Working quickly (while the caramel is still hot), run a knife around the edge of the cake.  Set a serving plate or a small cutting board on top of the pan and invert it (be careful-it’s hot).  Let the cake rest, upside down, for 5 minutes before removing the pan so the fruit and caramel will settle.  Serve slightly warm or at room temperature.

Enjoy!

Adapted from www.finecooking.com (The Best of Fine Cooking: Fresh and Quick Edition, 2010, No. 37, page 103).

Grilled Halloumi Cheese Salad

Can we talk about Halloumi?

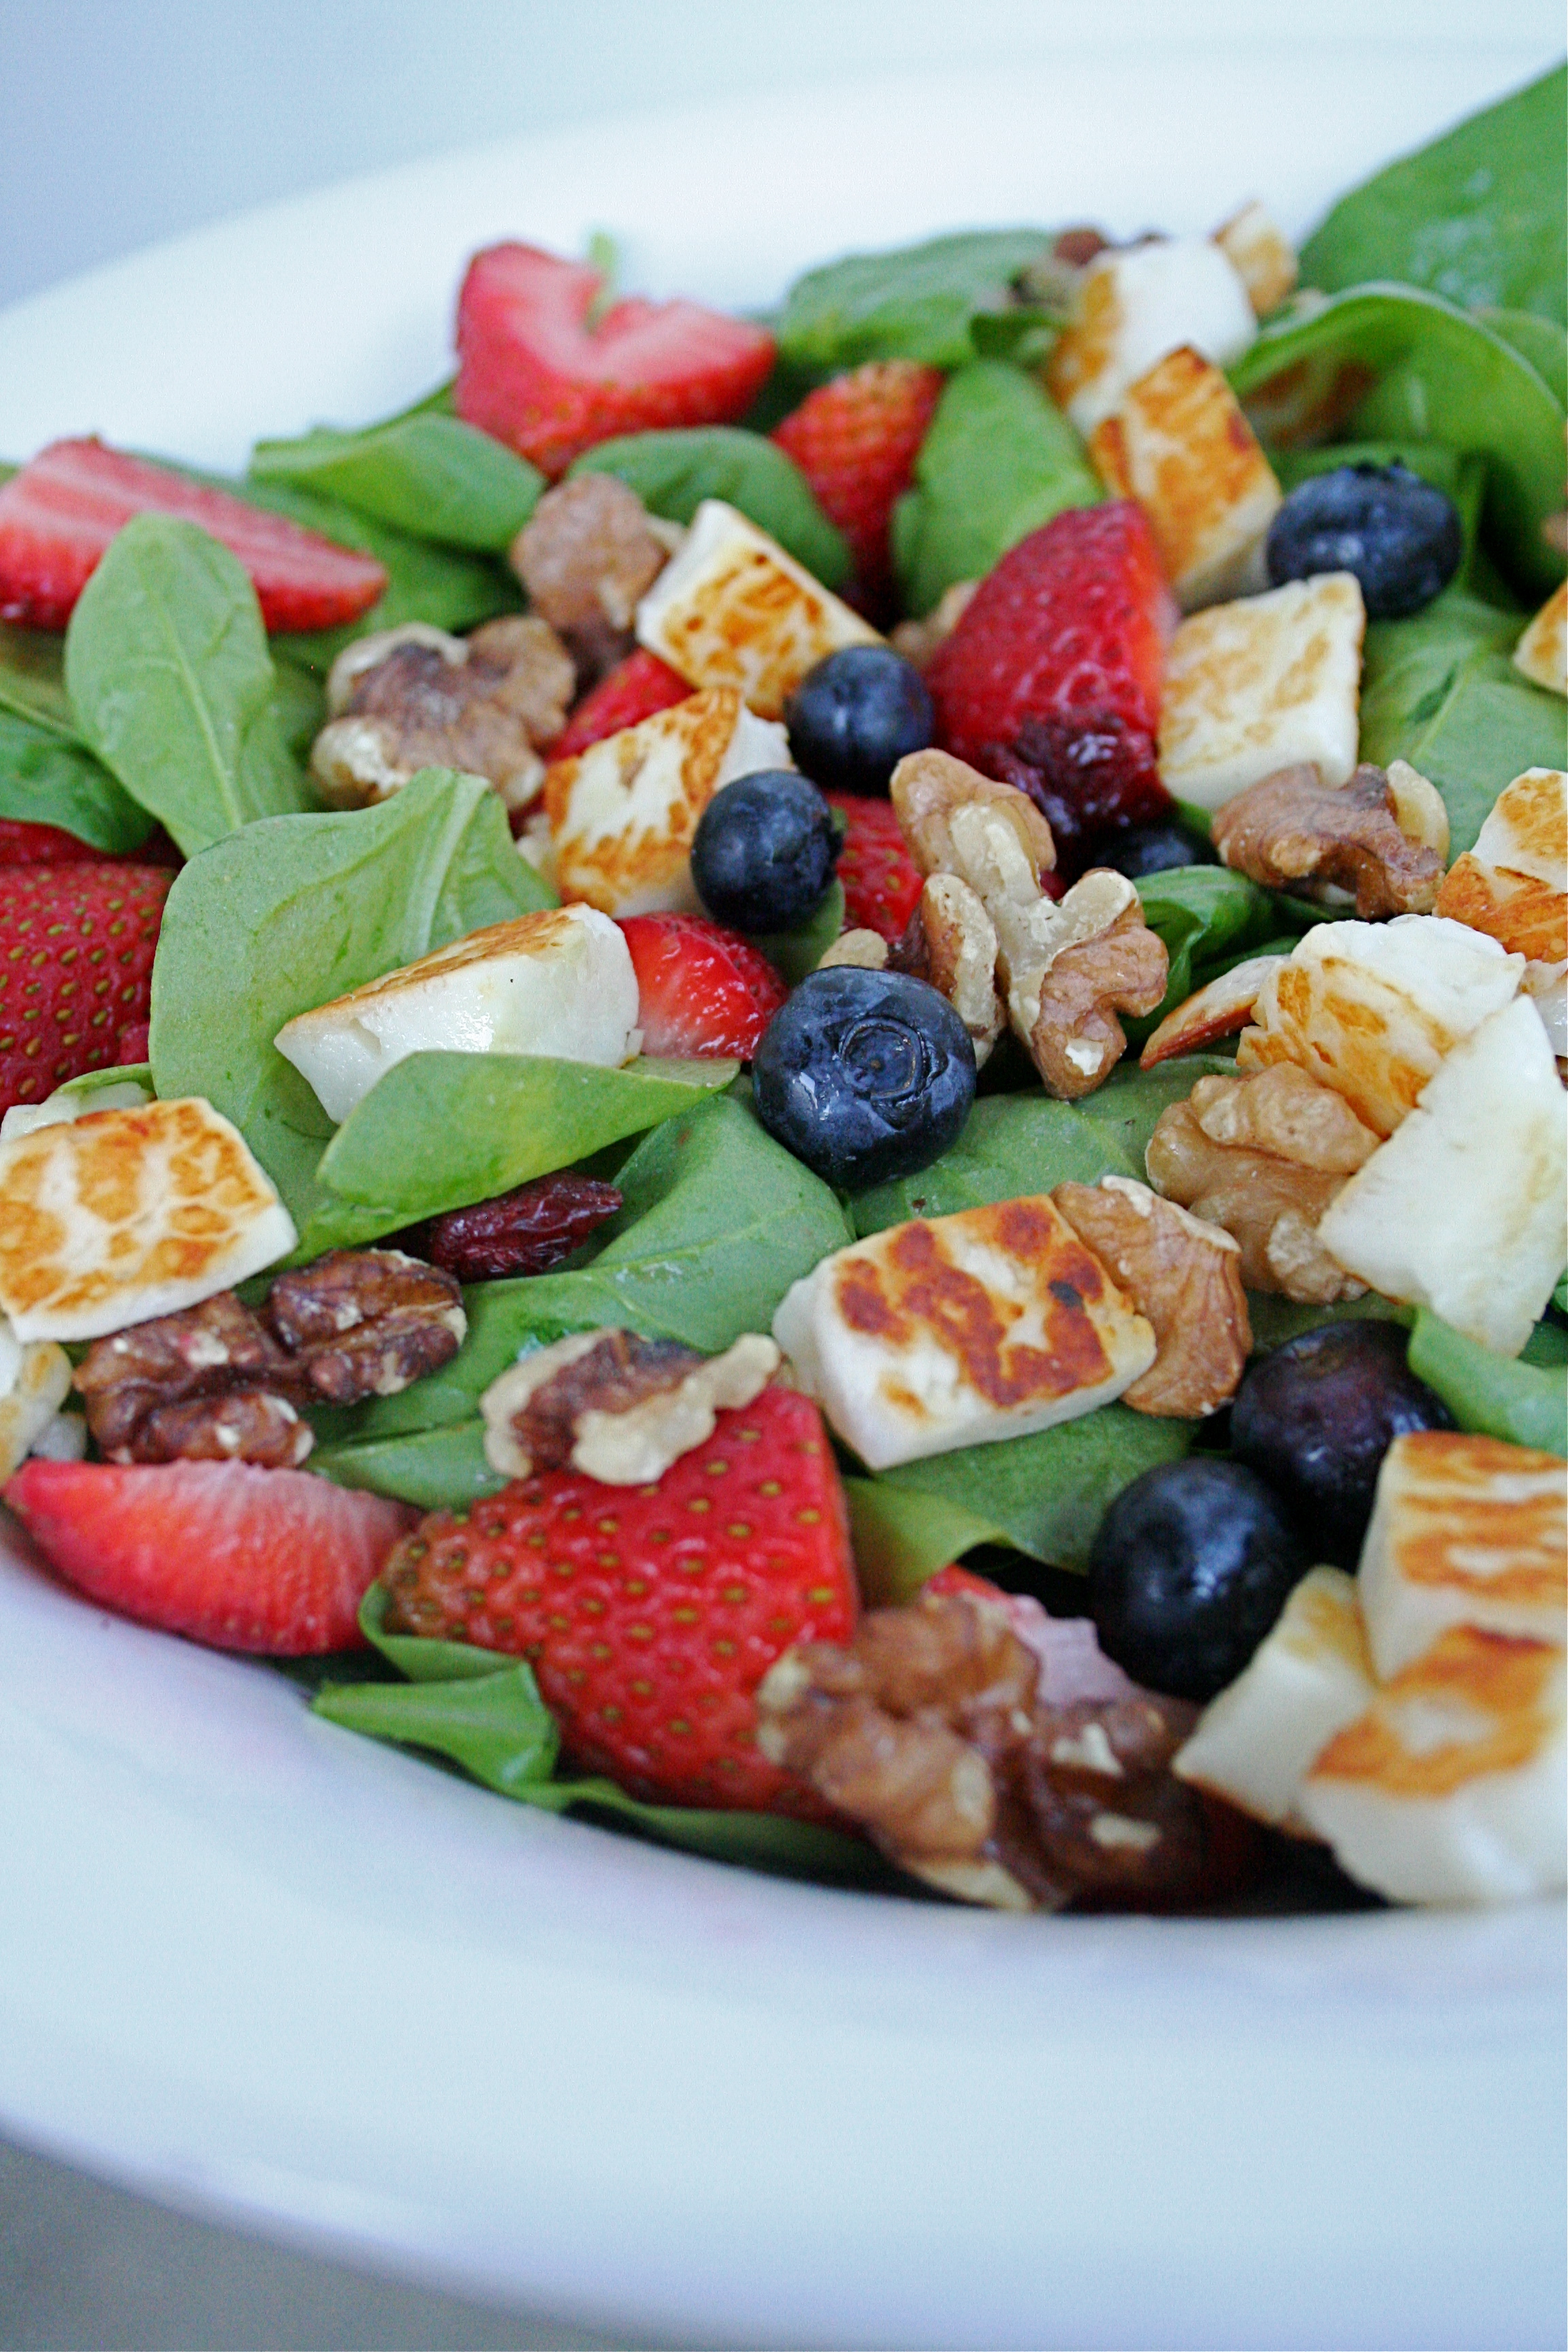
Ok.  Halloumi is my favorite food.  Well, any cheese is…but Halloumi is extra special in my book.  Extra special because you can grill it and make it cripsy and ooey-gooey at the same time.  And that, from my perspective, is heaven on a plate.  Sometimes I will eat it just plain with some fruit and a glass of wine.  It makes me very happy.  And the nice thing is that you can find it at a lot of general grocery stores now.  I did a happy dance in the middle of Meijer the other day when I realized that they had it in stock.  But, my favorite brand can only be found at the Fresh Market in a nice, little turquoise box.

So, my rationale for eating this half goat/sheep milk cheese (don’t knock it til you try it, I’m begging you…..) is if I pair it with a lot of healthy greens and fruits.  I love fruits on salads.  Some people don’t, but I definitely do.

So here is a recipe that I came up with myself.  It’s totally subject to changes, improvements, criticisms, etc, but I have found that when I come home from work on somedays, this is the only thing that sounds good.  The best news of all is that it takes a mere 15 minutes from start to finish to make.

Grilled Halloumi Cheese Salad

Servings: 2

1 cup walnuts, toasted

4 cups prepared spinach salad mix

3 cups sliced strawberries

1 cup blueberries

1 cup Craisins

1/2 cup Halloumi, chopped into bite-size bits

Raspberry vinaigrette, see below

1.  Heat walnuts in a non-stick skillet over low heat, stirring frequently, for about 5-10 minutes (until warm and aromatic).

2.  Heat another non-stick skillet over medium heat for about 5 minutes and then place Halloumi in skillet, using a spatula to turn pieces of cheese until browned on all sides.

3.  In the meantime, place spinach, strawberries, blueberries, Craisins, and walnuts in salad bowls.

4. Once Halloumi is browned evenly on all sides, add to salad.

5. Drizzle with Raspberry Vinaigrette and enjoy!

Raspberry Viniagrette

2 tablespoons extra virgin olive oil

2 tablespoons raspberry blush vinegar

pinch salt

Mix these ingredients together until emulsified and add, to taste, to salad.

July 8, 2010 - 8:08 am

Sara - Looks SO yummy and healthy. I’m thinking I may have to stop at Meijer on the way home from work! 🙂

July 8, 2010 - 1:19 pm

Shawn - Wow, I’m going to have to look for that cheese here in California. Looks wonderful!!!

December 3, 2010 - 2:28 pm

Aku - Oh. My. Word. I *love* halloumi. This salad looks awesome. I wish I was having this tonight instead of potato gratin, even though the potato dish is much more appropriate for a day like today with snow on the ground. Yum!

March 20, 2011 - 7:48 pm

Marissa - YUM! Just found my way here from Annie’s Eats and I think I’m in heaven. I love love LOVE Halloumi (and the turquoise box is the best by far) but I never thought of putting it into a salad. I know what dinner tomorrow will be. Thanks for the inspiration!

Miso Soup

Ah, yes.  I have a confession to make.  I binged BIGTIME over 4th of July.  Between family get-togethers and fireworks extravaganzas at friends’ houses, I ate WAY too many cherry Twizzler bites, peanut M&M’s, and Kelli’s awesome pasta salad.  And, to top it off, Annie and I just came back from the Food and Light Workshop in Boulder, Colorado…where we pretty much ate our way through the town.  Yep.  Appetizers here, entrees there, and dessert at another place.  Someone please come back to Boulder with me so I can eat there again.

So I was feeling the effects of a lot of high-fat, high-sugar meals (I DID eat a few cheese trays as my entire meal)…and so I needed to combat it with a recipe that I have fallen in love with over the years.  A recipe touted for its detoxifying, immune stimulating, and high nutrient content….

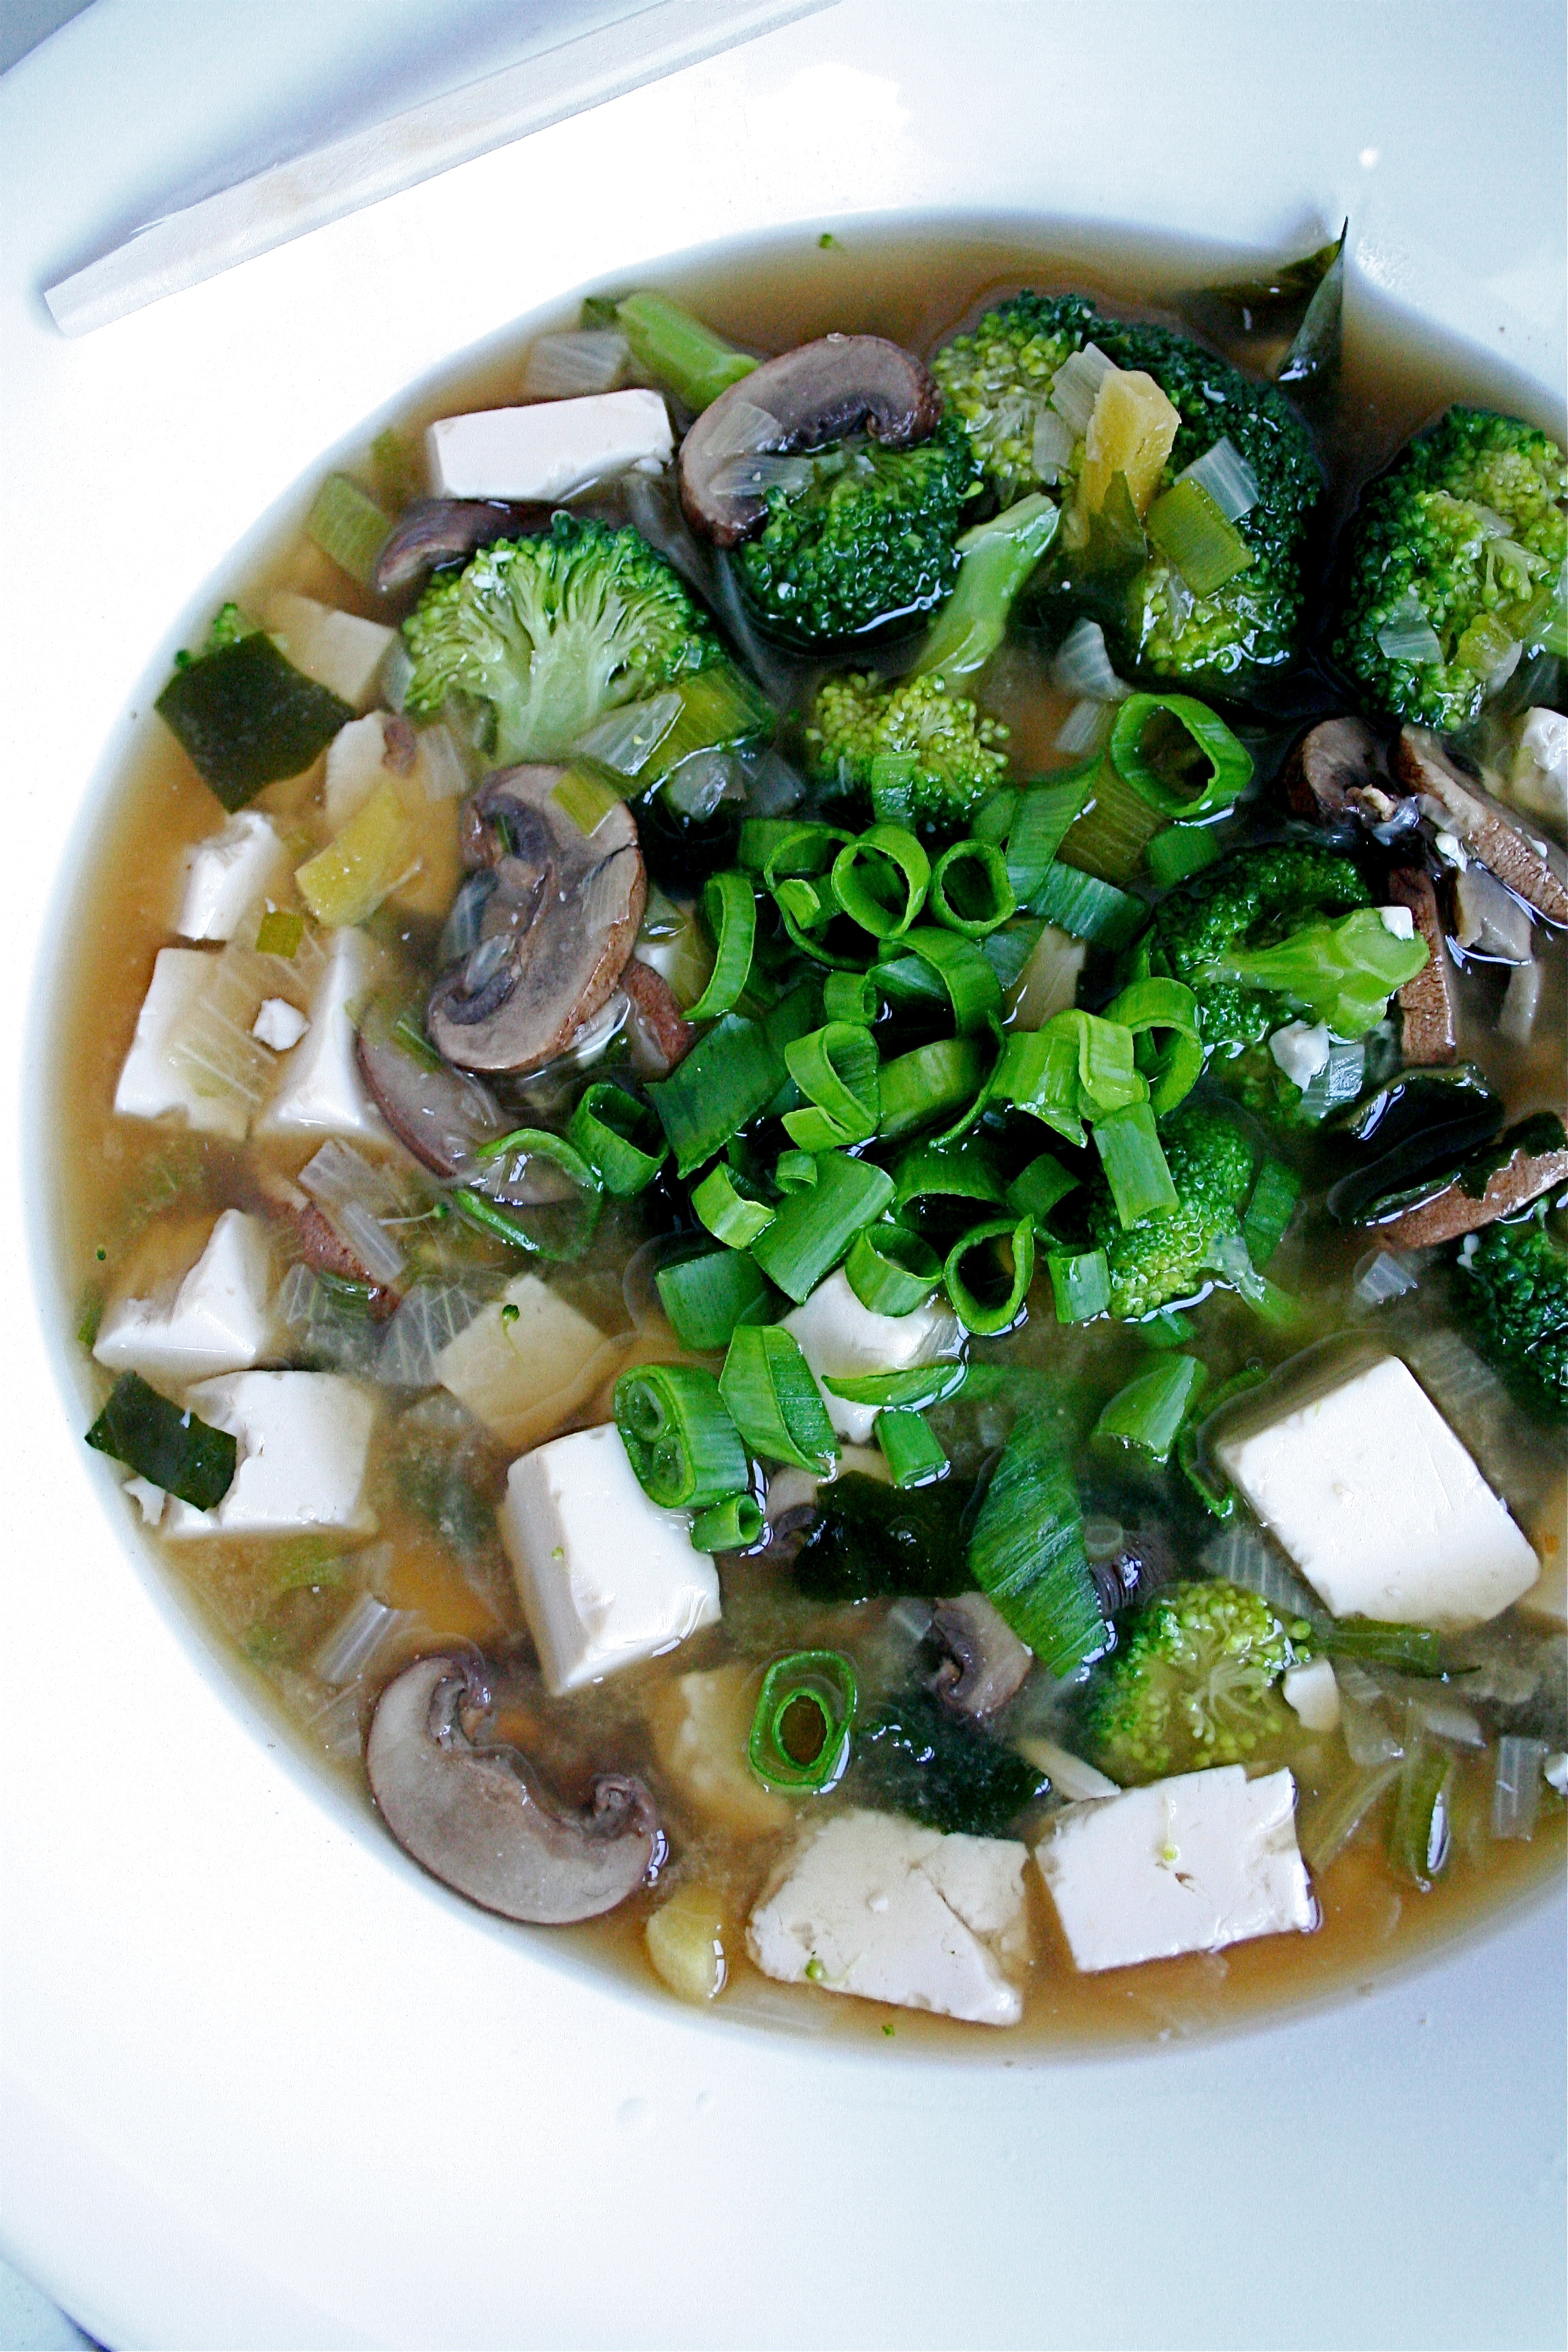
Miso Soup!

Each time I make this, I modify the recipe.  The beauty of this soup is that you can pretty much throw anything into it, and the flavors will magically blend together to form a pretty delicious and filling soup.  And, it’s pretty simple.  A lot of the time spent on this soup is the prep-work, which I secretly love.  Seriously, chopping vegetables is cathartic for me.  And then you throw everything together, and, voila! a meal is ready.  (P.S. your kitchen will smell really good, too)

Miso Soup

Servings: 2 (large)

1 shallot, finely diced

2 teaspoons miso paste

1 vegetable stock cube (I used 1 teaspoon vegetable base)

1 cup mushrooms, sliced

5 oz (less than half of the package) of firm tofu, diced

3 cups water

1 teaspoon diced ginger (I like mine in bigger chunks, but you could mince it a lot finer, if desired)

1 teaspoon shredded dried seaweed  (optional, but definitely worth it)

3-4 green onions, chopped

1-2 cups green vegetables, cut up (I had leftover broccoli from my crudite tray a day earlier that I needed to use up), optional

1. Place the chopped shallot, a tablespoon of water, the miso paste, and the vegetable base (or cube) into a pot over medium heat.  Cook for 3-4 minutes, mixing well.  You can add more water, if necessary.

2.  Add the mushrooms and tofu, combine.

3.  Add the 3 cups of water, chopped ginger, and seaweed.  Bring to a simmer.

4.  Add the green onions (exclude some if you would like to use as a garnish) and let the soup simmer for 15-20 minutes.

5.  Add the additional green vegetables you are using (if desired) and let soup simmer for another 5 minutes or so.

Miso delicious!

Adapted from Veggie Num Num.

July 7, 2010 - 8:00 am

Jenny Boling - Mmmmm we ate lots-o-this in Japan, and now that I have a recipe to make it here, Mr. Boling will be so happy. Welcome to the blogging world – I can’t wait to follow The Curvy Carrot and get lots of new recipe ideas from you! You are so fabulous!