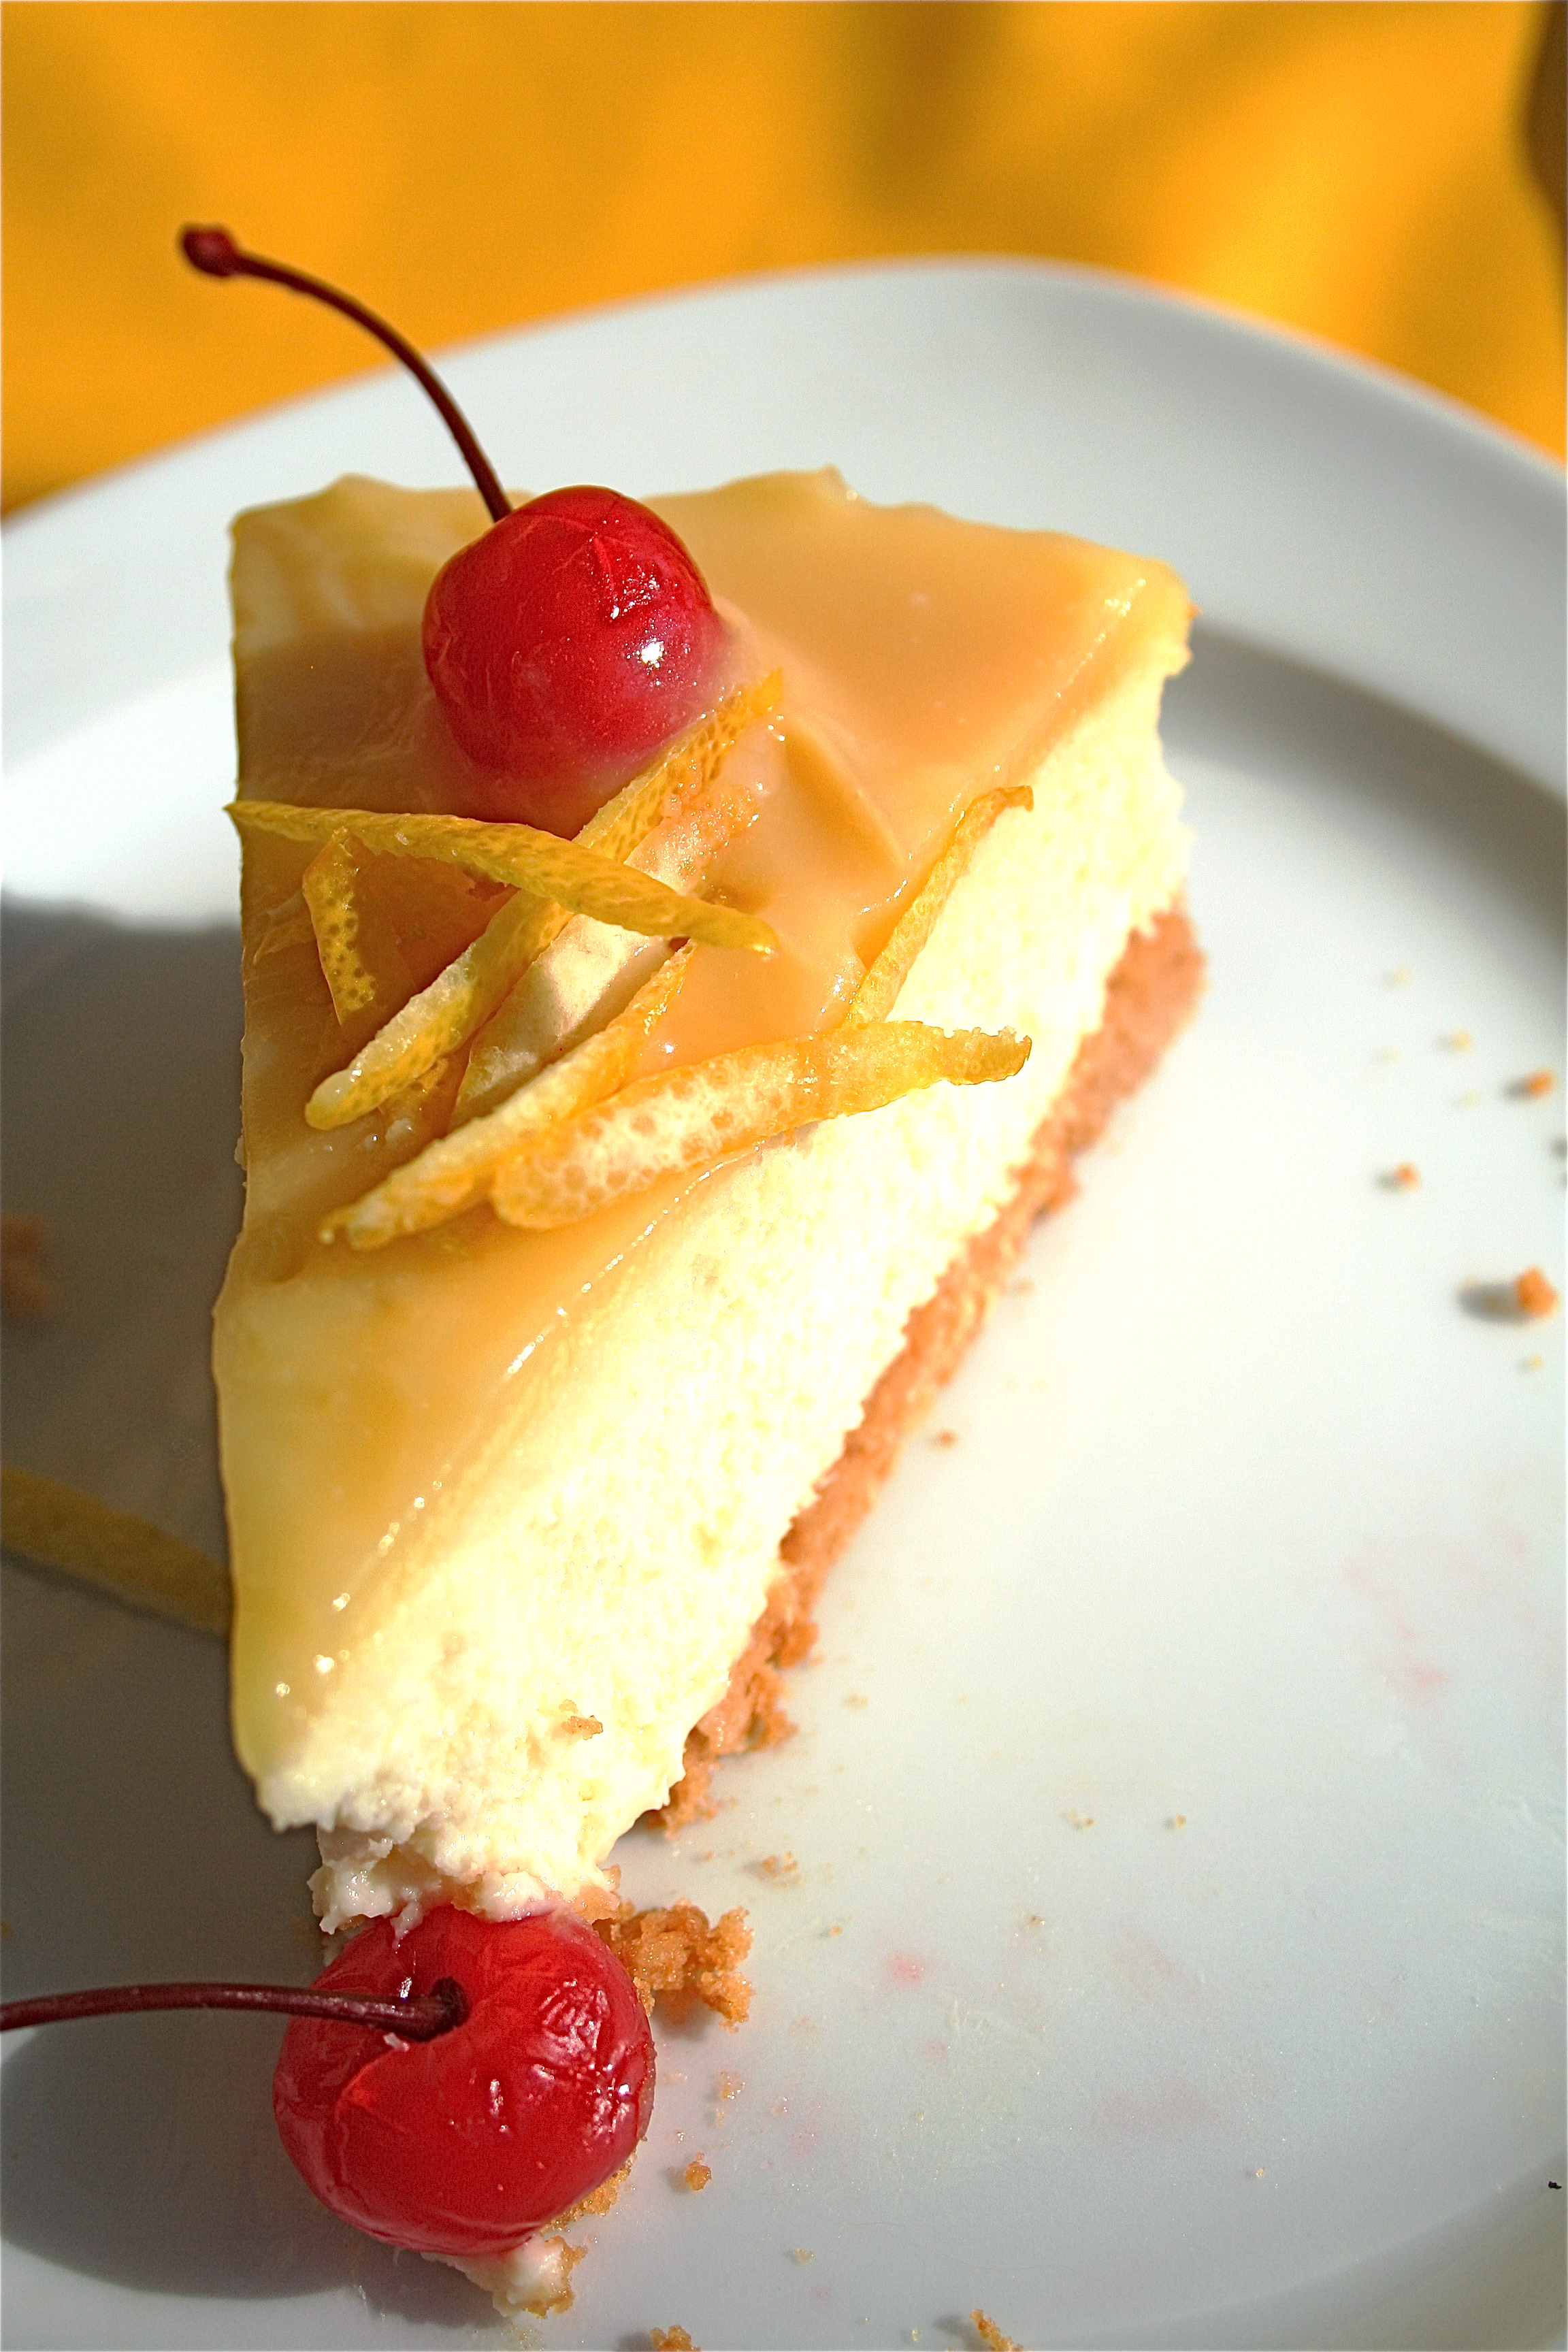
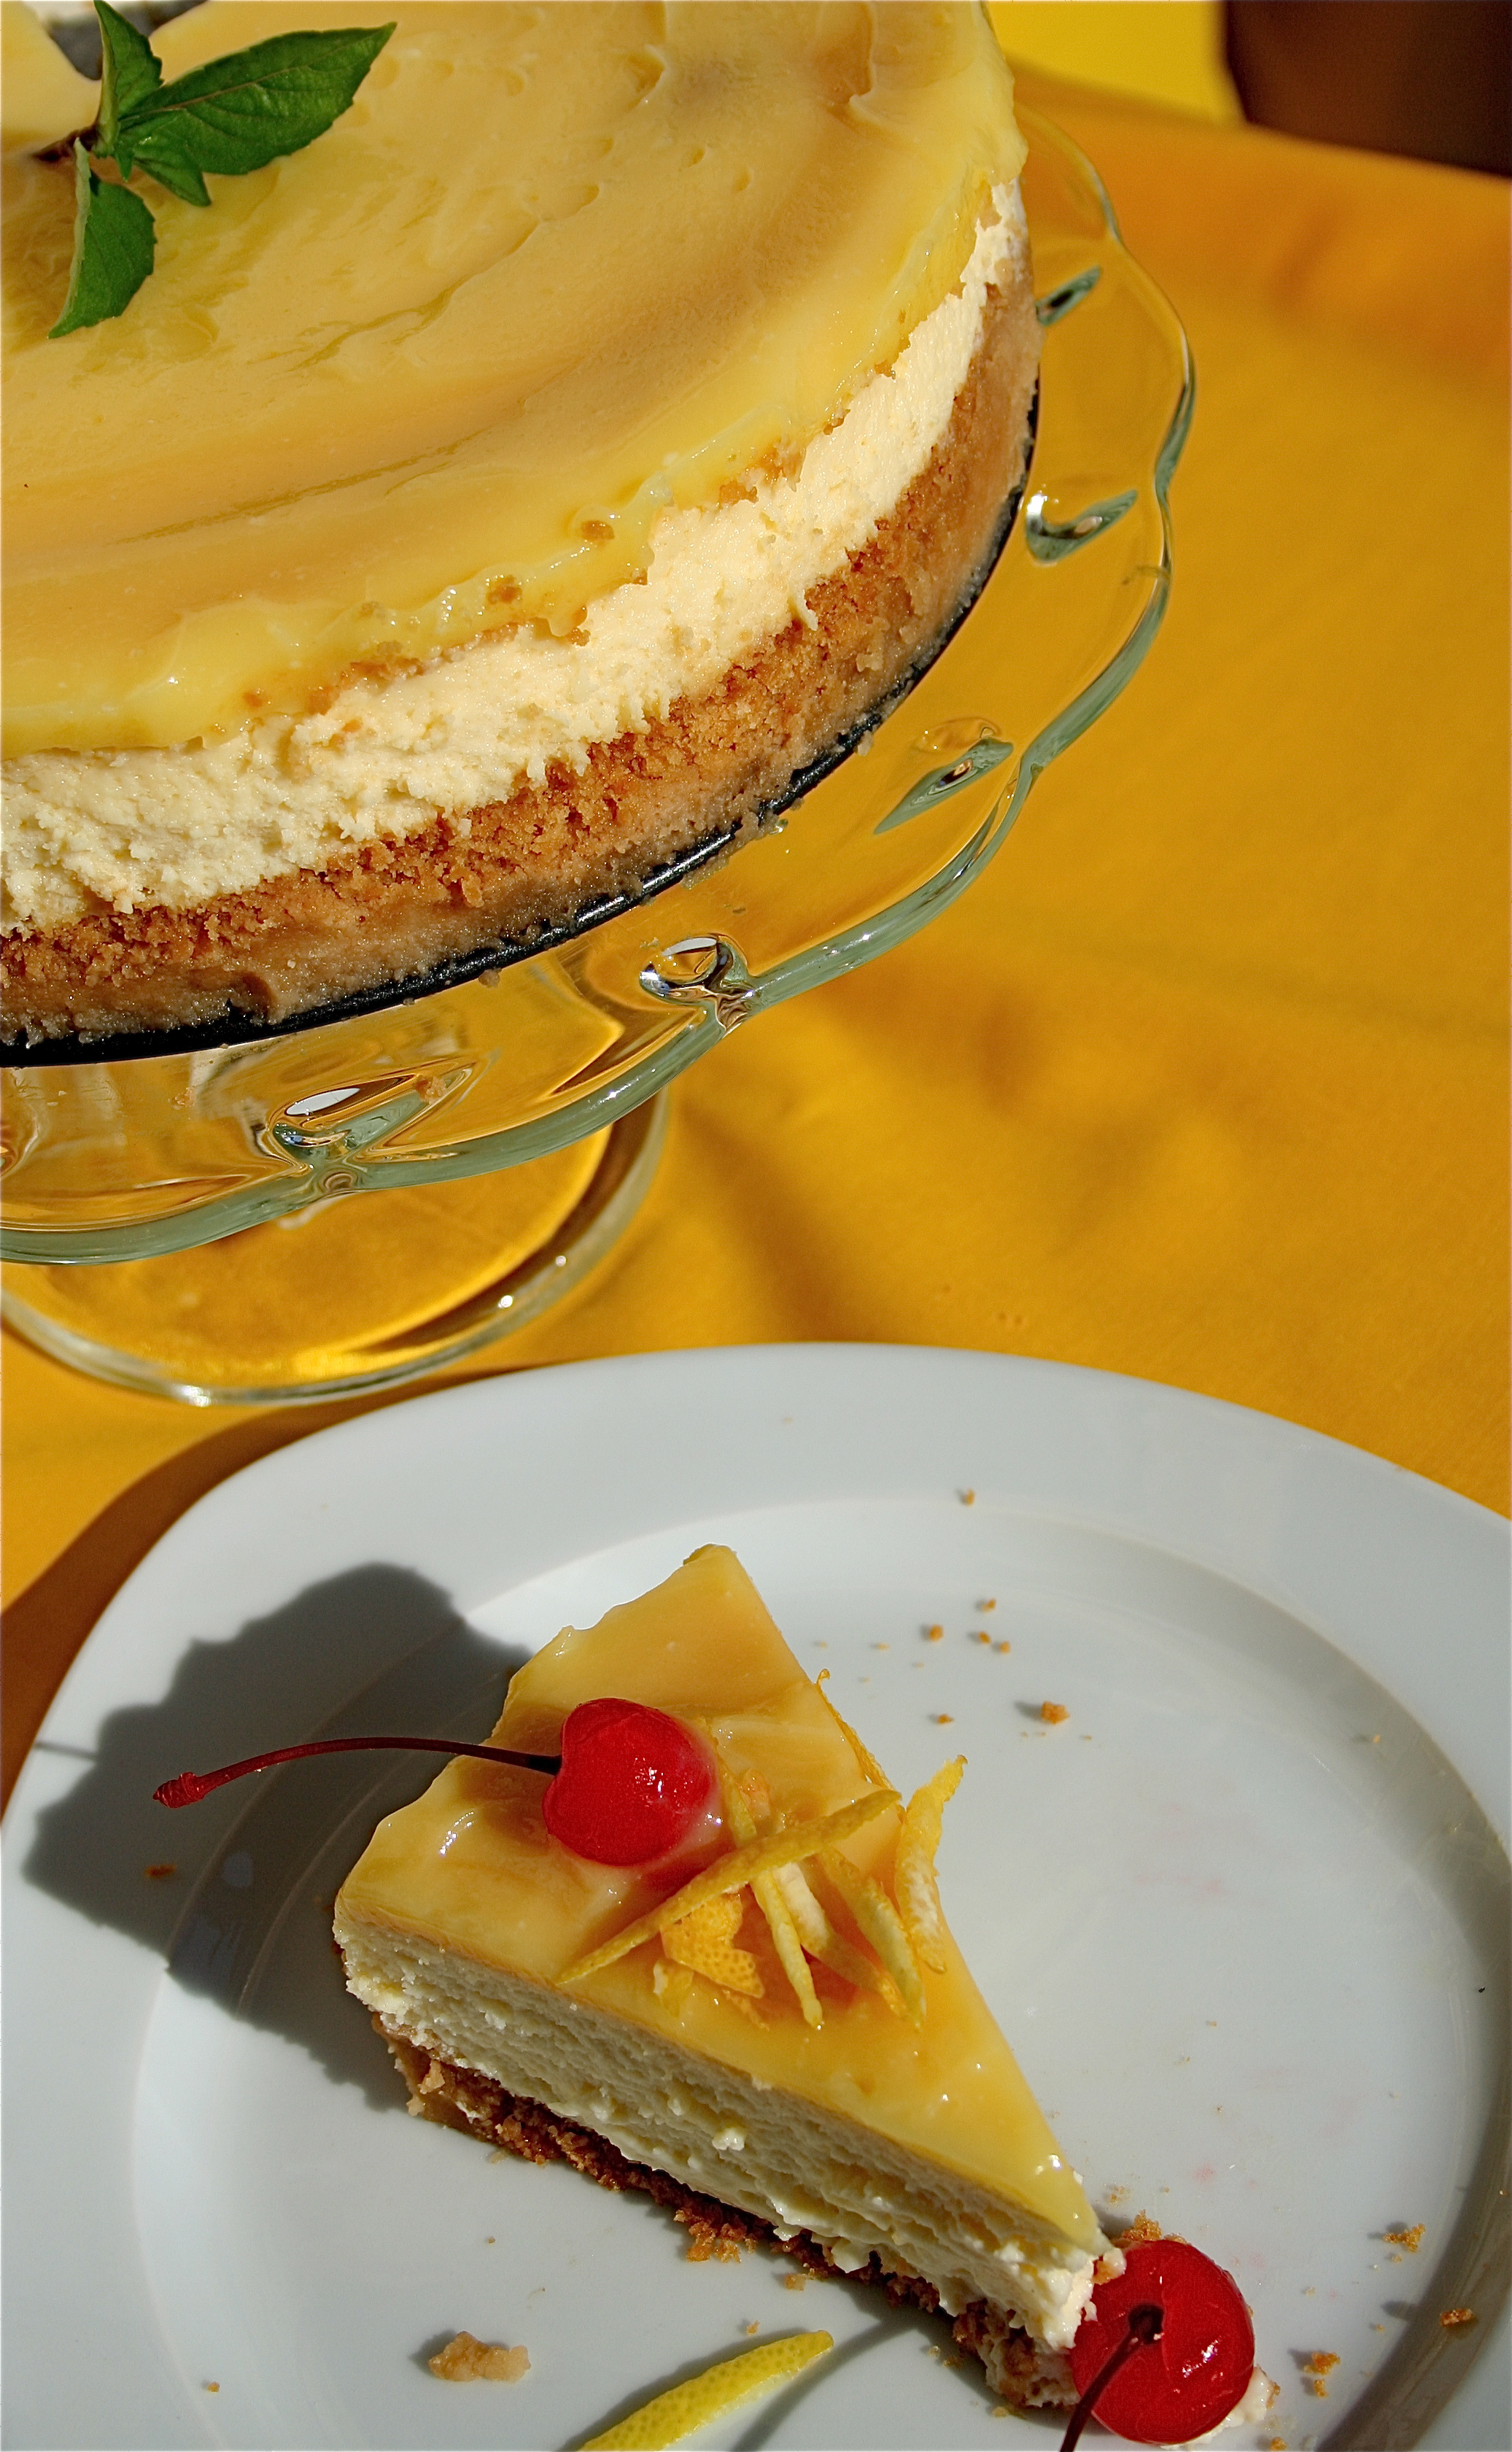
Lemon Cheesecake

Let me introduce you to a little slice of Heaven.  His name is Lemon Cheesecake, and you might fall in love with him.

I was craving something decadent (and definitely NOT healthy), but since it’s summer, I didn’t want to go really heavy and rich (well, today, that is….).  I also wanted to make something that presented itself as somewhat of a challenge for me, because the last time I made cheesecake from scratch, it was only partially edible.  The idea of making a lemon curd intimidated me, but I have to admit that I was really shocked by how simple this recipe was.  The only downside is that you have to let the cake sit and cool and then refrigerate it for at least 5 hours, so if you are in the mood for instant gratification, this is not the dessert to make.

I was also in the mood to celebrate the first couple of weeks on this little blog which is apparently growing quickly.  I’m having a blast, and I am so thankful to those friends (new and old) who have been so supportive!

Enough with the small talk-let’s get on with it:

Lemon Cheesecake

Serves: 12 to 16

Cookie Crumb Crust:

5 ounces Nabisco’s Barnum’s Animals Crackers or Social Tea Biscuits (about 80 crackers)

3 tablespoons sugar

4 tablespoons (1/2 stick) unsalted butter, melted and kept warm

Filling:

1 1/4 cups sugar

1 tablespoon grated zest plus 1/4 cup juice from 1 or 2 lemons

1 1/2 pounds (three 8-oz packages) cream cheese, cut into rough 1-inch chunks, at room temperature

4 large eggs, at room temperature

2 teaspoons vanilla extract

1/4 teaspoon salt

1/2 cup heavy cream

Lemon Curd:

1/3 cup juice from 2 lemons

2 large eggs plus 1 large egg yolk

1/2 cup sugar

2 tablespoons cold unsalted butter, cut into 1/2-inch cubes

1 tablespoon heavy cream

1/4 teaspoon vanilla extract

Pinch salt

For the crust:

1. Adjust an oven rack to the lower-middle position and heat the oven to 325 degrees.  In a food processor, process the cookies to fine, even crumbs, about 30 seconds (you should have about 1 cup).  Add the sugar and pulse 2 or 3 times to incorporate.  Add the warm melted butter in a slow, steady stream while pulsing; pulse until the mixture is evenly moistened and resembles wet sand, about ten 1-second pulses.  Transfer the mixture to a 9-inch springform pan and press evenly into the pan bottom.  Bake until fragrant and golden brown, 15 to 18 minutes.  Cool on a wire rack to room temperature, about 30 minutes.  When cool, wrap the outside of the pan with two 18-inch-square pieces of heavy-duty foil; set the springform pan in a roasting pan.

For the filling:

2. While the crust is cooling, process 1/4 cup of the sugar and the lemon zest in a food processor until the sugar is yellow and the zest is broken down, about 15 seconds, scraping down the bowl if necessary.  Transfer the lemon sugar to a small bowl; stir in the remaining 1 cup sugar.

3. In the bowl of a standing mixer set at low speed, beat the cream cheese to break it up and soften it slightly, about 5 seconds.  With the machine running, add the sugar mixture in a slow steady stream; increase the speed to medium and continue to beat until the mixture is creamy and smooth, scraping the sides and bottom of the bowl well after each addition.  Reduce the speed to medium-low and add the eggs, 2 at a time; beat until incorporated, about 30 seconds, scraping down the sides of the bowl well after each addition. Add the lemon juice, vanilla, and salt and mix until just incorporated, about 5 seconds; add the heavy cream and mix until just incorporated, about 5 seconds longer.  Give the batter a final scrape, stir with a rubber spatula, and pour into the prepared springform pan; fill the roasting pan with enough hot tap water to come halfway up the sides of the springform pan.  Bake until the center jiggles slightly, the sides just start to puff, the surface is no longer shiny, and an instant-read thermometer inserted in the center of the cake reads 150 degrees, 55 to 60 minutes.  Turn off the oven and prop open the oven door with a potholder to wooden spoon handle; allow the cake to cool in the water bath in the oven for 1 hour.  Transfer the springform pan without foil to a wire rack; run a small paring knife around the inside edge of the pan to loosen the sides of the cake and cool the cake to room temperature, about 2 hours.

For the lemon curd:

4. While the cheesecake bakes, heat the lemon juice in a small non-reactive saucepan over medium heat until hot but not boiling.  Whisk the eggs and yolk in a medium non-reactive bowl; gradually whisk in the sugar.  Whisking constantly, slowly pour the hot lemon juice into the eggs, then return the mixture to the saucepan and cook over medium heat, stirring constantly with a wooden spoon, until the mixture measures 170 degrees on an instant-read thermometer and is thick enough to cling to the spoon, about 3 minutes.  Immediately remove the pan from the heat and stir in the cold butter until incorporated; stir in the cream, vanilla, and salt, then pour the curd through a fine-mesh strainer into a small non-reactive bowl.  Cover the surface of the curd directly with plastic wrap; refrigerate until needed.

To finish the cake:

5. When the cheesecake is cool, scrape the lemon curd onto the cheesecake still in the springform pan; using an offset icing spatula, spread the curd evenly over the top of the cheesecake.  Cover tightly with plastic wrap and refrigerate for at least 5 hours or up to 24 hours.  To serve, remove the sides of the springform pan and cut the cake into wedges.

The cake can be refrigerated for up to 4 days.

Adapted from Baking Illustrated.
July 18, 2010 - 8:47 am

Kellie - This looks really, really good. Thanks for posting!

Peach and Blueberry Crisp

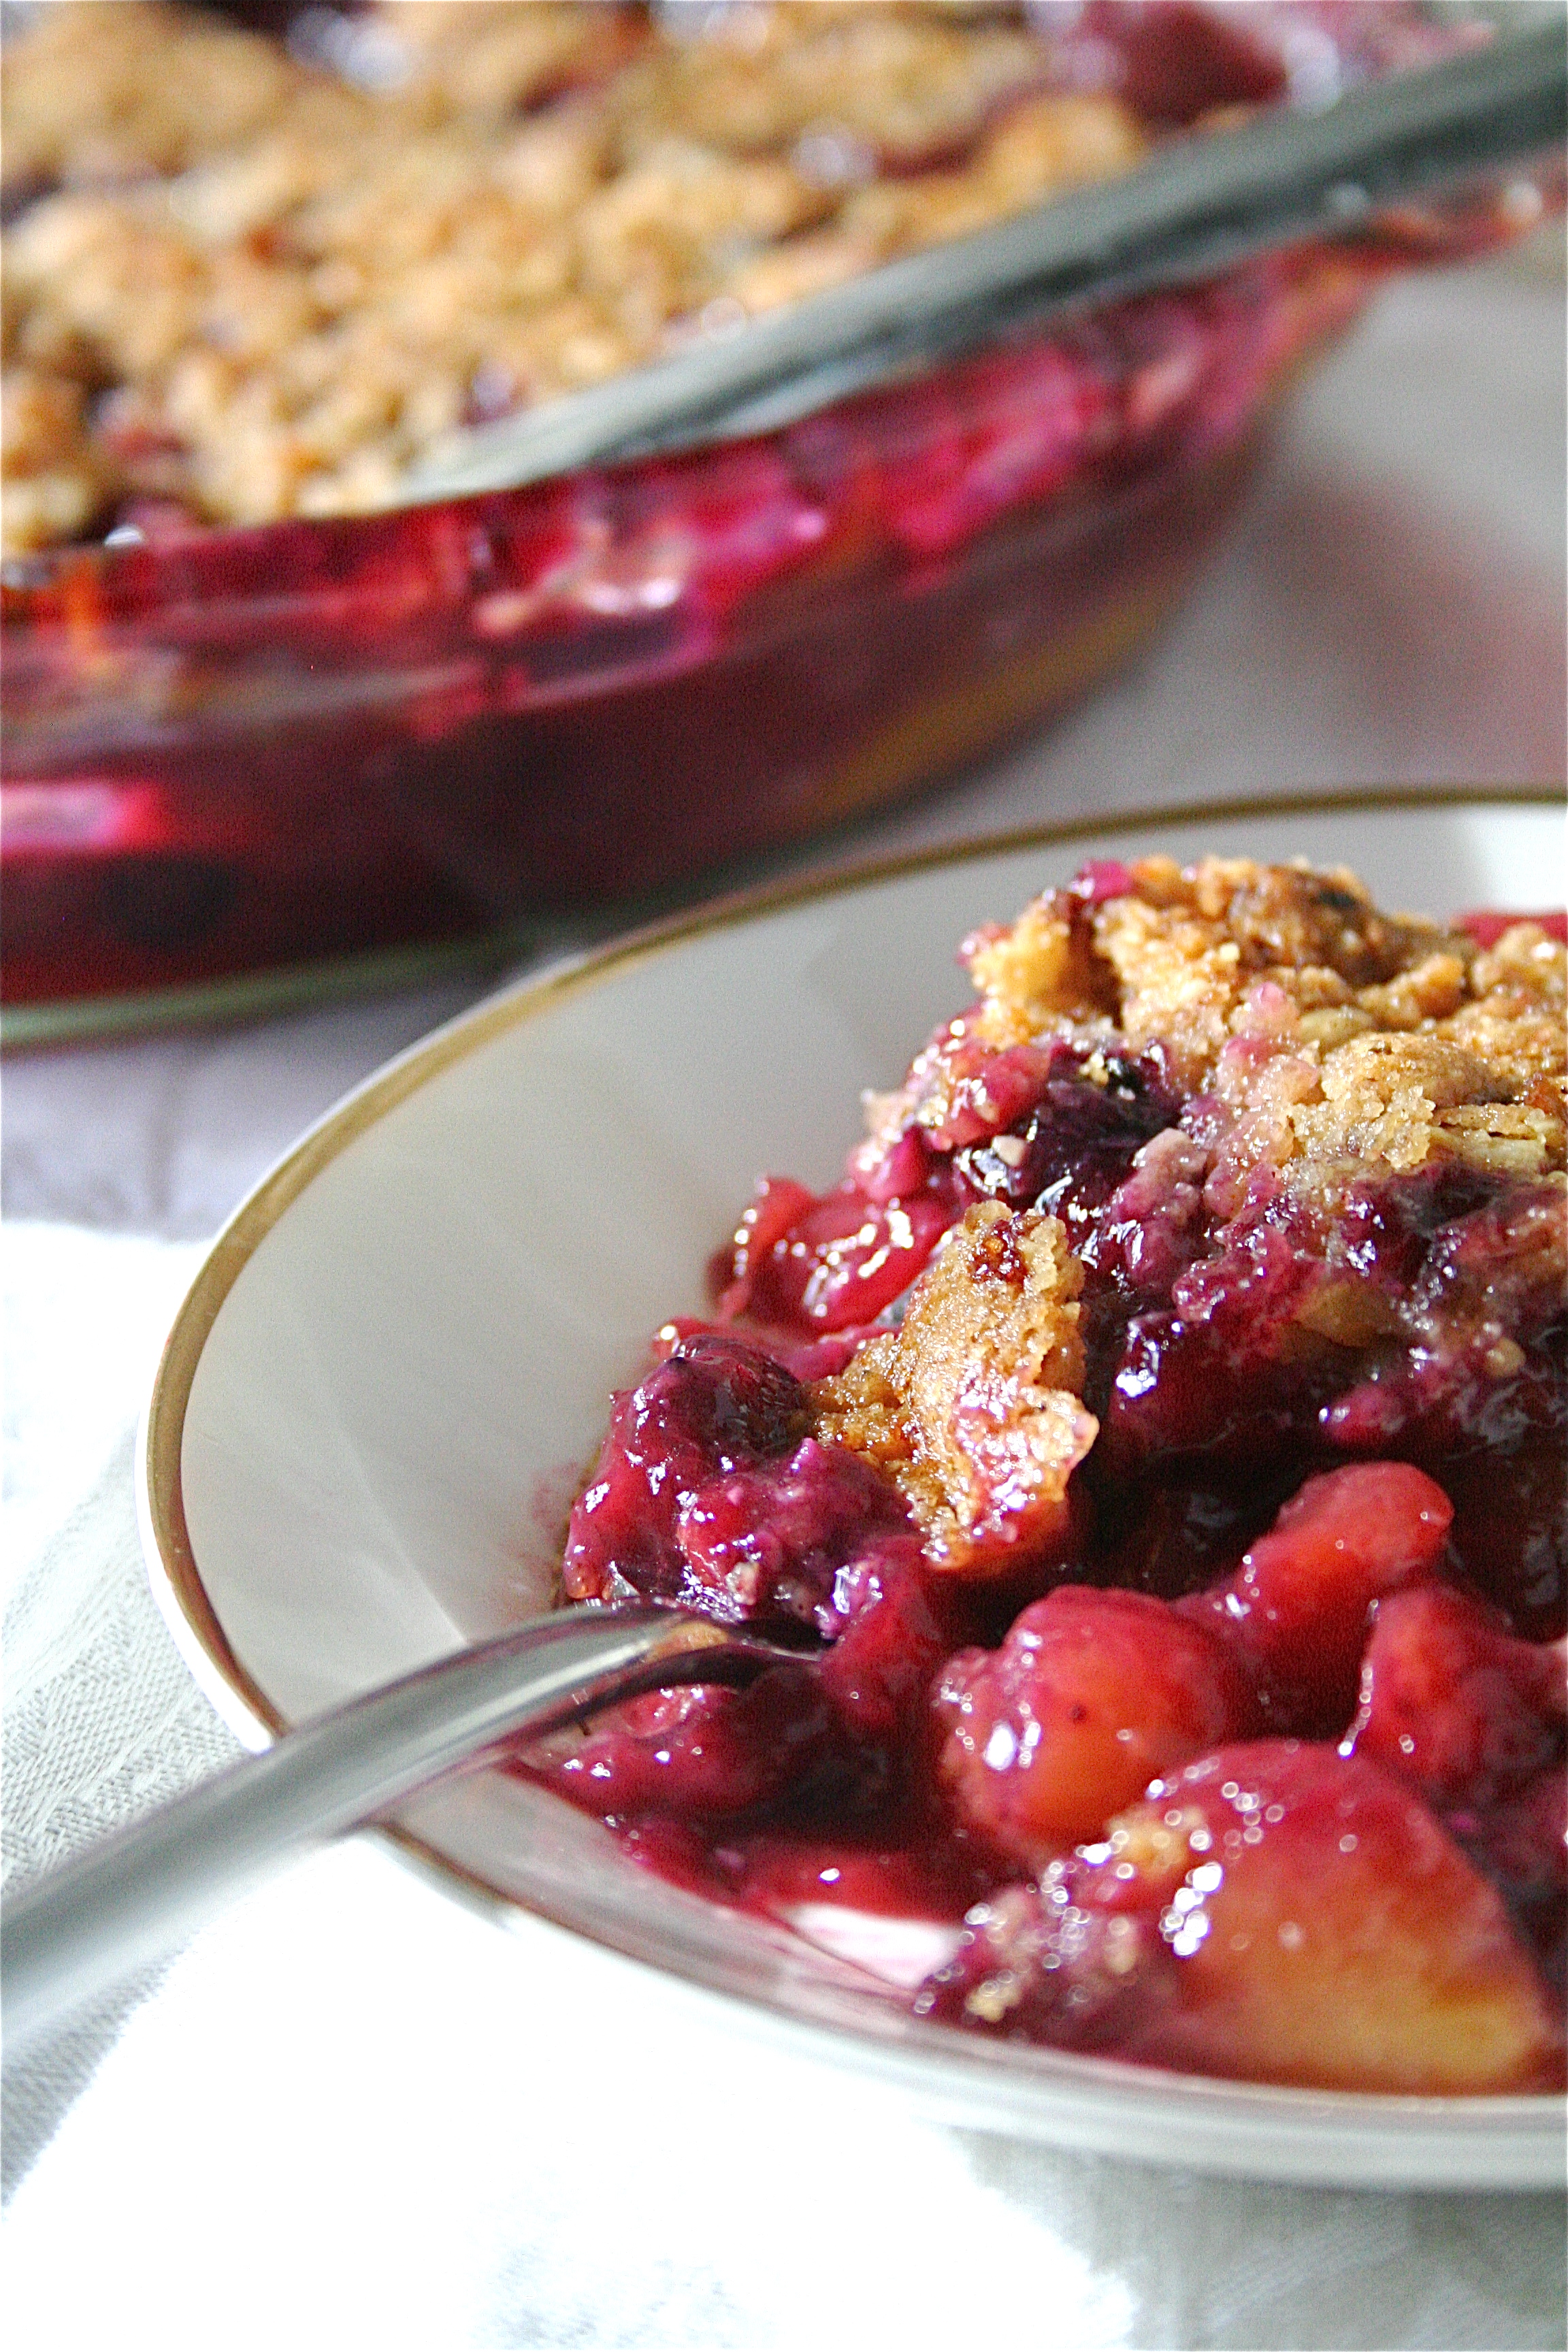
One of the reasons why I love summer so much is the endless variety of in-season (aka light on the wallet) produce.  This time a trip to the store yielded fresh golden peaches on super sale.  When I got home, I realized that I also had a few fresh blueberries that needed to be used up, and thus, a peach blueberry crisp was created.  Not only was this recipe incredibly easy to put together, it took me only about 25 minutes to prepare and combine the ingredients and then pop it in the oven.   The end product was beautiful-crispy, buttery, golden topping over a juicy, thick, sweet blueberry and peach concoction.  Definitely make this before the end of the summer.  (It will count towards your Daily 5 Fruits and Vegetables, you know……)

Peach and Blueberry Crisp

Serves: 4 to 6

Topping:

6 tablespoons unbleached all-purpose flour

1/4 cup packed light brown sugar

1/4 cup granulated sugar

1/4 teaspoon ground cinnamon

1/4 teaspoon ground nutmeg

1/4 teaspoon salt

5 tablespoons cold unsalted butter, cut into 1/2-inch pieces

3/4 cup coarsely chopped nuts, such as almonds, pecans, or walnuts (I used some walnuts I had on hand-gotta love those omega-3’s!)

Filling:

5 cups peeled, pitted, and cut into 1/3-inch wedges peaches (2 1/2 pounds)-I used 5 large peaches (but you could also use nectarines)

1 cup fresh blueberries

1 tablespoon quick-cooking tapioca (I did not have this on hand, and I forgot to pick it up at the store. Instead, I used 1 teaspoon of arrowroot as an appropriate substitute.)

1/2 teaspoon grated zest and 1 1/2 tablespoons juice from 1 lemon

1/4 cup granulated sugar

1. For the topping:

Place the flours, sugars, spices, and salt in a food processor and process briefly to combine.  Add the butter and pulse 10 times, about 4 seconds for each pulse.  The mixture will first look like dry sand, with large lumps of butter, then like coarse cornmeal.  Add the nuts, then process again, four or five 1-second pulses.  The topping should look like slightly clumpy wet sand.  Be sure not to overmix or the mixture will become too wet and homogenous. Refrigerate the topping while preparing the fruit, at least 15 minutes.

2. Adjust an oven rack to the lower-middle position and heat the oven to 375 degrees.

3. For the filling:

Toss the peaches, blueberries, zest, tapioca, juice, and sugar in a medium bowl.  Scrape the fruit mixture with a rubber spatula into an 8-inch square baking pan or 9-inch deep-dish pie plate.

4. To assemble and bake the crisp:

Distribute the chilled topping evenly over the fruit.  Bake for 40 minutes.  Increase the oven temperature to 400 degrees and continue baking until the fruit is bubbling and the topping turns deep golden brown, about 5 minutes more.  Serve warm.  (The crisp can be set aside at room temperature for a few hours and then reheated in a warm oven just before serving.)

Adapted from Baking Illustrated

July 15, 2010 - 12:59 pm

sara - Shannon, this looks amazing! And the pictures! Can you give me a lesson? 🙂

Can’t wait for more!

July 15, 2010 - 4:08 pm

Maria - Perfect dessert for the summer!

July 16, 2010 - 6:00 pm

Laura - this is gorgeous, I think I have to make it and eat it both for dessert and breakfast!

July 21, 2010 - 7:55 pm

Patty - I’m a BIG crumble fan and this one looks so delicious!

(I’d love to feature one of your lovely pics on my blog, but couldn’t find your email address to ask – please email me – thanks!)

July 25, 2010 - 10:47 am

Kelli - We just got fresh peaches from our CSA and I have blueberries in the fridge. I am excited to try this one!

June 7, 2011 - 3:29 pm

Why can’t I make a decent granola bar? | Latte and Stuff - […] a similar food note, I made a Peach and Blueberry Crisp (recipe from the Curvy Carrot). I tried to take a picture of it, but lighting sucked immensely. but you should most definitely […]

October 13, 2014 - 11:01 am

Tempting Thanksgiving desserts with a twist | RENTCafe rental blog - […] Peach and Blueberry Crisps with Tapioca make a fun replacement for traditional peach cobbler. Though the blogger makes it seem like she created this recipe based on convenience and divine ordinance, it’s very similar to one seen in Deborah Madison’s The Greens Book. Just saying… […]

Fresh Summer Garden Salsa

It’s that time of the summer….tomato time!  Tomatoes are up there on my list of favorite summer things (right behind fireflies, aka “lightning bugs” as we Hoosiers call them..).  I am very lucky to have a mother with some thriving tomato plants in her backyard-I think it’s going to be a record year from the looks of the plants so far.

My mother has been making this salsa recipe since we received the magazine it was featured in….. in 1995.  Every year we beg her to make it with her fresh tomatoes, and we celebrate the long, sunny days of the season with this healthy and fresh addition to our meals! (Granted, sometimes the things I eat it with are NOT that healthy…..).  The magazine is folded open to the page the recipe is on, the pages are stained with God knows what, and the corners are all torn. Now, THAT is a sign that this is a very tried and true recipe.  I hope you will feel the same way about it.

Fresh Salsa

Yields: 3 1/2 cups

4 cups chopped peeled fresh tomatoes, de-seeded (*see below on my tips for how to peel a tomato)

1/4 cup finely chopped onion

1 to 4 jalapeno peppers, seeded and finely chopped (I used just one jalapeno)

1 tablespoon olive OR vegetable oil (I used extra-virgin olive oil)

1 tablespoon vinegar (I used straight white vinegar)

1 teaspoon ground cumin

1 teaspoon salt, optional (Please add this, trust me….)

1 garlic clove, minced

a few fresh cilantro leaves, chopped, optional (but highly recommended)

In a bowl, combine all ingredients; mix well.  Let stand for about 1 hour. (Although, I must insert here that the salsa tastes way better the longer it sits…)  Serve at room temperature.  Store in a covered container in the refrigerator.

*How to Peel a Tomato:

Fill a large saucepan about halfway full of water.  Bring to a rapid boil, and, with tongs, add 4-5 tomatoes to the boiling water.  Let the tomatoes boil for approximately 1 minute (you will see the skins start to shrivel).  After 1 minute, remove the tomatoes from the boiling water with tongs and place them in a bowl filled with ice-water.  Let them stand for about 1-2 minutes.  The skin should easily slide away from the “tomato meat”.

Recipe adapted from Taste of Home, August/September 1995, page 12.

P.S. Thanks to Samantha for holding the chip.  You are the best sister a girl could have.

January 20, 2012 - 5:01 am

The Curvy Carrot » Layered Taco Dip - […] 2 cups fresh salsa […]