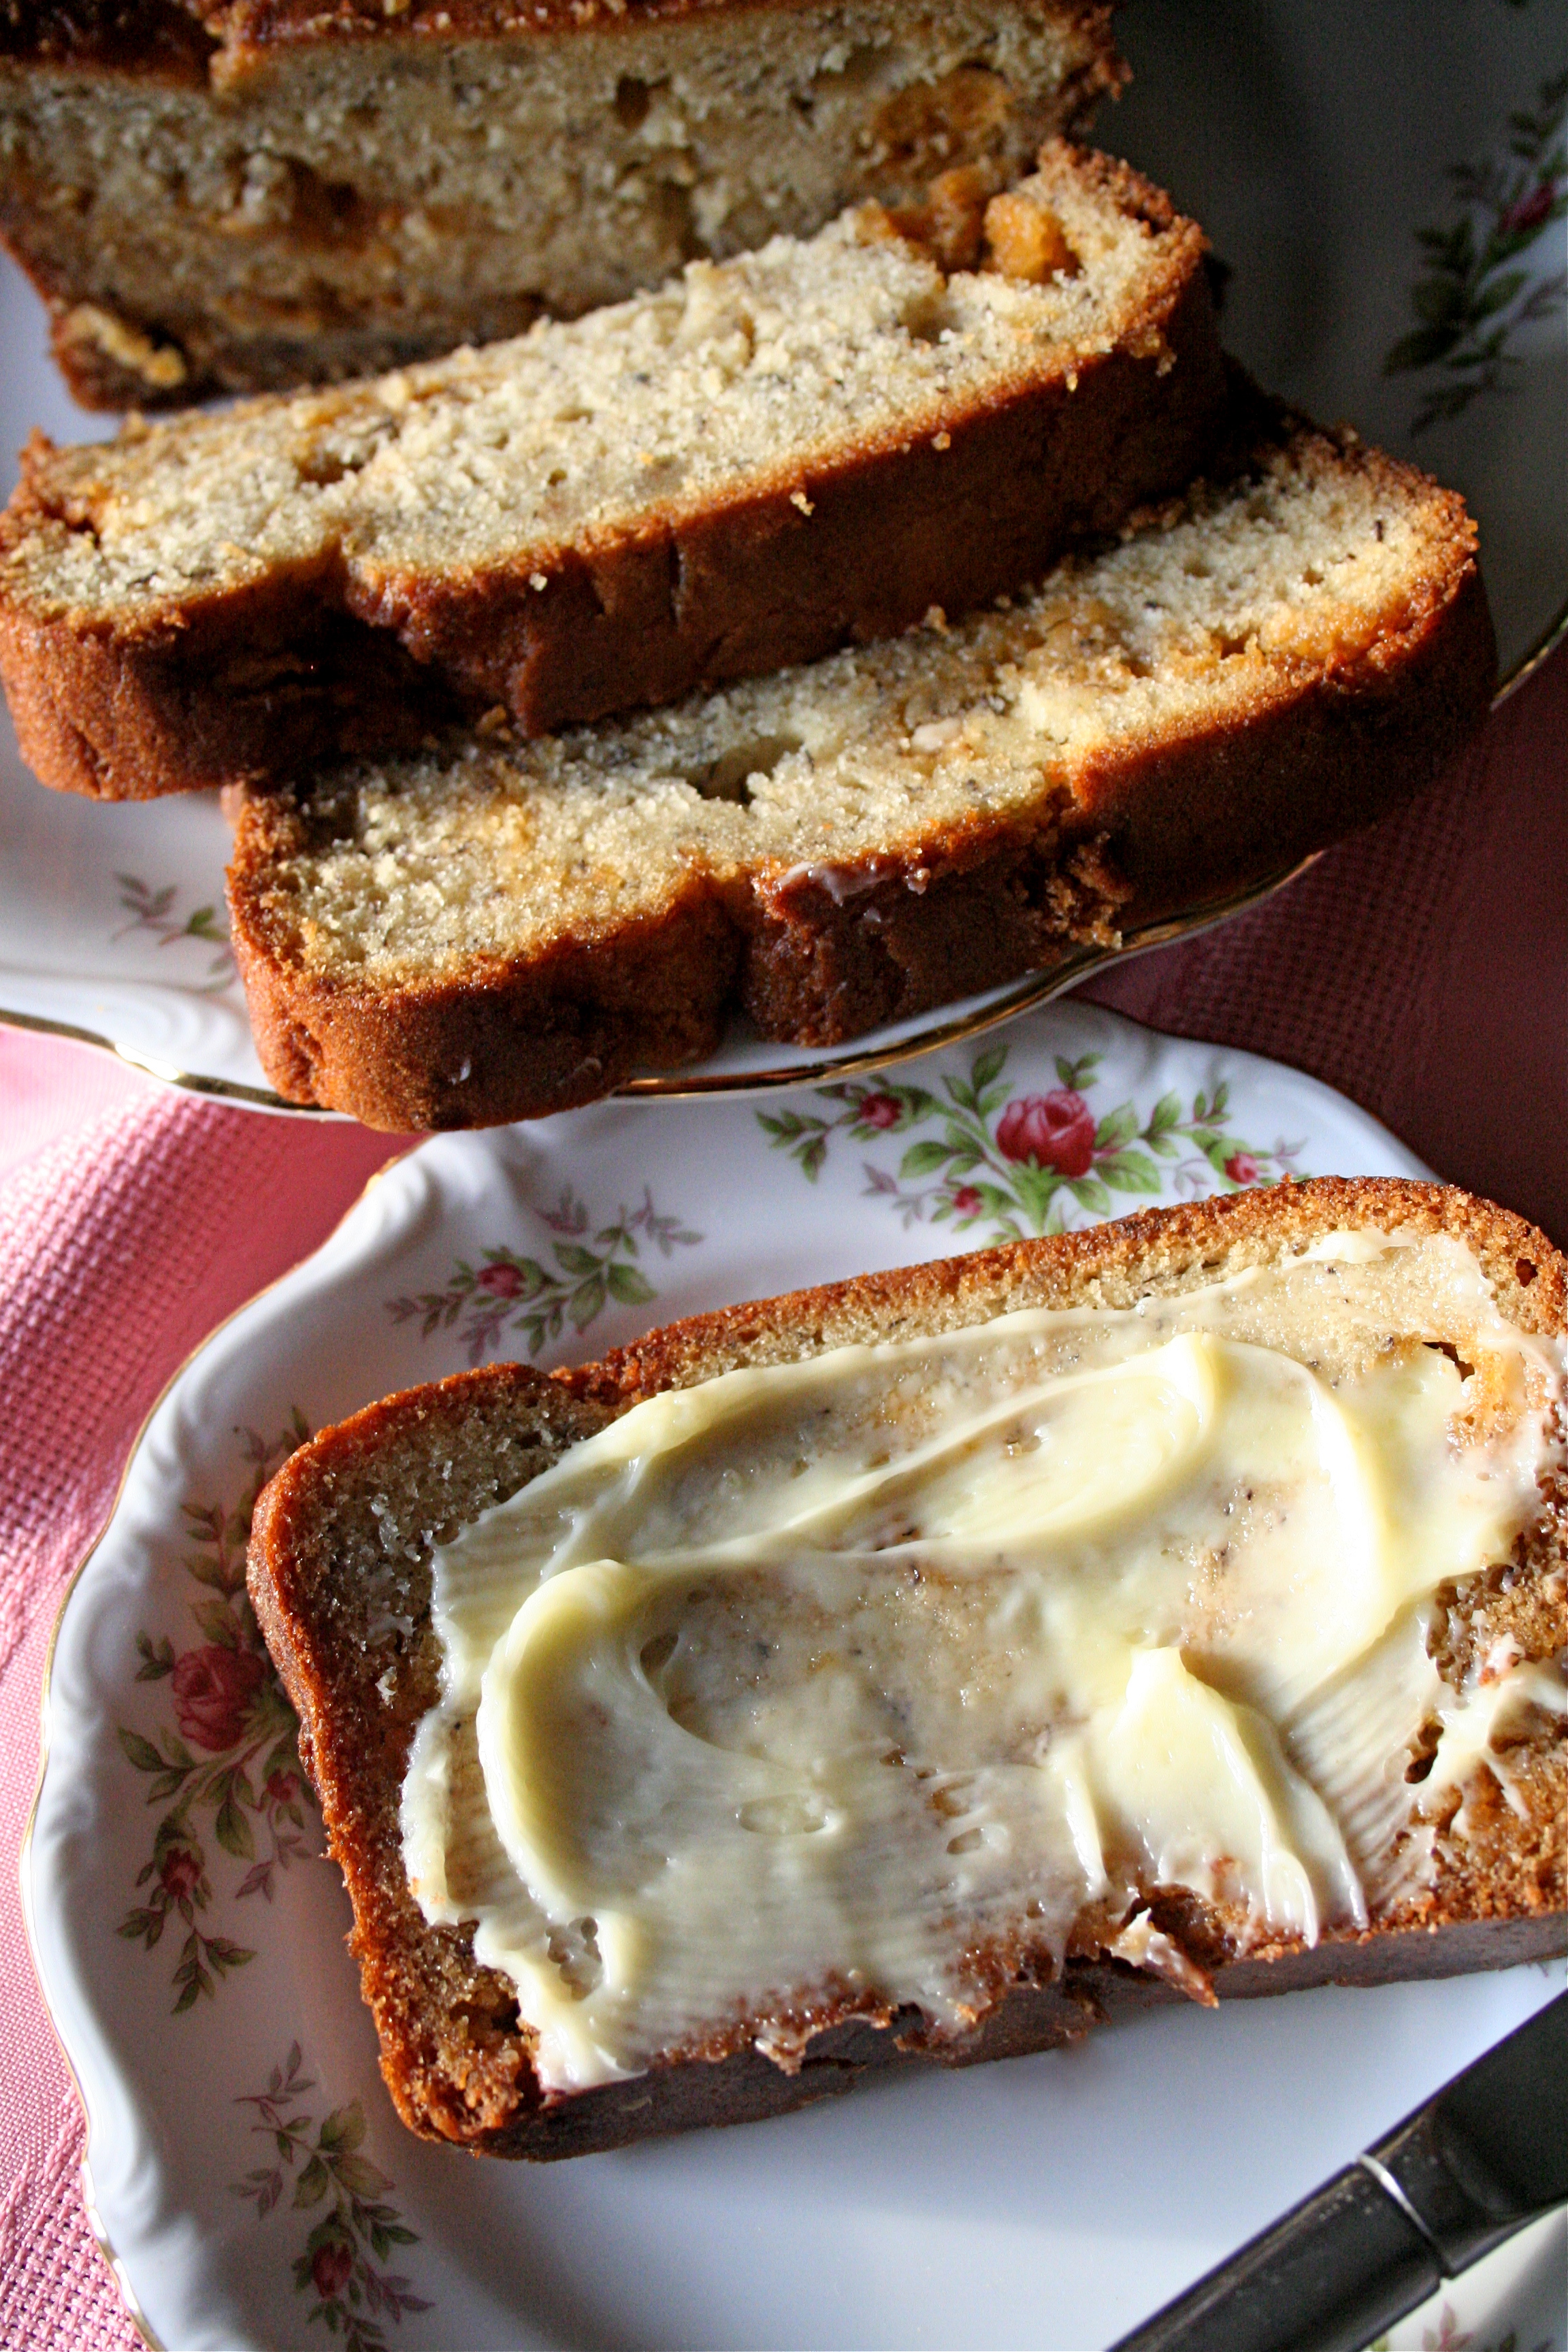
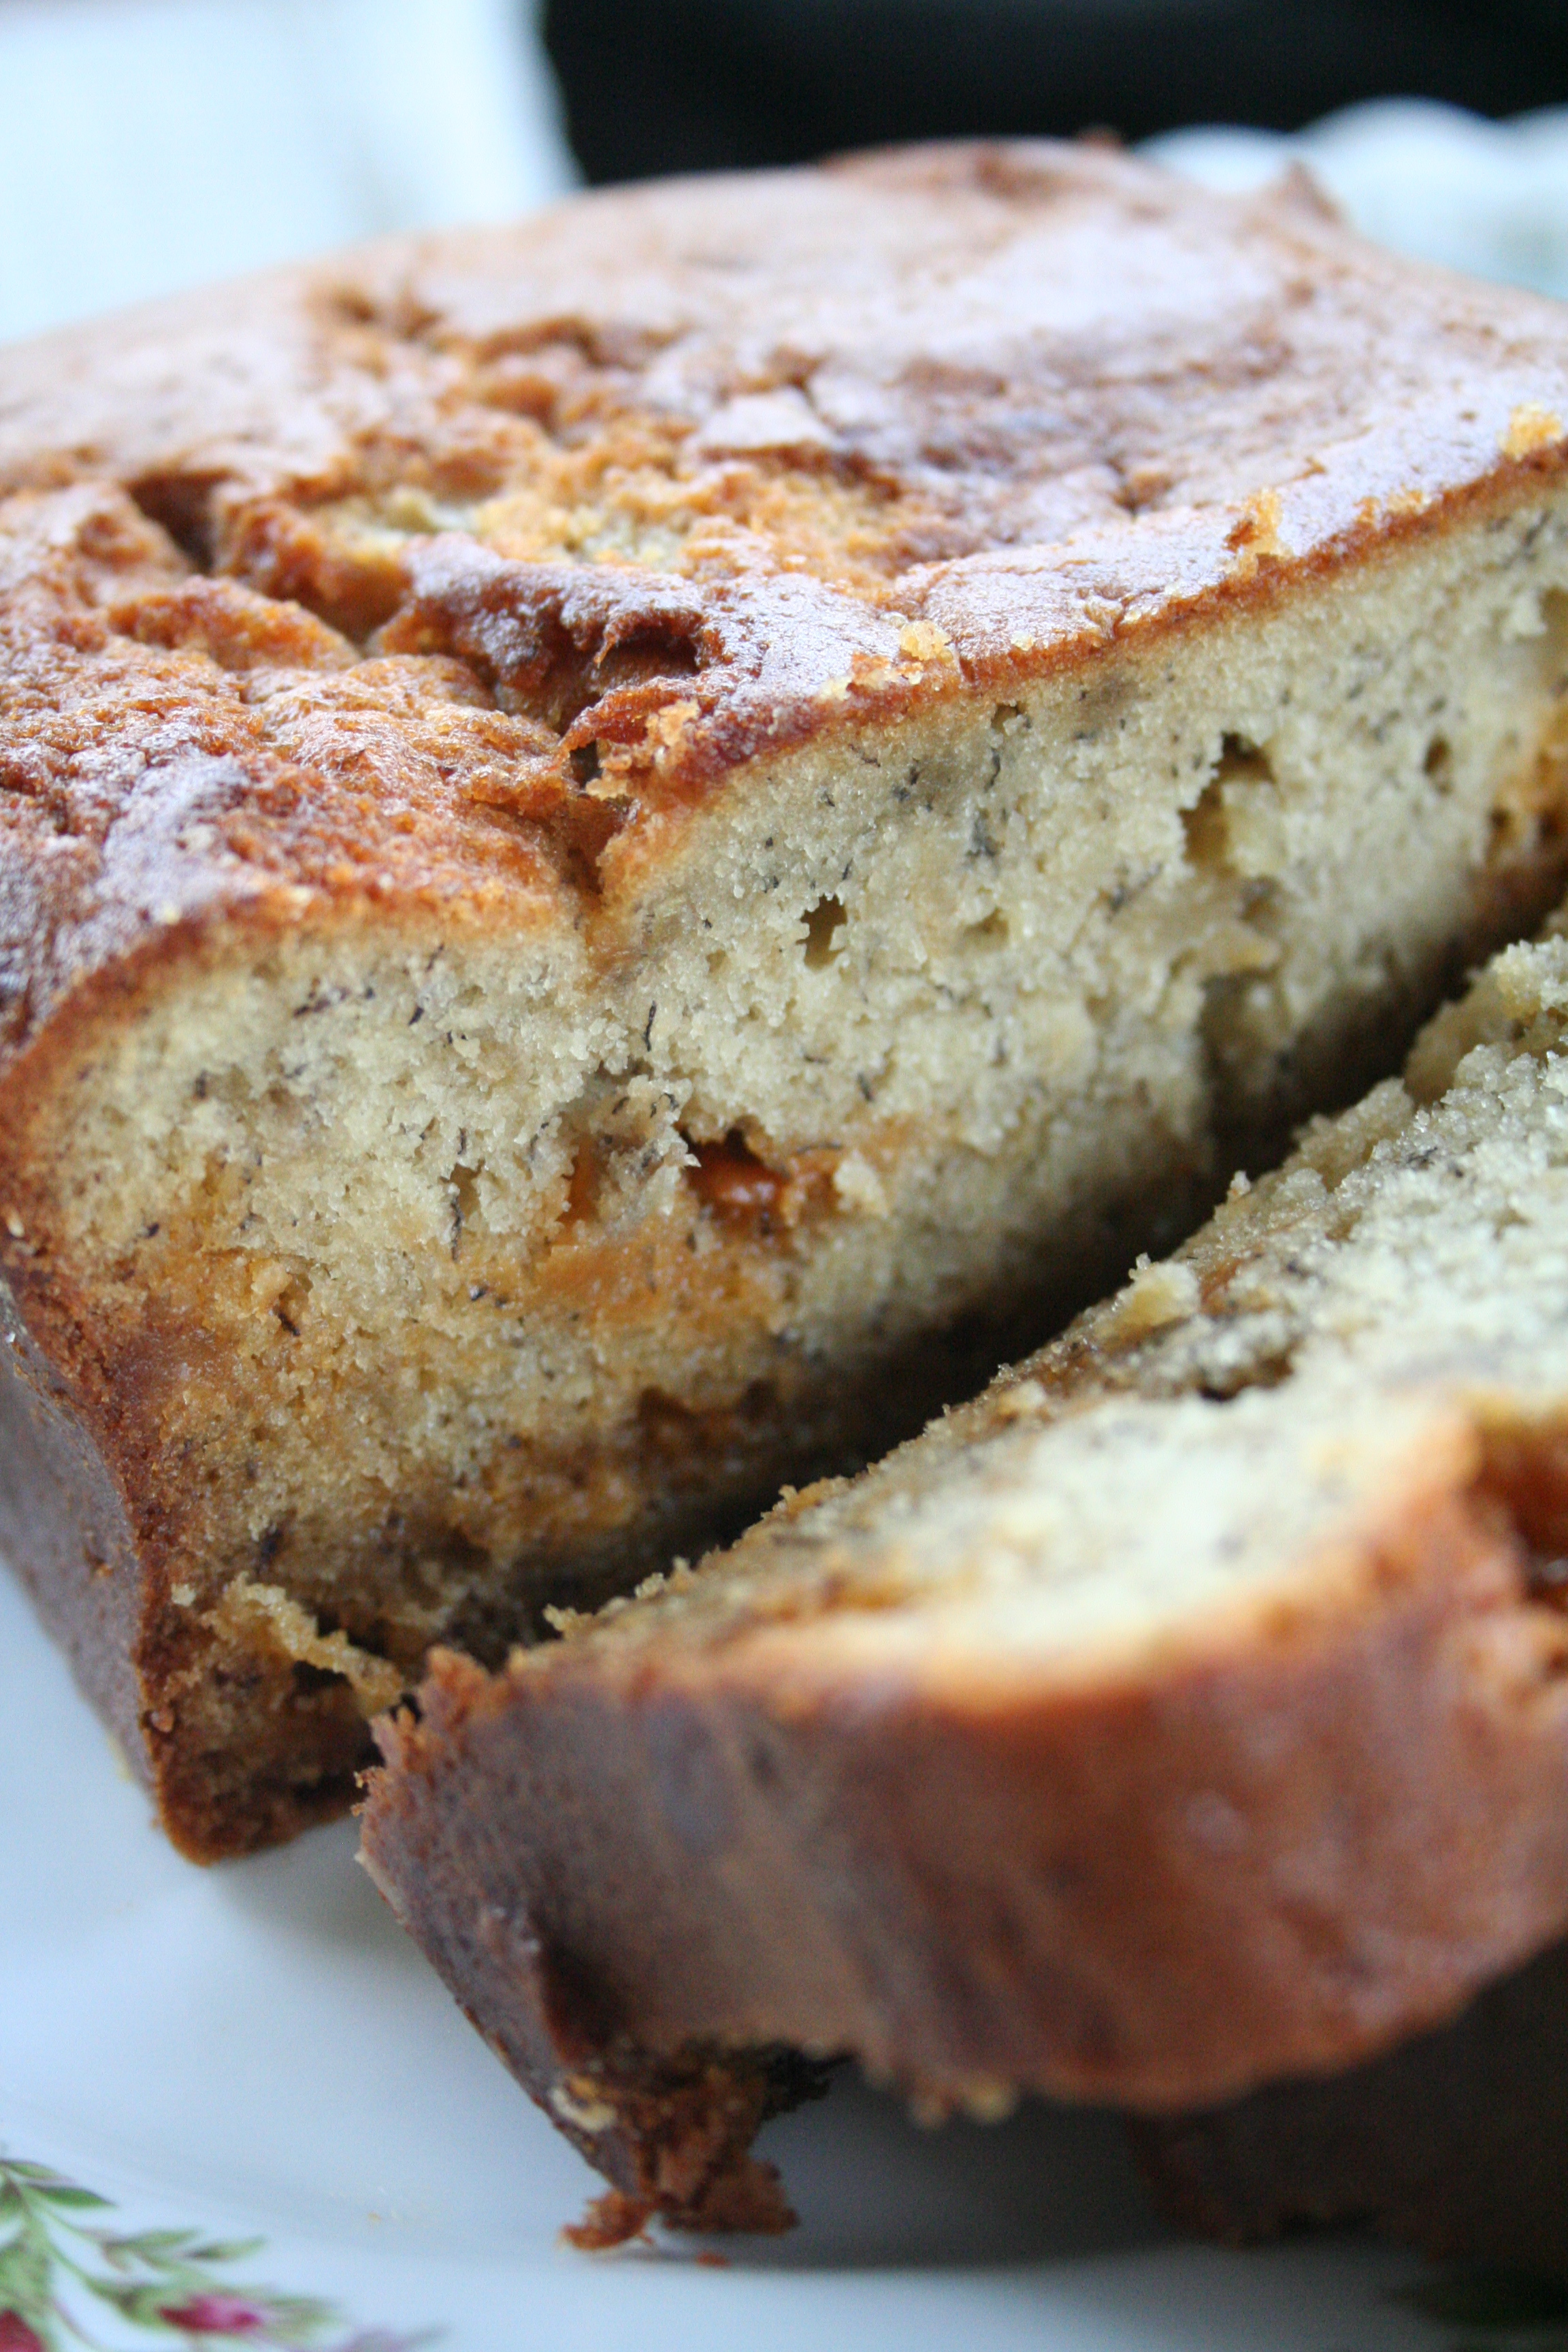
Banana Bread

This recipe was given to our family by a dear friend who lived across the street from us when I was growing up.  Since then, I have made this recipe at least 50 times.  I have a tendency to overbuy on my fresh produce-especially with bananas.  Bananas are usually cheap, always appear to be “in season”, and are compact, easy to eat on the go, and don’t require any sort of slicing, chopping, or dicing.  So I always seem to have bananas on hand-but sometimes I have to admit, I don’t eat them right away and let them get a little too ripe.

Thus, the perfect solution to this overripe banana issue: banana bread.

The other thing about this recipe?  I have modified it to suit my own selfish interests.  I add butterscotch chips.  You could probably add in walnuts or some other healthier option, but I just prefer butterscotch chips.  You can also omit an add-in all together, if that’s what you prefer.  I’m working on some sort of butterscotch glaze, so if anyone has any good recipes or ideas, send them my way.  Did I mention I love butterscotch? OK.

Banana Bread

1 stick butter, softened to room temperature

1 1/4 cup granulated sugar (I actually used half sugar/half Splenda, and it was a beautiful thing).

2 overripe bananas

2 eggs, beaten

4 tablespoons sour cream (you could try low-fat)

1 1/2 cups flour

1 teaspoon baking soda

1 teaspoon vanilla

1/2 cup butterscotch chips, optional (but highly recommended)

1.  Pre-heat oven to 350 degrees.

2. Beat butter and granulated sugar together until creamy.

3. Add eggs and beat until combined.

4.  Add remaining ingredients until well-combined and dough is mostly smooth (there will be clumps of banana).

5. Pour mixture into a pre-greased and floured bread pan and bake for 45 minutes or until knife inserted into center of loaf comes out clean.  (I usually have to bake mine for 60 minutes..but that’s just my oven).

Recipe courtesy of our family friend, Terry.  (we love you!)
August 4, 2010 - 10:19 am

RavieNomNoms - Your bread looks absolutely delish! and the butter with it?! Oh my! I am getting hungry just looking at those pictures!

August 5, 2010 - 10:56 am

Patty - I love learning about people’s favorite banana bread recipes (I’m a connoisseur 😉 yours sounds and looks fantastic!

August 9, 2010 - 9:58 pm

Kim (Liv Life) - This bread looks fantastic! We always overbuy bananas too, and banana is a favorite in our household. Thanks for the post!

August 12, 2010 - 7:03 am

Banana Bread - […] [Read more] […]

September 1, 2010 - 2:57 pm

Pretty. Good. Food. - Oh man this looks delicious! I love love love anything with bananas!!!
Everything here looks so yummy! And your photographs are beautiful!
I recently launched my own blog http://www.prettygoodfood.com I’d love for you to check it out and let me know what you think! Thanks and Happy Cooking!

Grilled Salmon

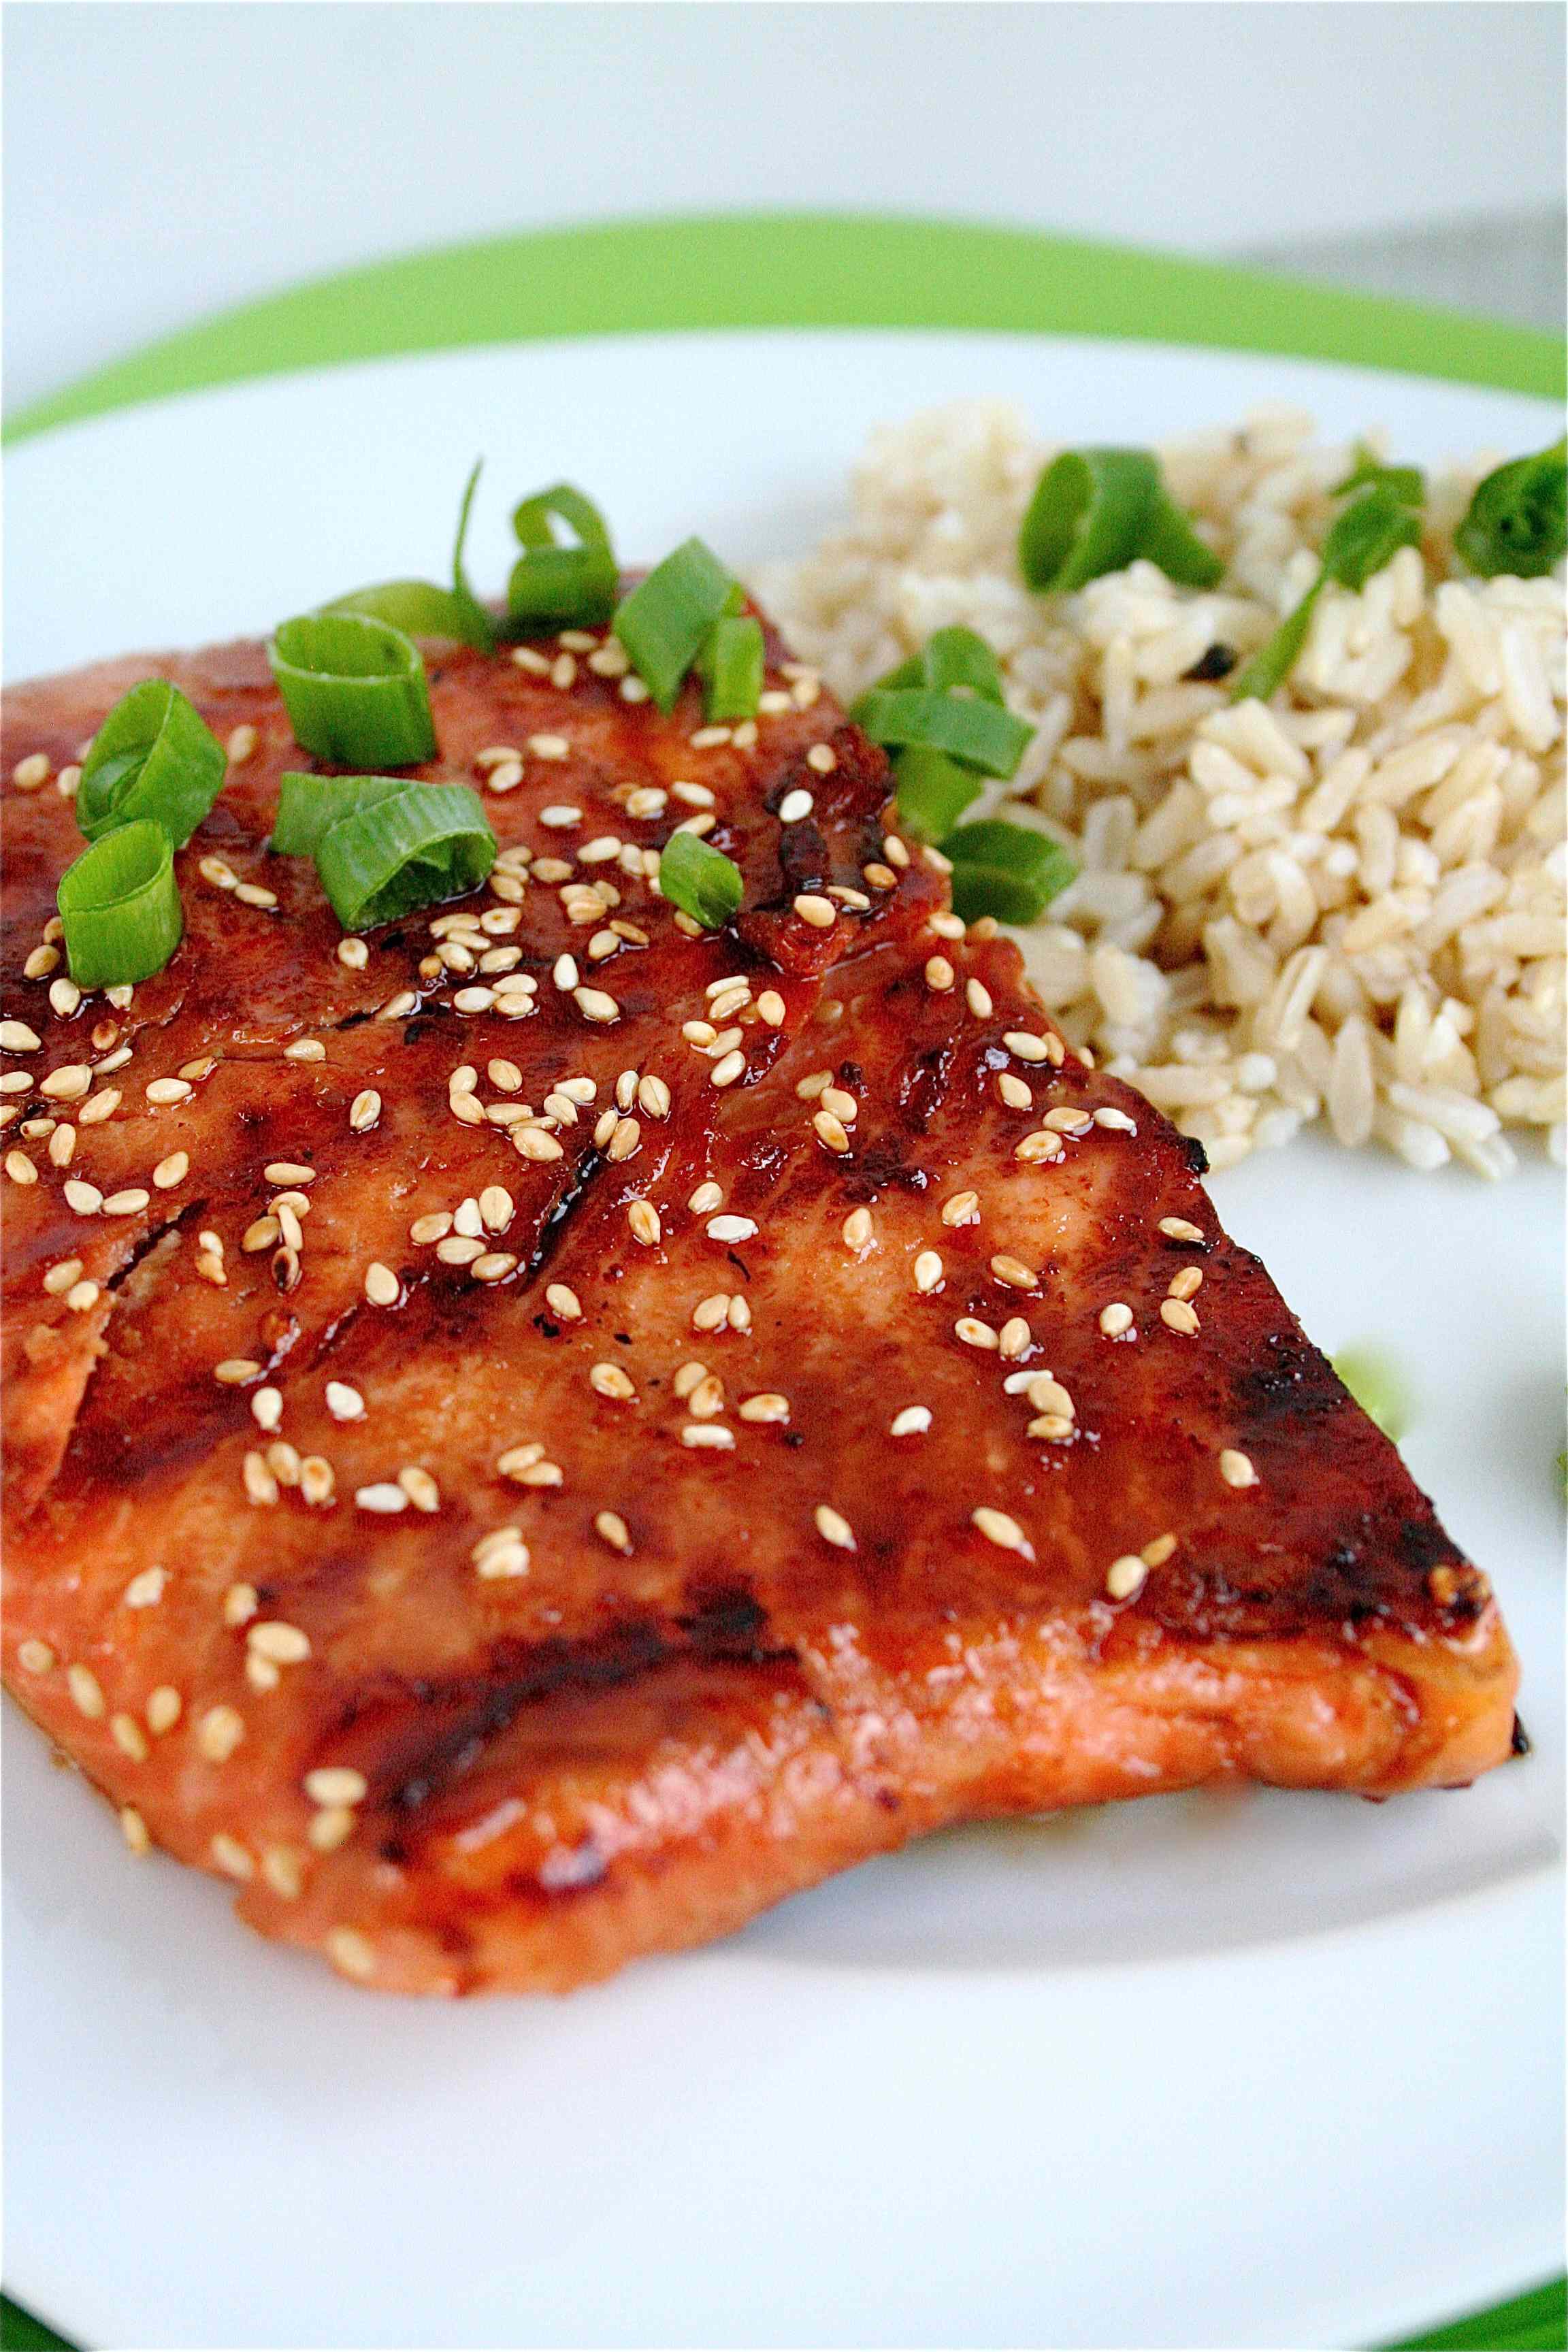
This recipe is really good but should be called “Sweet Soy-Glazed Salmon” instead (but I didn’t want to mess with the official recipe title).  Since I have fish so rarely, when I do, it has to be good.  And since salmon is so good for you, this recipe is the best of both worlds.  The marinade is easy to throw together, the salmon gets caramelized on the grill, and the dreaded “fishy” taste is gone!  It’s like a piece of candy, I’m serious (which may or may not be appealing to you….).

Serve this with some brown rice and a green veggie, and you can celebrate doing a great thing for yourself.  You won’t be disappointed.

Grilled Salmon

Servings: 6

1 1/2 pounds salmon fillets

lemon pepper to taste

garlic powder to taste

salt to taste

1/3 cup soy sauce

1/3 cup brown sugar

1/3 cup water

1/4 cup vegetable oil

1. Season salmon fillets with lemon pepper, garlic powder, and salt.

2.  In a small bowl, stori together soy sauce, brown sugar, water, and vegetable oil until sugar is dissolved.  Place fish in a large resealable plastic bag with the soy sauce mixture, seal, and turn to coat.  Refrigerate for at least 2 hours.

3. Preheat grill for medium heat.

4.  Lightly oil grill plate.  Place salmon on the preheated grill, and discard marinade. Cook salmon for 6 to 8 minutes per side, or until the fish flakes easily with a fork.

Adapted from allrecipes.com

August 1, 2010 - 6:36 pm

Tara - We are salmon lovers here. I am definitely going to try this out!

September 12, 2010 - 9:18 am

Sweet Soy Grilled Salmon Recipe | Salmon Recipes - Easy Grilled, Smoked, Baked Salmon Recipes and More - […] taken and recipe modified at the curvy carrot  Link to this page  Link to this page Copy the code below to your web site. […]

October 19, 2010 - 4:37 pm

Cucee Sprouts - Beautiful photo and a great salmon recipe. I made it with a Chile-Roasted Feta and Watermelon Slab http://cuceesprouts.com/2010/10/chile-roasted-feta-and-watermelon-slab/ and the watermelon side dish really played well against the rich fish!

January 14, 2011 - 3:23 pm

Claire - Thanks for sharing! I was trying to find a new salmon recipe because I’ve done mustard variations with salmon the last few times. I am trying this tonight with the garlic rice pilaf recipe (thanks to Annie at Annie’s Eats) with some steamed brussel sprouts. Yum! 🙂

March 7, 2012 - 10:58 am
July 17, 2012 - 5:07 pm

Clueless in the kitchen? | Single mom eats - […] Grilled Salmon […]

June 11, 2014 - 8:43 am

Top 10 BBQ Recipes for Celebrating July 4 - […] via thecurvycarrot.com  […]

Classic Macaroni and Cheese

Ummmmm….yeah.

I’ve tried a few homemade mac and cheese recipes in the past.  I always get a little disappointed.  While I appreciated the baked varieties when they come out of the oven, reheating the leftovers always left me frustrated.  I love a creamy, steamy, hot, and thick sauce for the pasta, but usually the baked versions are just dry and greasy, especially as leftovers.  I was also looking for a recipe that would provide a buttery, crispy topping that would signify a “baked macaroni and cheese” but not completely soak up any liquid sauce beneath it.

I found this recipe, and Cooks Illustrated has NEVER failed me.  I shrugged my shoulders, said, “why not?” and forged on, straight ahead.

This recipe is awesome. AWESOME.

I’m looking forward to trying it again with some different cheeses, just to experiment.  I’m sure I will be making this again soon (and upping my work-outs, too).  You could probably also throw some veggies in there, too (just to make it somewhat justifiable)…..

Classic Macaroni and Cheese

Serves 6 to 8, or 10 to 12 as a side.

Bread Crumb Topping
6 slices white sandwich bread (good-quality, about 6 ounces), torn into rough pieces
3 tablespoons unsalted butter (cold), cut into 6 pieces

Pasta and Cheese
1 pound elbow macaroni (I had rotini on hand-it worked just as well!)
1 tablespoon table salt
5 tablespoons unsalted butter
6 tablespoons all-purpose flour
1 1/2 teaspoons powdered mustard
1/4 teaspoon cayenne pepper (optional)
5 cups milk (I used whole milk, just to add more calories 😉 )
8 ounces Monterey Jack cheese , shredded (2 cups)
8 ounces sharp cheddar cheese , shredded (2 cups)
1 teaspoon table salt
  1. For the bread crumbs: Pulse bread and butter in food processor until crumbs are no larger than 1/8 inch, ten to fifteen 1-second pulses. Set aside.
  2. For the pasta and cheese: Adjust oven rack to lower-middle position and heat broiler. Bring 4 quarts water to boil in Dutch oven over high heat. Add macaroni and 1 tablespoon salt; cook until pasta is tender. Drain pasta and set aside in colander.
  3. In now-empty Dutch oven, heat butter over medium-high heat until foaming. Add flour, mustard, and cayenne (if using) and whisk well to combine. Continue whisking until mixture becomes fragrant and deepens in color, about 1 minute. Gradually whisk in milk; bring mixture to boil, whisking constantly (mixture must reach full boil to fully thicken). Reduce heat to medium and simmer, whisking occasionally, until thickened to consistency of heavy cream, about 5 minutes. Off heat, whisk in cheeses and 1 teaspoon salt until cheeses are fully melted. Add pasta and cook over medium-low heat, stirring constantly, until mixture is steaming and heated through, about 6 minutes.
  4. Transfer mixture to broiler-safe 9-by 13-inch baking dish and sprinkle evenly with bread crumbs. Broil until crumbs are deep golden brown, 3 to 5 minutes, rotating pan if necessary for even browning. Cool about 5 minutes, then serve.

Did I mention that this recipe is awesome?

Adapted from Cooks Illustrated.

July 31, 2010 - 2:02 pm

jejune - Is that the original photo?
M`am that`s more than delicious.

March 15, 2011 - 4:30 pm

Elle - I don’t have the mustard, but this looks so good that I have to try it tonight. Immediately!

September 17, 2011 - 5:02 am

The Curvy Carrot » Creamy Stovetop Macaroni and Cheese - […] Appenzeller.  Add some spices or fresh herbs in there to make it your way.  I have already posted another mac and cheese version, but, really, can you have too […]