I was feeling a little adventurous and had received a gift certificate from one of my favorite baking supply stores. I had always read about rose extract and rose-flavored desserts, and I was curious about trying it. Many of the reviewers had stated that the rose extract made the desserts taste like how a rose smells (if that’s not confusing), so I thought, “Why not?”
I picked up the rose extract with my gift certificate, so it was free. I had scoured all my bookmarked recipes for rose-flavored cakes and cupcakes and finally settled on my favorite yellow cake recipe (from Baking Illustrated, of course) and a rose buttercream frosting from Joy the Baker. I thought that these Rose Buttercream cupcakes would be the perfect addition to the afternoon party that my friend, Kelli, and I were hosting. I put them on a three-tiered cupcake stand with white and pink roses in between the cupcakes, and it looked beautiful. My only disappointment with the recipe was that the buttercream was not the easiest to pipe. I had an extremely hard time piping the frosting on top of the cupcakes and ended up switching to an alternative, and in my opinion, less attractive tip.
The good news? These cupcakes were delicious! I was very nervous about over-flavoring the frosting with the rose extract, so I tasted as I went (I also had some help…..) to make sure that I got the amount just right. The frosting was incredible…you could definitely tell it was a thick buttercream, but then the rose flavor subtly appeared. I must say, these would be perfect for a Valentine’s Day celebration.
Rose Buttercream Cupcakes
Servings: 24 cupcakes
Ingredients
For the cupcakes:
1 and 3/4 cups plain cake flour, sifted
4 large eggs, at room temperature
1/2 cup whole milk, at room temperature
2 teaspoons vanilla extract
1 and 1/2 cups sugar
2 teaspoons baking powder
3/4 teaspoon salt
16 tablespoons (2 sticks) unsalted butter, softened but still cool, cut into 16 pieces
For the frosting:
2 sticks unsalted butter, softened
1 cup cane sugar
1 cup whole milk
1/4 cup sifted all-purpose flour
1 and 1/2 tablespoons vanilla extract
1 teaspoon rose water ****I used rose extract, which is different and stronger…I ended up using about 1/2 a teaspoon.
Instructions:
For the cupcakes:
1. Adjust the oven racks to the upper and lower middle positions and heat the oven to 350 degrees. Fill a cupcake pan with cupcake liners.
2. Beat the eggs, milk, and vanilla with a fork in a small bowl; measure out 1 cup of this mixture and set aside. Combine the flour, sugar, baking powder, and salt in the bowl of a standing mixer. Beat the mixture at the lowest speed to blend, about 30 seconds. With the mixer still running at the lowest speed, add the butter 1 piece at a time; mix until the butter and flour begins to clump together and look sandy and pebbly, with pieces about the size of peas, 30 to 40 seconds after all the butter is added. Add the reserved 1 cup of egg mixture and mix at the lowest speed until incorporated, 5 to 10 seconds. Increase the speed to medium-high and beat until light and fluffy, about 1 minute. Add the remaining egg mixture (about 1/2 cup) in a slow, steady stream, taking about 30 seconds. Stop the mixer and scrape the sides and bottom of the bowl with a rubber spatula. Beat at medium-high speed until thoroughly combined and the batter looks slightly curdled, about 15 seconds.
3. Divide the batter equally between the cupcake liners. Bake until the cupcakes are light gold-about 22 minutes, rotating the pans halfway during the baking time.
4. Cool completely before frosting.
For the frosting:
1. Cream the butter on medium speed, 3 to 5 minutes, in a stand mixer, or with a hand mixer until soft, about 30 seconds. Add the sugar and beat on high speed until light and fluffy, 5 to 7 minutes. Stop the mixer occasionally to scrape down the sides of the bowl and beat again.
2. In a small saucepan, combine 1/4 cup milk with the flour and vanilla extract. Whisk together until there are no lumps. Over medium heat, slowly add the remaining 3/4 cups milk, whisking constantly and cook until the mixture comes to a low boil.
3. Reduce the heat to low and continue mixing until the mixture starts to thicken slightly.
4. When the mixture starts to thicken, immediately remove the pan from the heat but keep stirring. After you have removed the pan from the heat, the mixture will continue to cook for a minute or two on its own.
5. If you overheat the mixture and find that you have some lumps, try to whisk them out or pass the mixture through a fine mesh strainer. Allow the mixture to cool to room temperature. Place the mixture in the freezer for a few minutes to speed up the process.
6. With the mixer on low speed, slowly pour the milk mixture into the butter and sugar mixture. Increase the speed to medium and beat until the frosting is light and fluffy, about 3 to 5 minutes. Add the rose water (or rose extract) during this final mixing.
7. I added pink food coloring at this point to the desired color.
Adapted from Baking Illustrated and Joy the Baker.


.jpg)


notyet100 - nice pic,,..;-)
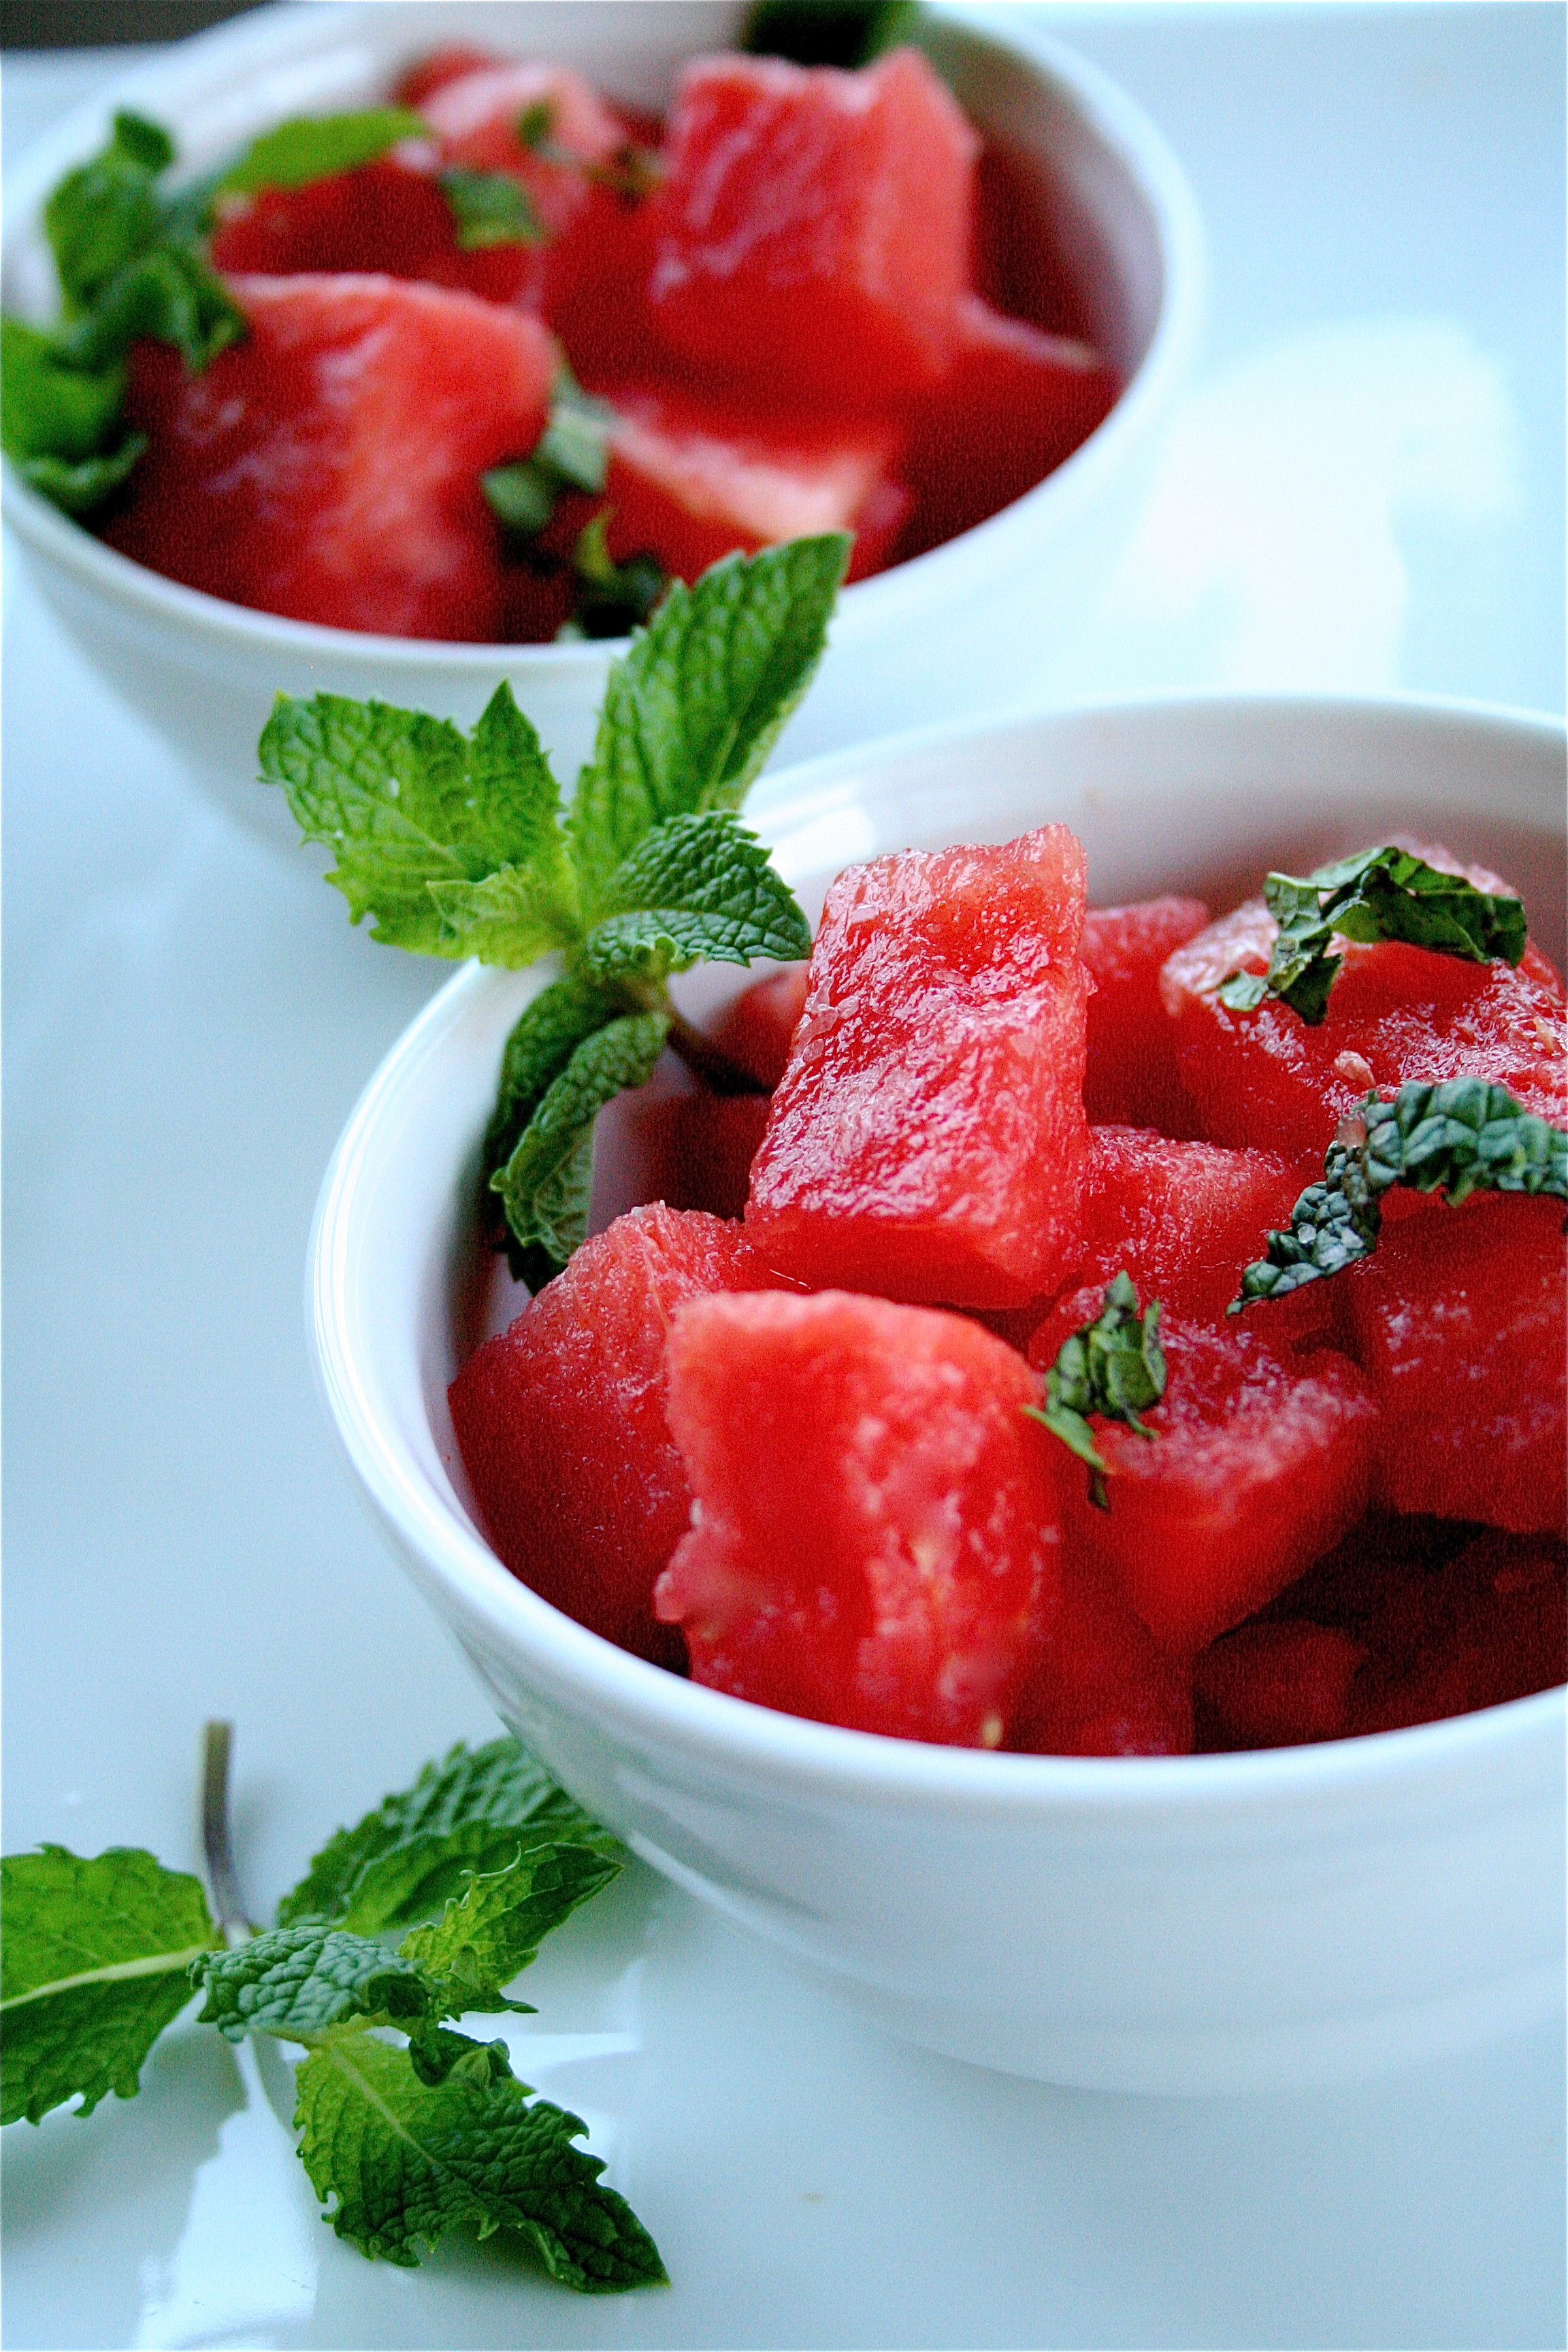
Sara - Sounds divine – I will have to try that new twist. I had my own watermelon salad when I got home. 😉
Jenny - Mmmm this is one of my favs. I usually make them watermelon balls, because I like the word “balls” and any food with that work in it. 🙂 Such a yummy, fresh summer treat!
Viviane Bauquet Farre - So refreshing! The perfect summer salad.
RavieNomNoms - Fantastic! Looks so fresh and delicious!
pachecopatty - Such a wonderful summery looking salad, with fresh mint, one of my favorites:)
Sprinkled with Flour - Lovely pics! This sounds so yummy and refreshing:)
The Cilantropist - I have made this exact dish before, although the recipe I riffed off was from Gourmet, I think maybe 2 years ago. These flavors are fantastic together, and it is even more funny that you just posted this, because I was pretty settled that I was making this for my labor day party this weekend and seeing your pics sealed the deal! 😉
Paula - mint and watermelon… I love that connection 🙂
kateiscooking - I missed this one in the Food and Wine so I’m glad you saw it because it looks great!!! Kate @ kateiscooking
Sonja - Ahh this reminds me of Mexico, you can find little street stalls selling this everywhere . . !
Cucee Sprouts @ cuceesprouts - Beautiful watermelon pictures. Great job! Here is my variation on a delicious watermelon salad: Chile-Roasted Feta and Watermelon Slab http://cuceesprouts.com/2010/10/chile-roasted-feta-and-watermelon-slab/
Yum Alert: Watermelon Salad with Mint & Lime | The Luxury Spot - […] Recipe from Curvy Carrot […]
Pin This! Watermelon. « jentertaining - […] Make this quick and easy recipe for watermelon salad with mint and lime as a side dish or just an afternoon snack. Make ahead and keep in the fridge. *image above Share […]
Watermelon Salad with Mint and Lime - […] For recipe visit: thecurvycarrot.com […]
Features & Fun Friday #2 ~ Top 5 Watermelon Wonders and A Liebster Award - […] Watermelon Salad with Mint and Lime, photo & recipe by The Curvy […]
Indoor Herb Gardening 101 and Terracotta Pot Painting Tutorial | - […] Spring Minestrone Soup, Summer Watermelon Salad, Fall Mojitos, and Winter […]