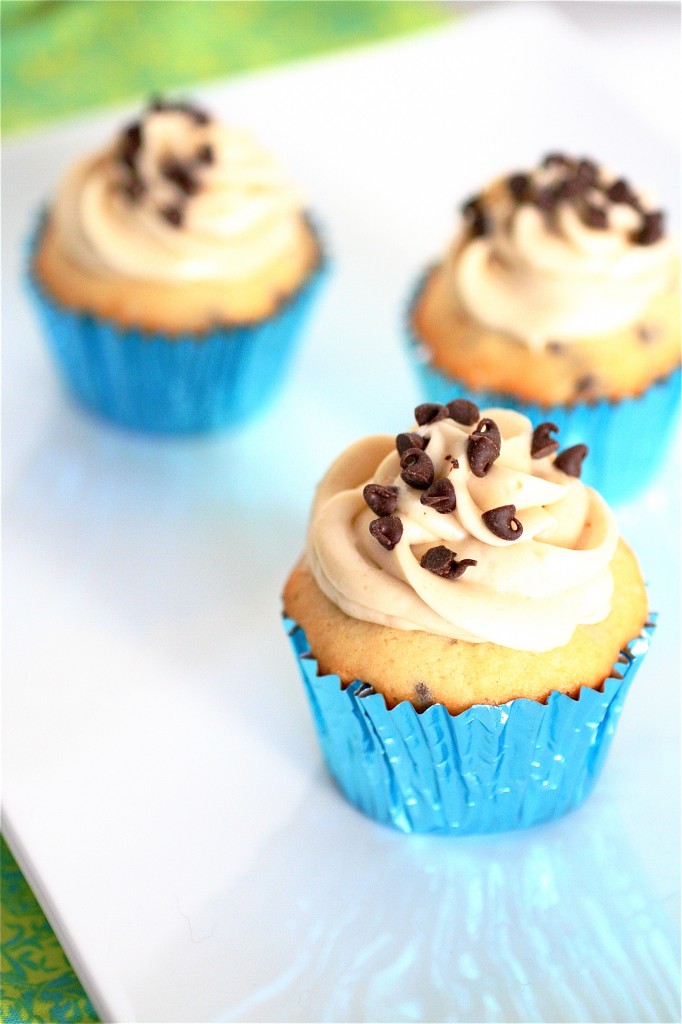
Chocolate Chip Cupcakes

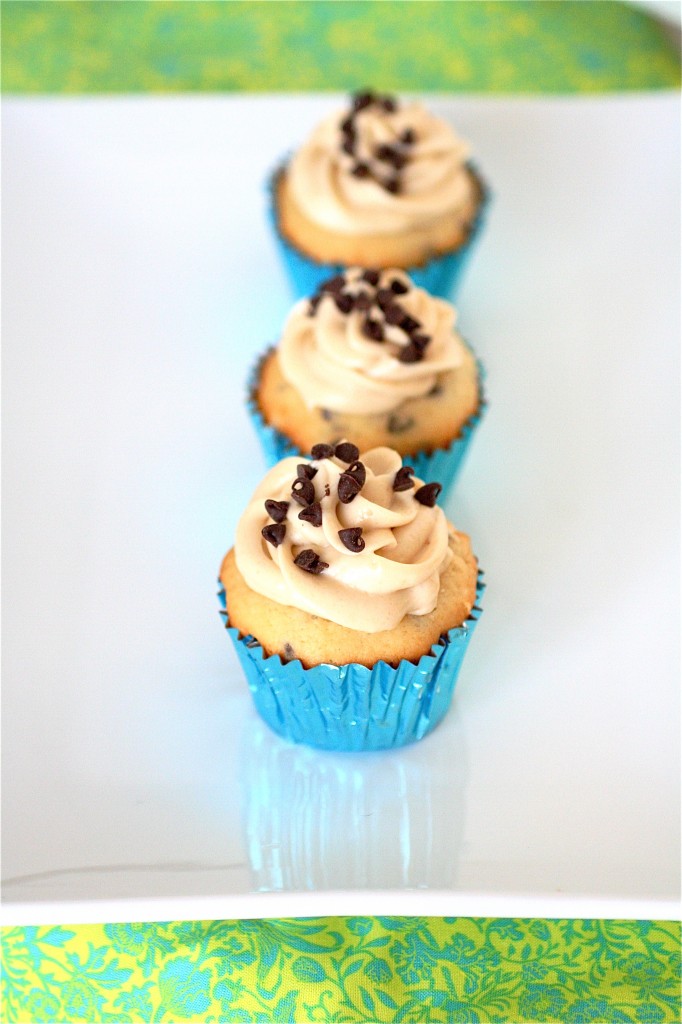
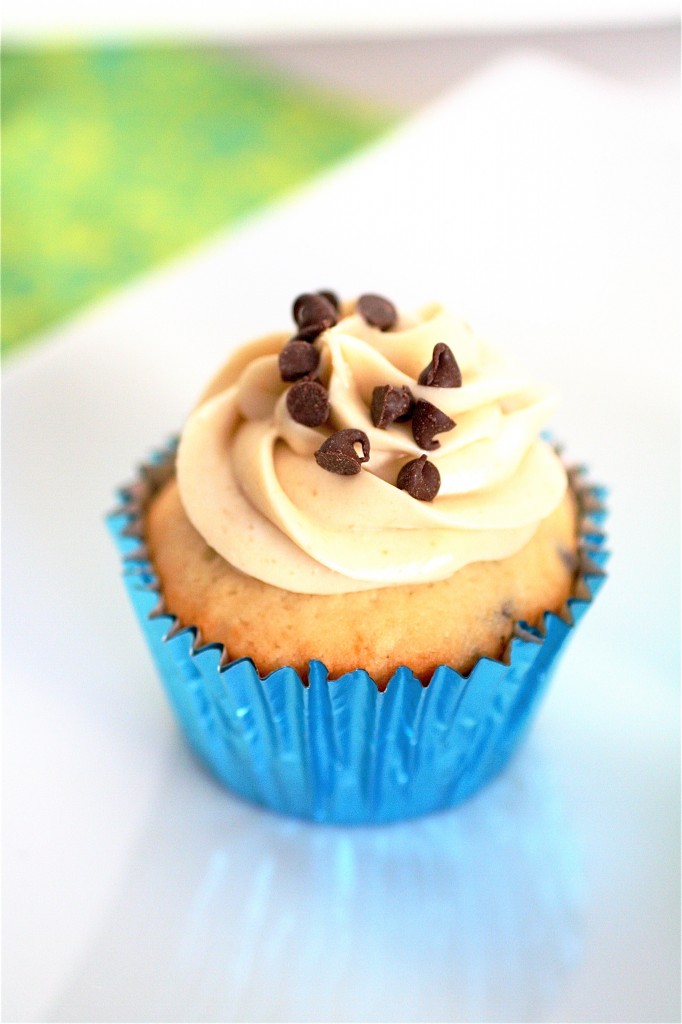
Another colleague’s birthday came around a few weeks ago.  He requested a chocolate chip cupcake, and I was delighted to provide it.  I had previously tried the Chocolate Chip Cookie Dough cupcake, and I consider this the cute little cousin of that cupcake flavor.  These are straightforward, easy to make, and no-assembly-required cupcakes.  I stuck to the original Martha Stewart recipe here, opting for a brown sugar cream cheese frosting to top it off.  The brown sugar cream cheese frosting was a huge hit-although I will tell you in advance that no matter how much you whip it, it still retains a bit of that grainy texture.  Some people love it, and some people don’t love it.  I love any kind of frosting made with cream cheese, so it was fantastic for me.  I hope these are for you, too.
Chocolate Chip Cupcakes

Servings: 24 cupcakes

Ingredients

For the cupcakes:

3 and 1/4 cups cake flour

1 and 1/2 tablespoons baking powder

1/4 teaspoon salt

1 and 3/4 sticks (14 tablespoons) unsalted butter, at room temperature

1 and 3/4 cups sugar

1 cup plus 2 tablespoons milk

1 tablespoon vanilla extract

5 egg whites, at room temperature

2 cups miniature semisweet chocolate chips

For the frosting:

12 tablespoons (1 and 1/2 sticks) unsalted butter, at room temperature

12 ounces cream cheese, at room temperature

1 and 1/2 cups light brown sugar
Instructions

1. For the cupcakes: Preheat the oven to 350 degrees.

2. Line your cupcake pan with the liners of your choice.

3. In a large bowl, combine the cake flour, baking powder, and salt, mixing until combined.

4. In the bowl of your standing mixer fitted with the paddle attachment, cream the butter and sugar at medium-high speed until light and fluffy, about 2 minutes.

5. Reduce the mixer speed to low.

6. In a small bowl, combine the milk and vanilla, mixing well.

7. Beginning and ending with the dry ingredients, alternately add the flour and milk mixtures to the butter mixture.

8. In a separate bowl using a hand mixer, beat the egg whites until stiff peaks form.

9. Gently fold the egg whites into the cupcake batter, mixing until combined.

10. Add the chocolate chips to the batter.

11. Divide the batter evenly among your cupcake liners and bake until a tester inserted into the center comes out clean, about 20-22 minutes.  Let cool completely before frosting.

12. For the frosting: In the bowl of your standing mixer fitted with the paddle attachment, combine the butter, cream cheese, and brown sugar, mixing well until light and fluffy.

Source: Martha Stewart’s Cupcakes.


September 5, 2011 - 10:55 am

Caroline @ chocolate and carrots - You’ve got a lucky coworker! 🙂 These look great!

September 5, 2011 - 11:47 am

Notyet100 - So cute 🙂

September 5, 2011 - 3:23 pm

Sasha @ The Procrastobaker - These look divine, beautifully perfect frosting and just so so pretty! I can only imagine they are gorgeous tasting too 🙂

September 5, 2011 - 3:58 pm

sneige - hey are so beautiful!

September 5, 2011 - 5:13 pm

Lauren @ hey, who cut the cheese? - These look delicious, and so cute! Thank you for sharing the recipe.

September 5, 2011 - 7:32 pm

Russell at Chasing Delicious - Yum! This cupcake recipe looks scrumptious! And the fupcakeslook adorable. Great shots too. Thanks for sharing.

September 5, 2011 - 10:56 pm

Maggie @ A Bitchin' Kitchen - These are so cute! I’m one of those people who isn’t crazy about grainy textured frosting, but I would make these with a chocolate cream cheese frosting or a chocolate buttercream. Definitely bookmarking this!

September 6, 2011 - 4:30 pm

Julia - Very pretty and the frosting sounds yummy!

October 6, 2011 - 8:34 am

Cupcakes s kousky čokolády a dvoubarevným krémem « Magda peče - […] s kousky čokolády (recept podle The curvy carrot, recept na krém […]

May 15, 2012 - 7:36 pm

soe - Thanks for recipe.. its really inspiring.. – cupcake boxes

May 19, 2012 - 4:16 am

Jennifer - I just made these for my son’s Airbender birthday party. They turned out pretty and delicious. This was the first time I’ve made something using egg whites that have been beaten to stiff peaks, it made me nervous, I wasn’t sure when I’d gotten them stiff enough, but they are perfect and will look lovely after I decorate them. Thanks for the recipe!

Chocolate Raspberry Truffles

I love truffles.  I’ve made a few kinds before, but these might just be my favorite.  I think it’s totally worth the splurge of buying the more expensive kind of chocolate when you plan on making these.  Yes, the price might be a bit more than the usual store-bought types of chocolate from the baking aisle, but, to me, it’s definitely a difference maker in both the taste and the consistency.  I was a little afraid of the truffles being a little too bittersweet, so I decided to hand-dip half of the truffles in melted milk chocolate.  I decided to go the traditional route with the other half of the batch and roll them in dark cocoa powder.  Because of the addition of the seedless raspberry preserves, they weren’t too overpowering in the bittersweet flavor.  And to be honest with you, I couldn’t decide which ones I liked more: the chocolate-dipped or the traditional cocoa-rolled.  I served these recently at a get-together with some fresh raspberries, and they seemed to be a big hit.  The best part?  They are super easy to make, although I did split up the work over two days (you have to give the chocolate ganache plenty of time to chill in the fridge, so I just decided to make them in the evening and let them chill overnight.)

Mmmmmm….chocolate raspberry truffles.

Chocolate Raspberry Truffles

Servings: approximately 20 1-inch truffles

Ingredients

8 ounces high-quality bittersweet chocolate, chopped

1/2 cup heavy cream

3 tablespoons seedless raspberry preserves

1/2 cup cocoa powder, optional

12 ounces high-quality milk chocolate, optional

Sugar sparkles, for garnish

Instructions

1. Place the bittersweet chocolate in a large bowl; set aside.

2. In a small saucepan over medium-low heat, bring the heavy cream to a simmer-do not boil.

3. Once heated, remove the heavy cream from the heat and pour over the chopped chocolate, letting it sit for approximately 2-3 minutes.

4. Whisk the chocolate/cream mixture until smooth.

5. Add the seedless raspberry preserves and whisk until smooth.

6. Cover the ganache with plastic wrap and let chill until firm, at least 2 hours or overnight.

7. Using a melon baller, scoop out small portions of the ganache and roll each truffle gently between your hands until smooth.  **I placed mine on a rimmed baking sheet at this point and put it directly in the fridge.

8. Let the truffles chill again (I let mine chill again overnight-just because I was short on time, but just chill yours until they are firm-about an hour.)

9. In a heatproof bowl over gently simmering water, melt the milk chocolate, stirring occasionally until smooth.  Remove the chocolate from the heat.

10. Using two soup spoons to help guide you, gently roll each truffle in the melted chocolate, coating each one generously.  For the cocoa-dusted truffles, just roll them directly in the cocoa powder. Sprinkle with sparkle sugar or other decorations of your choosing.

11. Let the truffles chill until ready to serve.


Source: Adapted from Annie’s Eats.


September 3, 2011 - 8:59 am

Alli - I love small sweet bites and desserts you can prepare ahead of time. These look like the perfect treat to finish a night with.

September 3, 2011 - 9:19 am

Blog is the New Black - These look so wonderful! YUM!

September 3, 2011 - 6:43 pm

Cassandra at FrillyFabulous - Those look to DIE for! Yum!! You take beautiful photos!

xo, cassandra
frillyfabulous.com

April 28, 2013 - 8:46 pm

Chocolate Raspberry Truffles - […] Read all the details about the recipe on:  thecurvycarrot.com […]

Orange Blueberry French Toast

This was almost a complete kitchen fail.  I had originally planned to make this recipe with day-old croissants, but with a hurricane quickly approaching the East Coast and grocery stores shutting their doors, my last-minute trip to the grocery store proved to be an exercise in patience and flexibility.  There were no croissants to be found.  I quickly scanned the fresh bakery area, finding a fantastic loaf of (mmmmm) brioche, and I was sold.  I then wondered how I would pull any of my planned cooking off if the power completely shut off due to the storm.  (I hadn’t included that in my plans). I wondered if I should just wait it out and not try to make breakfast the next morning, just in case.  The thoughts of sweet orange and blueberry syrup won me over, and I plunged ahead with my recipe planning.

Thankfully, while there was a lot of damage and flooding in my area, I was able to safely hibernate in a fully powered and functional kitchen. I can safely say that I have experienced my first hurricane-something that a full-blooded Midwestern girl can’t usually admit.  My thoughts and prayers go out to those who are still dealing with the repercussions of the storm.

I’m glad I went full-force ahead with this recipe because it was (let’s just be honest here…) pretty awesome.  I let the brioche soak for a while (about 15 minutes or so) in the orange juice mixture before grilling it on the stove.  It quickly caramelized with a light and sweet crust.  The blueberry-orange syrup was a major experiment for me, but I ended up really liking the combination of the two flavors (mixed with a little traditional maple syrup, of course).  Better use up those blueberries before they are gone…… 🙂

Orange-Blueberry French Toast

Servings: 2

Ingredients

For the toast:

Four 1/2-inch thick slices of brioche

2/3 cup milk

3 eggs

1/3 cup orange juice

1 teaspoon sugar

1 teaspoon vanilla

1 teaspoon almond extract

1 teaspoon orange zest

1/4 teaspoon ground cinnamon

Pinch freshly grated nutmeg

Butter, for grilling

For the syrup:

1/4 cup high-quality maple syrup

1/2 cup orange juice

1/2 cup fresh blueberries

For garnish:

Orange slices

Blueberries


Instructions

1. For the toast: In a large bowl, combine the milk, eggs, orange juice, sugar, vanilla, almond extract, orange zest, cinnamon, and nutmeg.  Whisk until well combined.

2. Place the slices of brioche in the egg mixture and let soak, turning occasionally to evenly distribute the liquid, about 15 minutes or so.

3. For the syrup: Meanwhile, in a medium saucepan over medium-low heat, combine the maple syrup, orange juice and blueberries and bring to a slow boil, stirring occasionally, until thickened, about 15-20 minutes or so.

4. In a grill pan over medium heat, melt the butter.

5. Add the brioche slices and let cook until lightly browned on each side, about 2-3 minutes per side.  Serve with warm syrup and fresh fruit.  Enjoy.


Source:  French Toast adapted from Bon Appetit  via Epicurious, syrup a Curvy Carrot original.


September 1, 2011 - 1:04 pm

Caroline @ chocolate and carrots - Thank goodness for brioche! It looks amazing! 🙂

September 1, 2011 - 1:39 pm

Jessica - These look amazing! We’re big breakfast eaters around here, so these are definitely going on the “make soon!” list!

September 1, 2011 - 2:20 pm

Tracey - Glad to hear you made it through the storm safely! Your french toast looks fantastic – perhaps a good breakfast idea for the long weekend approaching 🙂

September 6, 2011 - 3:12 pm

Kelsey - Thank God you made it through the storm safely. This breakfast looks like a glorious by product of some terrible weather!

February 11, 2012 - 12:20 pm

Denise - Thanks for posting this yummy recipe! I just started a blog that reviews recipes found on Pinterest. This recipe review here: http://pineatreview.wordpress.com/2012/02/11/orange-blueberry-french-toast/. (I was sure to give you credit throughout, of course.) –Denise

November 19, 2013 - 10:39 pm

french toast with cinnamon | Diary of a Crazed Cook - […] orange blueberry french toast […]