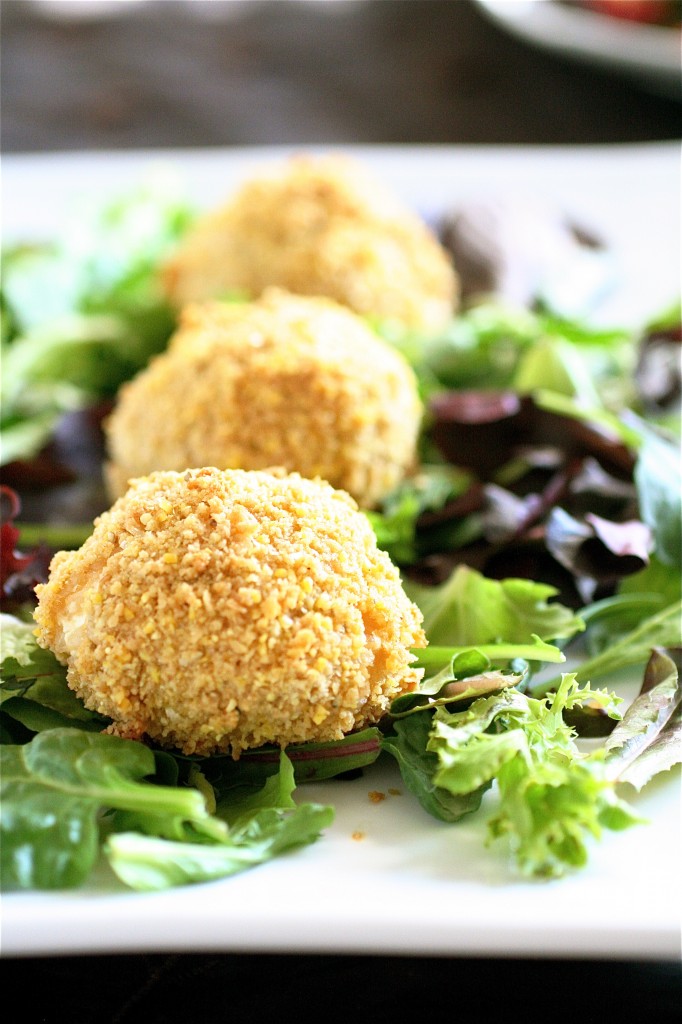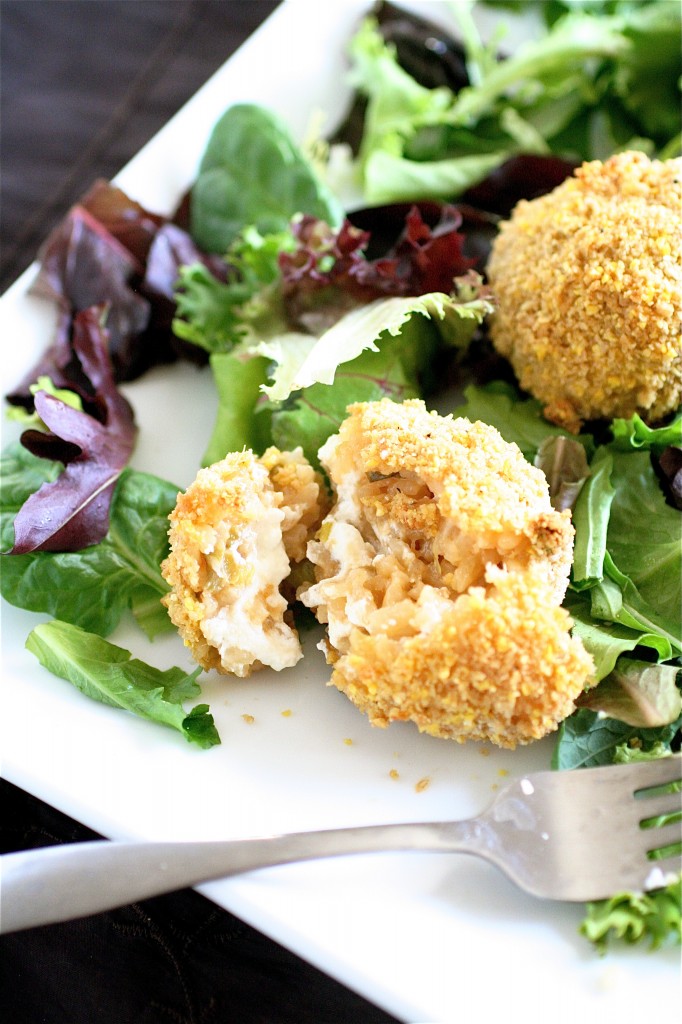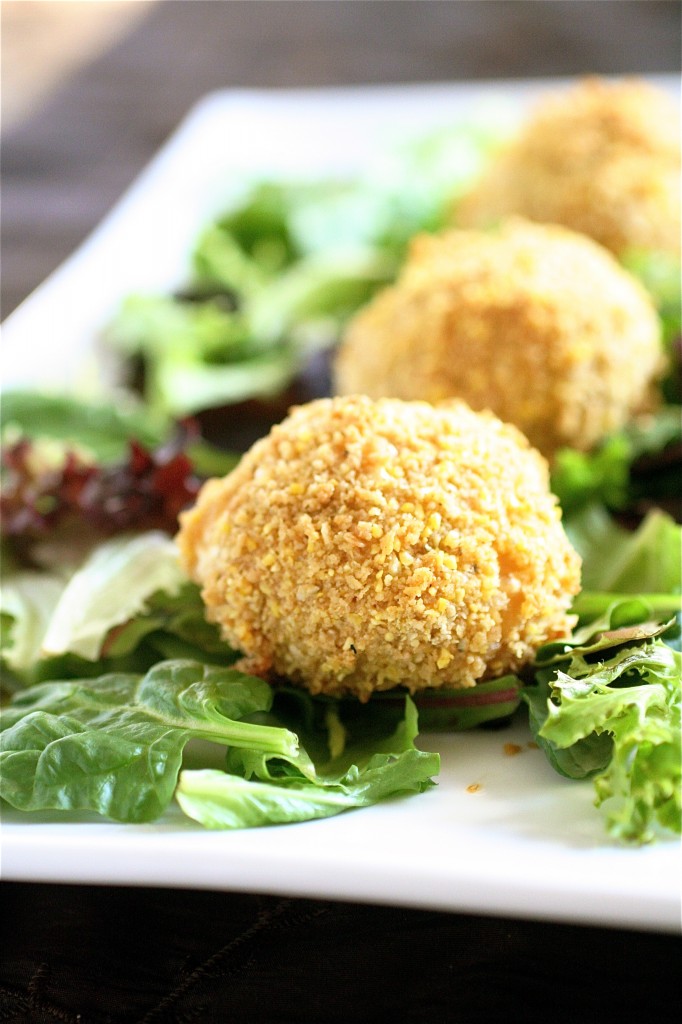
I really tried to eat a whole pan of risotto by myself. I tried, but I couldn’t do it. So I needed an easy way to use up all the leftovers without making me feel like I was eating risotto again.
Enter these baked risotto balls. Ingenious. And very very tasty. They would be perfect as a quick weeknight meal, served over some greens.
The breading prep is the longest part of the whole process, if you already have the cold risotto on hand. And you could add in different veggies to the risotto itself, or add some seasonings to the breading. If you like panko over bread crumbs, I am sure that it would work just as well. You could also omit the cheese filling if you want to cut back on fat and calories, but I think you deserve to treat yourself to some deliciousness. 😉
As I said, these were fantastic on top of greens as part of a large salad, but they are fine on their own. The following night, I reheated them again and served them as an appetizer with dipping sauces (I would recommend marinara or, my personal favorite, Ranch dressing.)
A leftover make-over. I like it.

Baked Risotto Balls
Servings: about twelve 2-3 inch balls
Ingredients
2-3 cups cold, cooked risotto
4 ounces soft cheese, such as goat or Boursin cheese
1 cup bread crumbs
1/2 cup cornmeal
2 large eggs, lightly beaten
1-2 tablespoons milk
Salt and pepper, to taste

Instructions
1. Preheat the oven to 375 degrees and spray a rimmed baking sheet generously with cooking spray.
2. Using a spoon and the palm of your hand, shape about 1-2 tablespoons of the cold risotto into a flat circle in the palm of your hand.
3. Place about 1 teaspoon of the soft cheese (of your choice) into the center of the risotto, then place another 1-2 tablespoon of the risotto on top of the cheese, sealing it in place. Lightly roll the risotto into a ball and place on a rimmed baking sheet.
4. In a medium bowl, whisk together the bread crumbs and the cornmeal.
5. In a small bowl, whisk together the eggs and the milk.
6. Lightly roll each risotto ball into the bread crumb mixture, followed by the egg mixture, and then again into the bread crumb mixture (this double coating of breading makes them extra crispy.) Place each one back onto the baking sheet.
7. Generously spray the tops of the balls with cooking spray.
8. Bake until lightly golden and crispy, about 30 minutes. Serve immediately.

Source: Slightly adapted from Guilty Kitchen.


Kia @ A View From Here - Oh-My-Goodness!
I think it sounds worth making a risotto just to make these. Such a fab idea.
Chung-Ah | Damn Delicious - I absolutely LOVE risotto so I’m sure these balls of heaven would send me to the moon!
Ashley @ Wishes and Dishes - What a great idea for leftover risotto!
Ann P. - These look delicious! I’ve had something like these before for an appetizer. I think they were called arancini 🙂
Menu Plan Monday June 11 | A View From Here - […] Eggs with toast (maybe poached or scrambled) Snack – Couscous stuffed pepper Dinner – Baked risotto balls with […]
Menu Plan Monday – June 18 | A View From Here - […] over pork from yesterday)Wednesday – Honey & mustard chicken saladThursday – Baked risotto balls with salad (that I didn’t get around to last week)Friday – Salad (not sure what kind […]
Baked Risotto Balls | Lukor.net - […] View the article’s source Autor: srlacy […]
Bob - Tried this last night. Used fresh mozzarella and that did not work because the arancini absorbed it. Use the harder block of mozzarella.
Baked Risotto Balls - […] source: thecurvycarrot.com […]
Christmas with the Dowes | Designs on Dinner - […] also had hummus and baba ganoush with vegetables, risotto balls, stuffed jalapenos, Scandinavian pickled herring bites, mozzarella cheese sticks with marinara […]
Susan - Recipe looks wonderful!
Is there a way to print this recipe without the comments and images…?