It’s really cold here in Milwaukee. And probably everywhere else in the non-Southern United States.
But I’ve seen the Milverine TWICE now in the past two days. I consider this an incredibly good omen. (If you aren’t familiar with the Milverine, check out THIS post for the explanatory links.)
But the problem is this: he’s not wearing a coat..ever. He’s wearing a few layers around that chiseled chest of his, gloves, and, of course, a nice tight skull cap, but I’m a little worried about him. He’s still walking with the determined, jagged steps. He still has a slight, menacing scowl. But I’m worried that he’s going to end up stranded on the south side of Milwaukee with frost bite (which, actually, might be a pretty horrible nightmare to some.)
He doesn’t know how much the sight of him brightens my day. It’s weird, my mild obsession. He’s a good luck charm for me. Even if I had the most horrible of horrible, long days, the simple sight of the Milverine cheers me up. I fist pump the air and shout “Milverine!” in my car when I see him. It makes me happy. And since last week was such a hectic week for me, I consider my two-day-solid streak of seeing him as a little good karma headed my way.
I doubt this man will never know how much his simple presence (and scowl and determined step) can change my day. And, I think we all secretly have these little “good luck” things in our lives, don’t we? (just roll with it if you don’t to make me feel a little less crazy).
And now I segue into the food awkwardly.
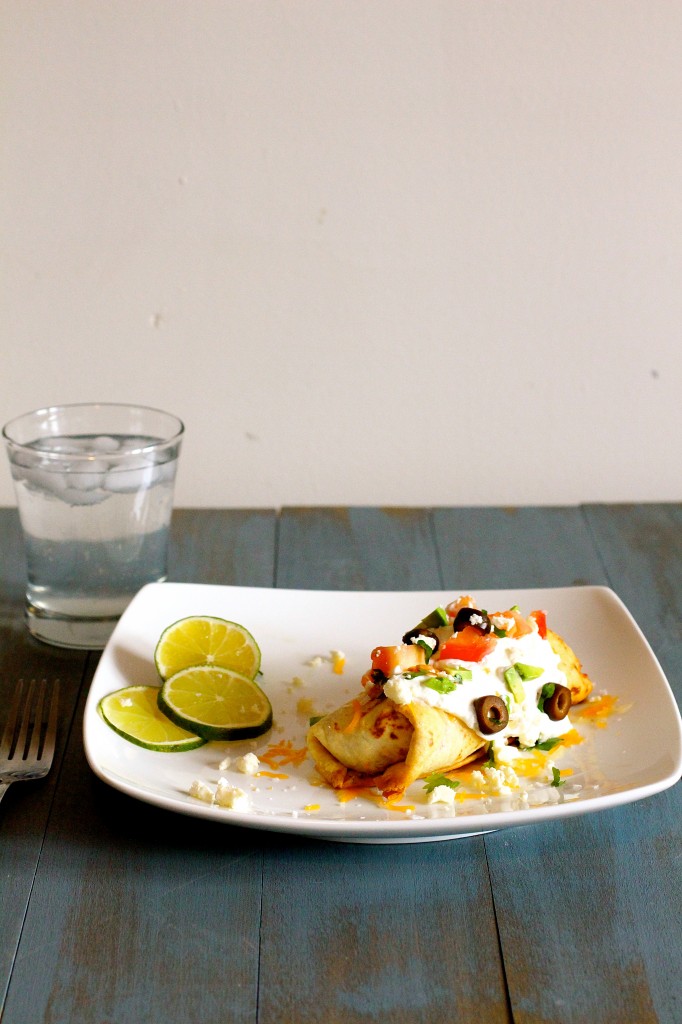
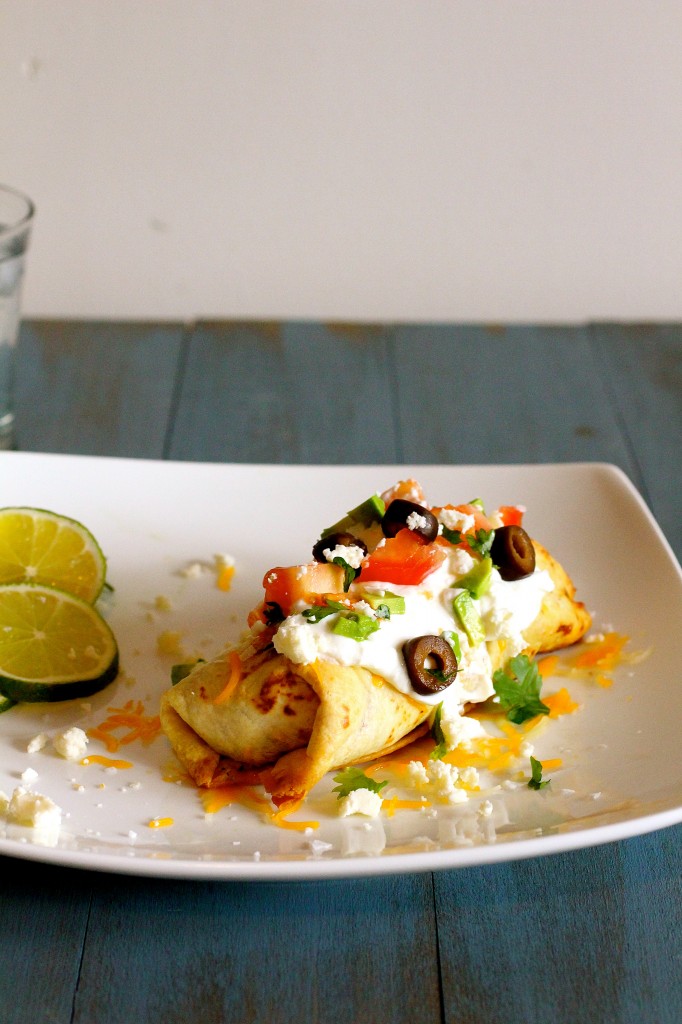
These chimichangas were on my brains for months before I made them. I wanted the taste of a chimichanga (basically a loaded burrito), but I couldn’t stand the thought of frying them (I still have high cholesterol), so I had to figure out a way to get that crisped outer tortilla without greasing them up. This was a decent substitute.
And here’s the thing: you can put whatever you want in these. I did a nice bean mixture, but you could add more veggies, etc if you like. I lightly brushed them with olive oil and baked them until they were crisped and golden. No, it’s not like a deep-fried, beany-cheesy chimichanga, but there’s enough of a nice texture/flavor here to keep a girl seriously satisfied.

Baked Bean Chimichangas
Servings: 4-6
Ingredients
1 tablespoon extra-virgin olive oil, plus more for brushing the tortillas
1/2 cup chopped yellow onion
1 teaspoon garlic, minced
One 4-ounce can green chiles, drained
2 cups black beans (I soaked some beans overnight the night before)
1 teaspoon chili powder
1/2 teaspoon cumin
Juice of one lime
2 cups refried beans, cooked, and hopefully still a little warm (here’s a link to some homemade refried beans….one of my favorites and I highly recommend it. It’s a super simple recipe and great to make if you have dried pinto beans on hand.)
Tortillas (use whatever kind you like…and use as many as you like. I used 8-inch flour tortillas. The bean mixture can make about 12 chimichangas-certainly enough for two per person.)
For garnish (optional, of course):
Cheese-I used a combination of shredded Monterey Jack and queso fresco
Cilantro
1 tomato, chopped
Greek yogurt, optional
Black olives
Avocado
Instructions
1. In a saute pan over medium heat, heat the olive oil until shimmering. Meanwhile, preheat the oven to 400 degrees. Spray a baking pan (I used a 9×13-inch glass baking pan) with cooking spray; set aside.
2. Add the onion and cook, stirring occasionally, until softened and translucent, about 4-5 minutes.
3. Add the garlic and cook until fragrant, about 30 seconds.
4. Add the green chiles, black beans, chili powder, cumin, and lime juice, stirring until combined. Cook until the beans are heated through, about 3-4 minutes.
5. Once the beans are heated through, place about 2 tablespoons of each of the refried beans and the black bean mixture into the center of each tortilla. Top with whatever garnishes you might want inside the chimichangas-I used a small amount of cheese on each one). Fold in the ends of each tortilla and roll up the chimichanga. Place each chimichanga, seam side down, into the prepared baking dish.
6. Lightly and thoroughly brush each chimichanga with olive oil.
7. Bake the chimichangas until heated through and lightly browned, about 20-25 minutes or so. ***Watch your chimichangas carefully. As oven temperatures can vary significantly, the browning time may be dependent on your oven. Use your own judgment here.
8. Top each chimichanga with the garnishes of your own choosing, and enjoy.
Source: A Curvy Carrot original.


Joanne - I’m trying to think of whether I have any omens like that or not. Probably for me it’s whether or not I catch the light while crossing the street to get to work. It is a LONG light to have to stand at the corner in this cold!
Katrina @ WVS - These look smashing!! Yum!
Chelsea Smith (@ChelsaBea) - The Milverine, oh man, this guy cracks me up. Love when I have a sighting. And these Chimichangas look amazing! I cannot wait to make them.
Kelly Mitchem - These look amazing, obviously the fried part is delicious but healthy is better! Can’t wait to make them!
Ginger - Thankyou for sharing your recipes. I love collecting interesting vegetarian recipes and this one looks like a lot of fun.
Meal Planning | Tiny Spark Academy - […] 10: Oven Baked Bean Chimichangas (definitely a favorite, use ANCHO chili powder. Trust […]
15 Crunchy Finger-Licking Chimichangas - […] Recipe & Photo credit to thecurvycarrot.com […]
Felicia - We love this bean filling! Thanks for the recipe!
{Menu Monday} Week of March 24 - […] Friday- Baked Black Bean Chimichangas […]
10 Crunchy Finger-Licking Chimichangas | Crazy Food Blog - […] Recipe & Photo credit to thecurvycarrot.com […]