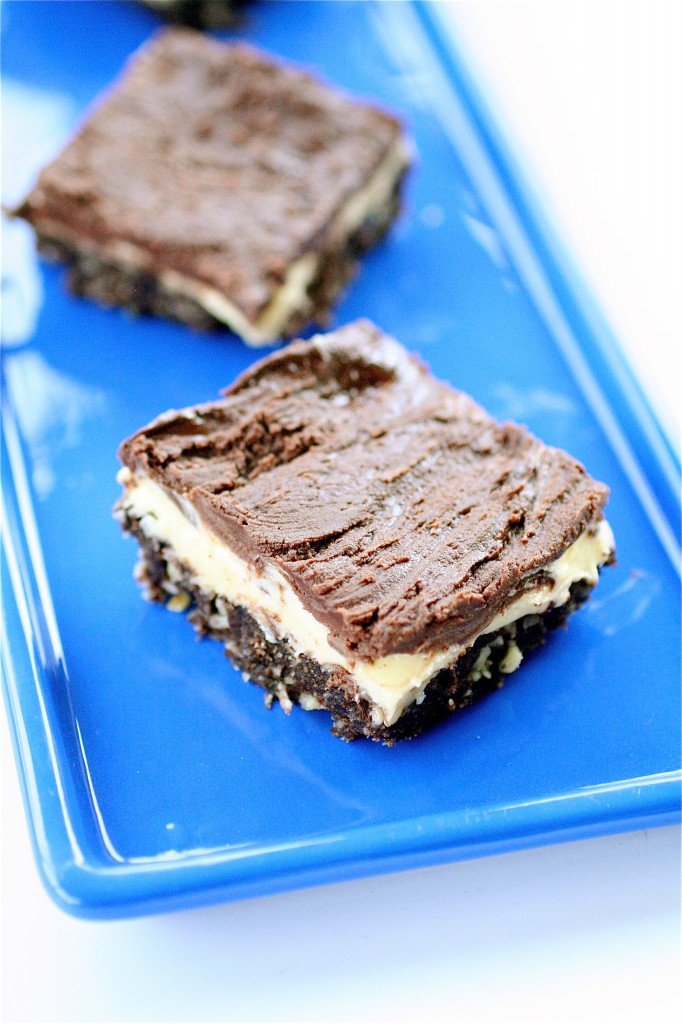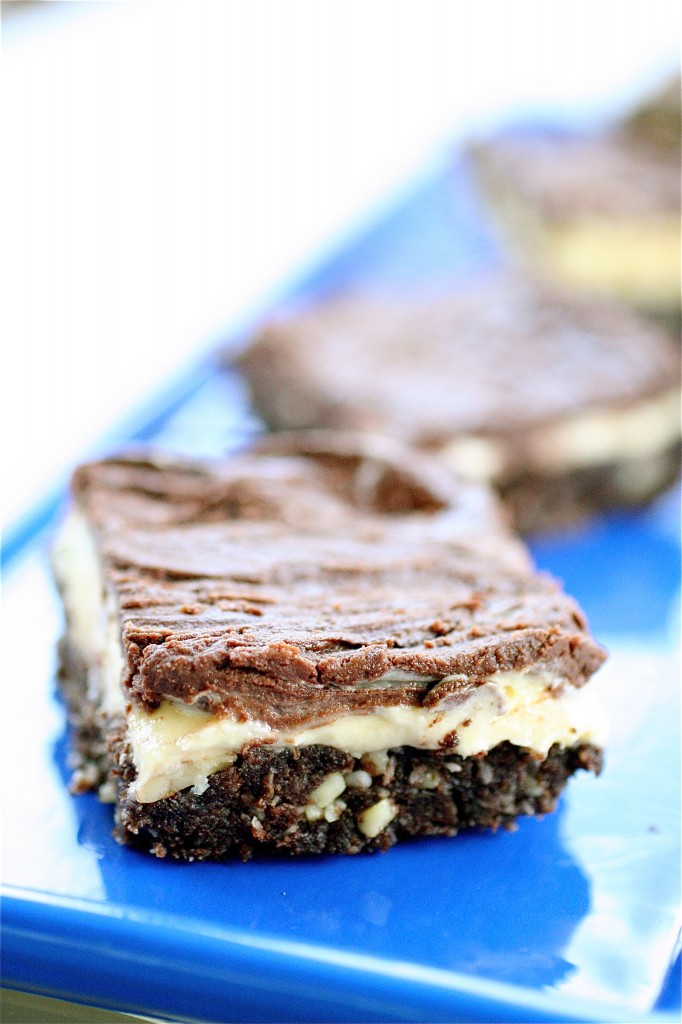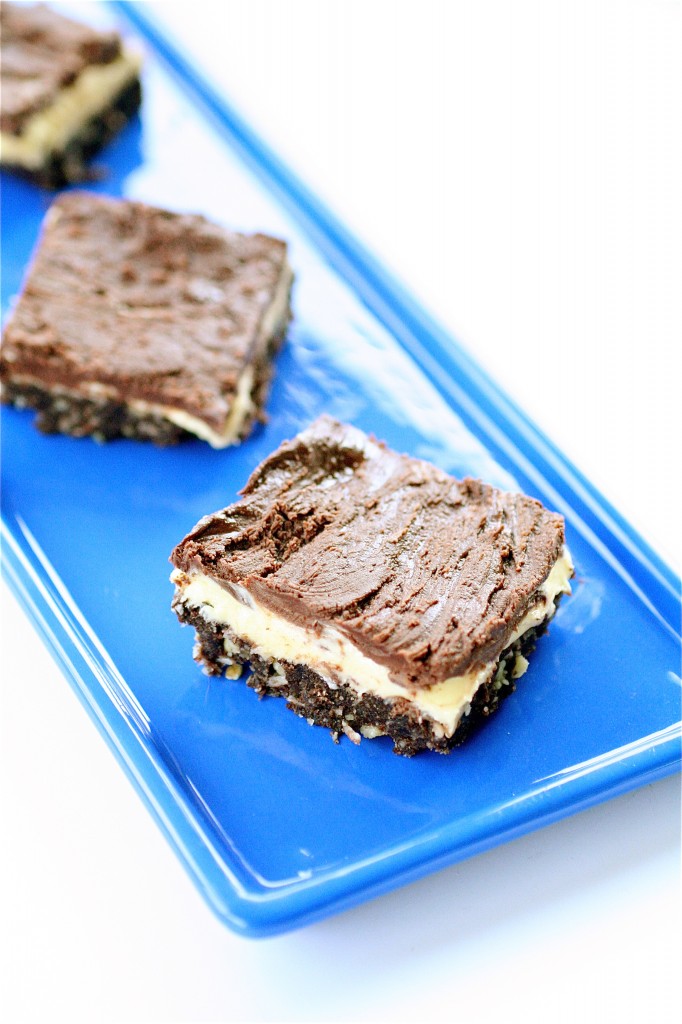
Nanaimo Bars. Pronounced “Nuh-NIE-Mo” Bars. I know this because I had to look it up.
I went for the gusto here on these bars. Call it incredibly cheesy, or call it incredibly lame, but I decided to make these bars after debating back and forth for a while. True, they look delicious. True, they have many of the components that I love so dearly: chocolate, coconut, vanilla pudding (in this case, I used real vanilla custard powder…), and…digestive biscuits? (You can easily substitute graham crackers for the digestive biscuits here). But these Nanaimo Bars are also known as one of the national desserts of Canada, and I had decided to take them to a dinner party at one of my mentor’s homes….where he and his wife are both from Canada.
So here I am, a US citizen bringing Canadians their national dessert…one that I had never made before…and knowing that it could possibly offend them and/or completely humiliate myself if they were terrible. No pressure.
I considered them a hit. Either they were both extremely polite, or they really did like the Nanaimo Bars..because he asked to keep all the leftovers and brought the container the following week. We had such a great discussion about the Nanaimo Bars that his wife took the time to hand-write some “official” Nanaimo bar recipes out for me, complete with some awesome variations (which I will definitely be trying soon). I have to admit, though, I thought they were great…I went ahead and tried to make them as fancy as possible…using Bird’s Custard Powder (it’s a dried custard mix I found in the “English” section of my grocery store) and English digestive biscuits (also found in the same aisle), but you could use a simple instant vanilla pudding mix and graham crackers instead.
And, not only that, but they were relatively easy to make. A no-bake dessert bar? Sign me up! Really, the most time-consuming parts about this recipe were the “chilling” parts. Either that or the time it took me to eat all the crumbs out of the pan after I had cut them into bar forms. 🙂

Nanaimo Bars
Servings: approximately 12 bars
Ingredients
For the base:
1/2 cup (1 stick) unsalted butter, room temperature
1/4 cup granulated sugar
1/3 cup unsweetened cocoa powder
1 large egg
1 teaspoon vanilla extract
2 cups crushed (use your food processor) Digestive Biscuits or graham cracker crumbs
1 cup unsweetened coconut
1/2 cup walnuts, chopped
For the middle layer:
1/4 cup (4 tablespoons) unsalted butter, room temperature
2 tablespoons heavy whipping cream
2 tablespoons Bird’s vanilla custard powder or instant vanilla pudding powder
1/2 teaspoon vanilla extract
2 cups powdered sugar
For the top layer:
4 ounces semisweet chocolate chips
1 tablespoon unsalted butter, room temperature

Instructions
1. Prepare a 9 x 9-inch baking dish with cooking spray, making sure to spray all the corners.
2. For the base: In a medium saucepan over medium-low heat, melt the butter.
3. Remove the saucepan from the heat and add the sugar and cocoa powder.
4. In a small separate bowl, lightly whisk the egg.
5. Very slowly, add the beaten egg to the warm butter mixture, whisking constantly.
6. Return the saucepan to medium-low heat, and whisk constantly (about 2 minutes) until the mixture thickens.
7. Remove the saucepan from the heat and add the vanilla, digestive biscuits (or graham crackers), coconut and walnuts, mixing thoroughly.
8. Using your hands or a buttered rubber spatula, gently press the mixture into the bottom of the prepared baking dish and chill until firm. ***You can place it in the freezer for about 15 minutes or refrigerate for about an hour or so.
9. For the middle layer: In the bowl of your standing mixer fitted with the paddle attachment (or using an electric hand mixer), beat the butter until light and fluffy, about 2 minutes.
10. Slowly add the whipping cream, custard powder (or pudding mix), vanilla, and powdered sugar on low speed until well combined. **If the mixture is too thick, add a few more drops of cream. If it’s too thin, add a little more powdered sugar.
11. Spread the middle layer over the chilled base layer and refrigerate until firm (about 20 minutes or so).
12. For the top layer: In a heatproof bowl over simmering water, melt the chocolate chips and butter until smooth, stirring occasionally.
13. Evenly pour and spread the chocolate layer over the middle layer and refrigerate until firm, about 15 minutes.
14. Once set and firm, cut the bars into squares and enjoy!

Source: Barely adapted from Joy of Baking.


Blog is the New Black - Shannon, these look great. I’ve wanted to make them ever since I saw them over on Oh She Glows. Beautiful!
Maureen - I haven’t eaten one of these for years ! I’d completely forgotten about them. In honor of Canada Day this week I will make these too. Thanks for sharing!
Gwen - I know that the English call cookies “biscuits”, but I’d never heard of a digestive biscuit until today. The name sounds very unappetizing, but the dessert looks very yummy!
srlacy - I know…really, right? That’s what I thought, too. But I actually did eat one of them plain from the package…and was almost like a thick graham cracker! YUM!
Heidi @ Food Doodles - Yummy 🙂 I haven’t had a nanaimo bar in soooo long. No worries about making them wrong, I think there are a few ways to do it, and they all taste good 😀 Yours look great!
renee@sweetsugarbean - I’m from Canada and grew up eating these! You did my country proud!
Donna - Yummy! And thank you for the pronunciation. I’ve always wondered.
Nanaimo Bars | Nutella Enchanted - […] The all-important recipe, found at The Curvy Carrot: […]
Darren - @Gwen… just call them arrowroot cookies, if it makes you more comfortable. Canadians will say either, if I may speak for all of Canada (which I really can’t). Nanaimo bars are best with graham crackers, in any case.